Digital Asset Manager (DAM)
Outline
- Overview
- What is the DAM
- Why use it
- Creating an Asset
- Common Examples
- Programs
- Quality
- File Name
- Resolution
- File Size
- Image Dimensions
- Managing Assets
- Login in and Navigation
- Views
- Column View
- Card View
- List View
- View Settings
- Use Folders
- Create a Folder
- Assets to Folder
- Uploading an Asset to a Folder
- Upload using Drag-and-drop
- Publishing an Asset
- Single Asset Entity Level
- Folder Asset Level
- Adding An Asset to a Component
- Best Practices and Resources
- FAQ
Overview
What is the DAM
Adobe Experience Manager (AEM) is the global web platform for Informa Markets. It delivers best in class online customer experience. By providing dedicated homes for both website content and website assets (images and files) AEM puts customers at the center of all marketing efforts. The specific area of AEM that manages these website assets is the Digital Asset Manager or DAM.
Why use it
AEM and the DAM provide a standardized web platform for the entire Informa Markets business, creating increased efficiencies and consistent high-quality services across all brands globally.
Creating an Asset
Assets can be anything needed to enhance and enrich your users experience on your website. Each asset will have its own capabilities and settings, but it is important to optimize each setting for the web. Emphasis should be put on small size and quick download speed.
Common asset examples are, but not limited to:
- .jpg
- .jpeg
- .gif
- .png
- .svg
- .doc
- .doc
- .docx
- .ico
- .ics
- .ppt
- .pptx
- .rtf
- .tif
- .txt
- .xls
- .xlsx
Programs
While user preferences are welcomed, Photoshop is highly recommended as an industry standard. Adobe Photoshop can optimize many assets but specializes in images. In general it is recommended to adhere to the following settings/practices when saving assets for the DAM.
Quality
- 75% or less quality
- .jpeg format (.png for transparency, logos and icons)
- sRGB colors
File Name
- Use Informa Markets’ Global Naming convention for images and files: EventEditionCodeYear-YourNameInitials-Description
- Only use letters, numbers, underscores, and hyphens in filenames - no white space! Other characters (like question marks, percent signs, and ampersands) may upload incorrectly and/or cause unexpected behaviors
Resolution
- Try to keep images in pixels
- 72 DPI (dots per inch) or PPI (pixels per inch) is recommended
File Size Limitations
- We have imposed these limitations to reduce operational cost and to free up more space for future asset uploads
- Uploading multiple large images can negatively affect site performance
- If you’re adding multiple images to a page, keep the overall page size in mind as you may need to go back and ensure previous assets are within the File Size Limitations
- Image files around or below 200 KB are optimal. Know that when it comes to asset size (of any type), bigger isn’t always better
The New file size limitations are as follows:
- Image files: 1mb
- Document files: 2mb
- Video files: 50mb
- Compressed files: 2mb
Image Dimensions
- Keep the dimensions of the image you upload to a specific component consistent
- Images in components of the same type (example CTAs) should have the same height and width on all pages of the website
Managing Assets
Login in and Navigation
You need to sign into Adobe Experience Manager (AEM) to get started with any asset tasks.
The two main access points for AEM are as follows: 1. Informa Portal: https://portal.informa.com/ 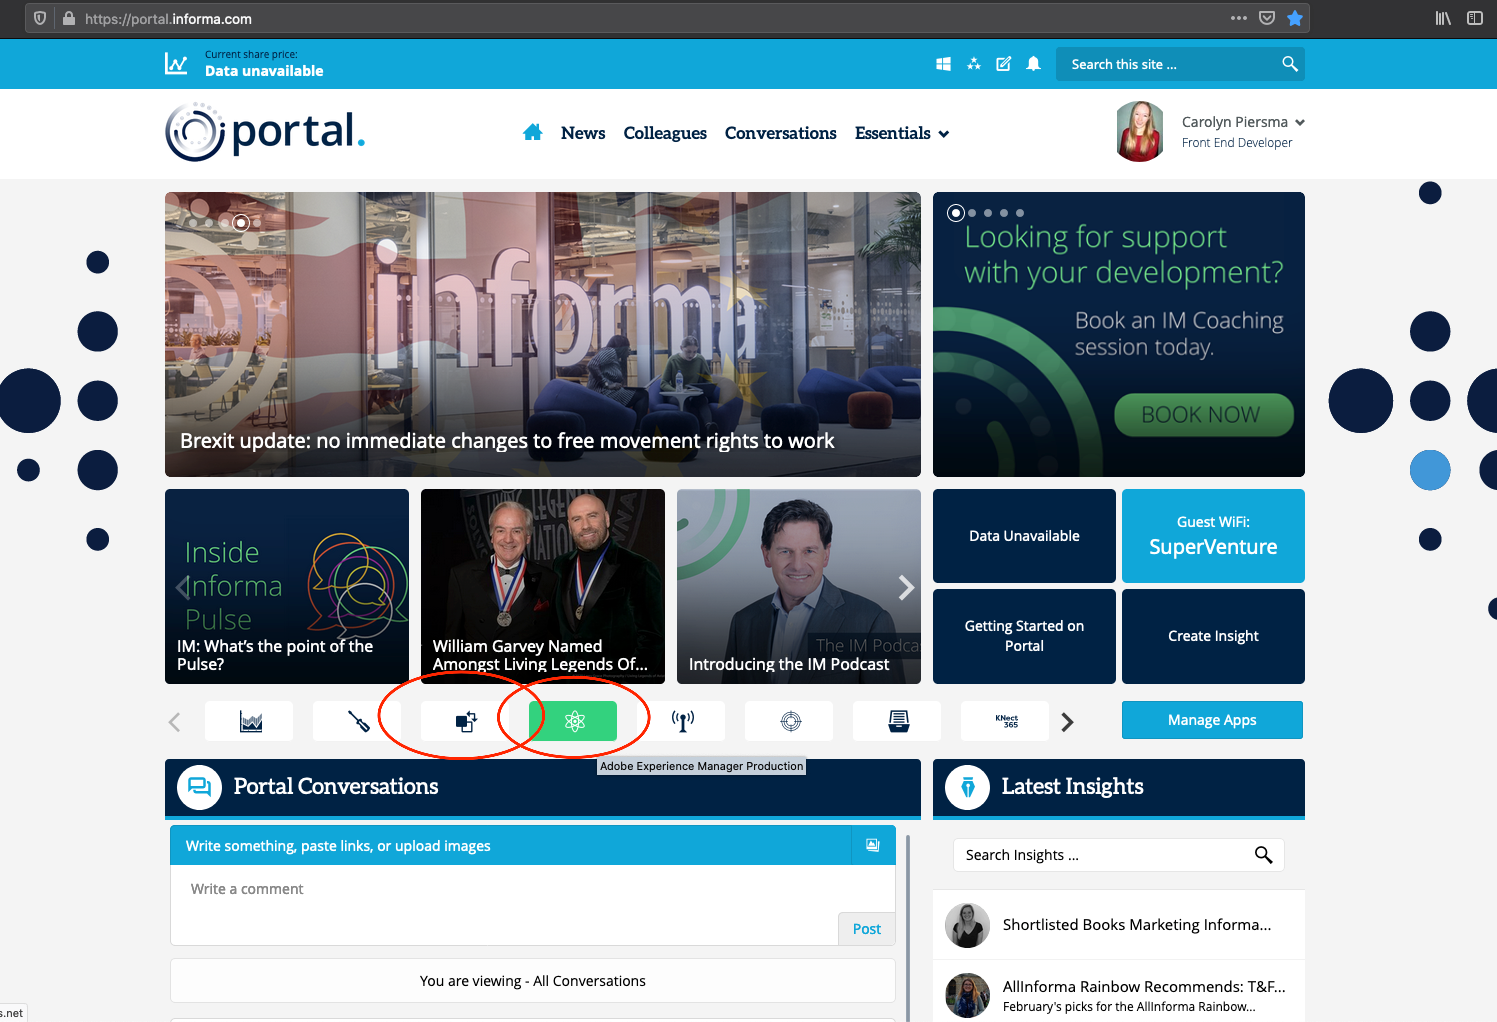 for either the STAGE or PRODUCTION environments
- Informa Marketing Resources Center for either STAGE or PRODUCTION: https://portal.informa.com/sites/global-exhibitions/SitePage/43488/mtp-marketing-resource-center
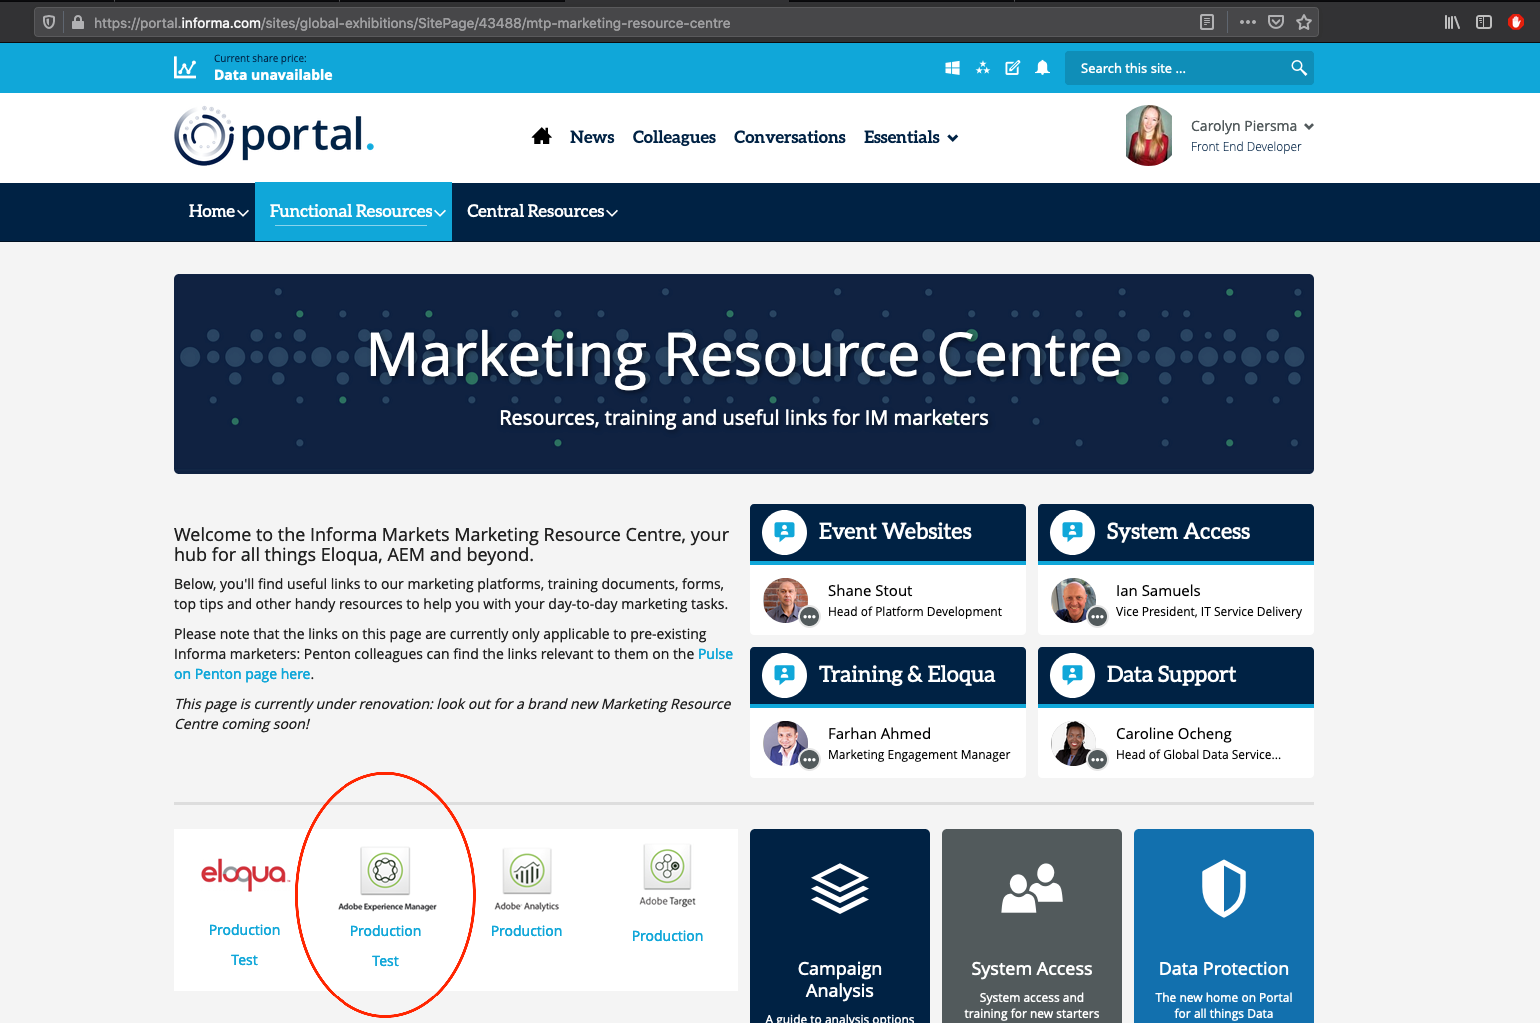
Choose STAGE if your site is currently staging (not live), or if you’d like to test a major change. Use PRODUCTION if your site is currently live or if you have immediate changes for your live site.
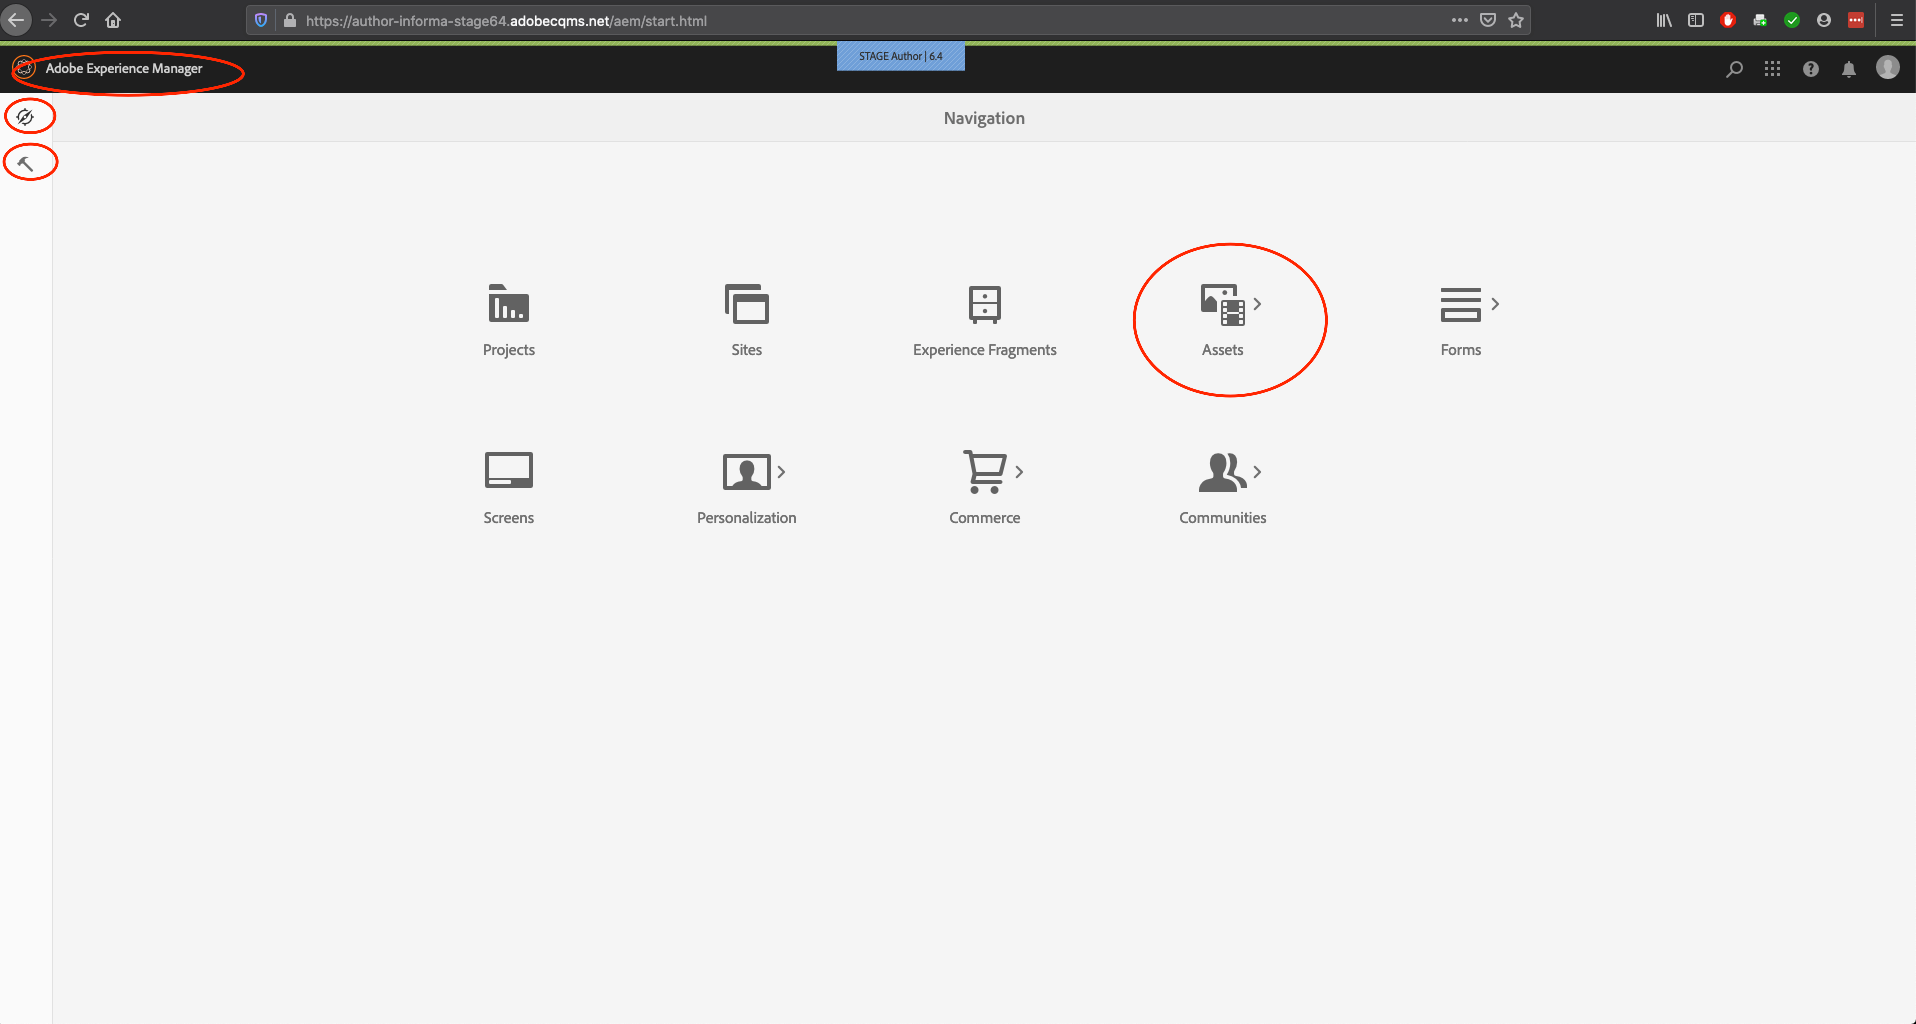
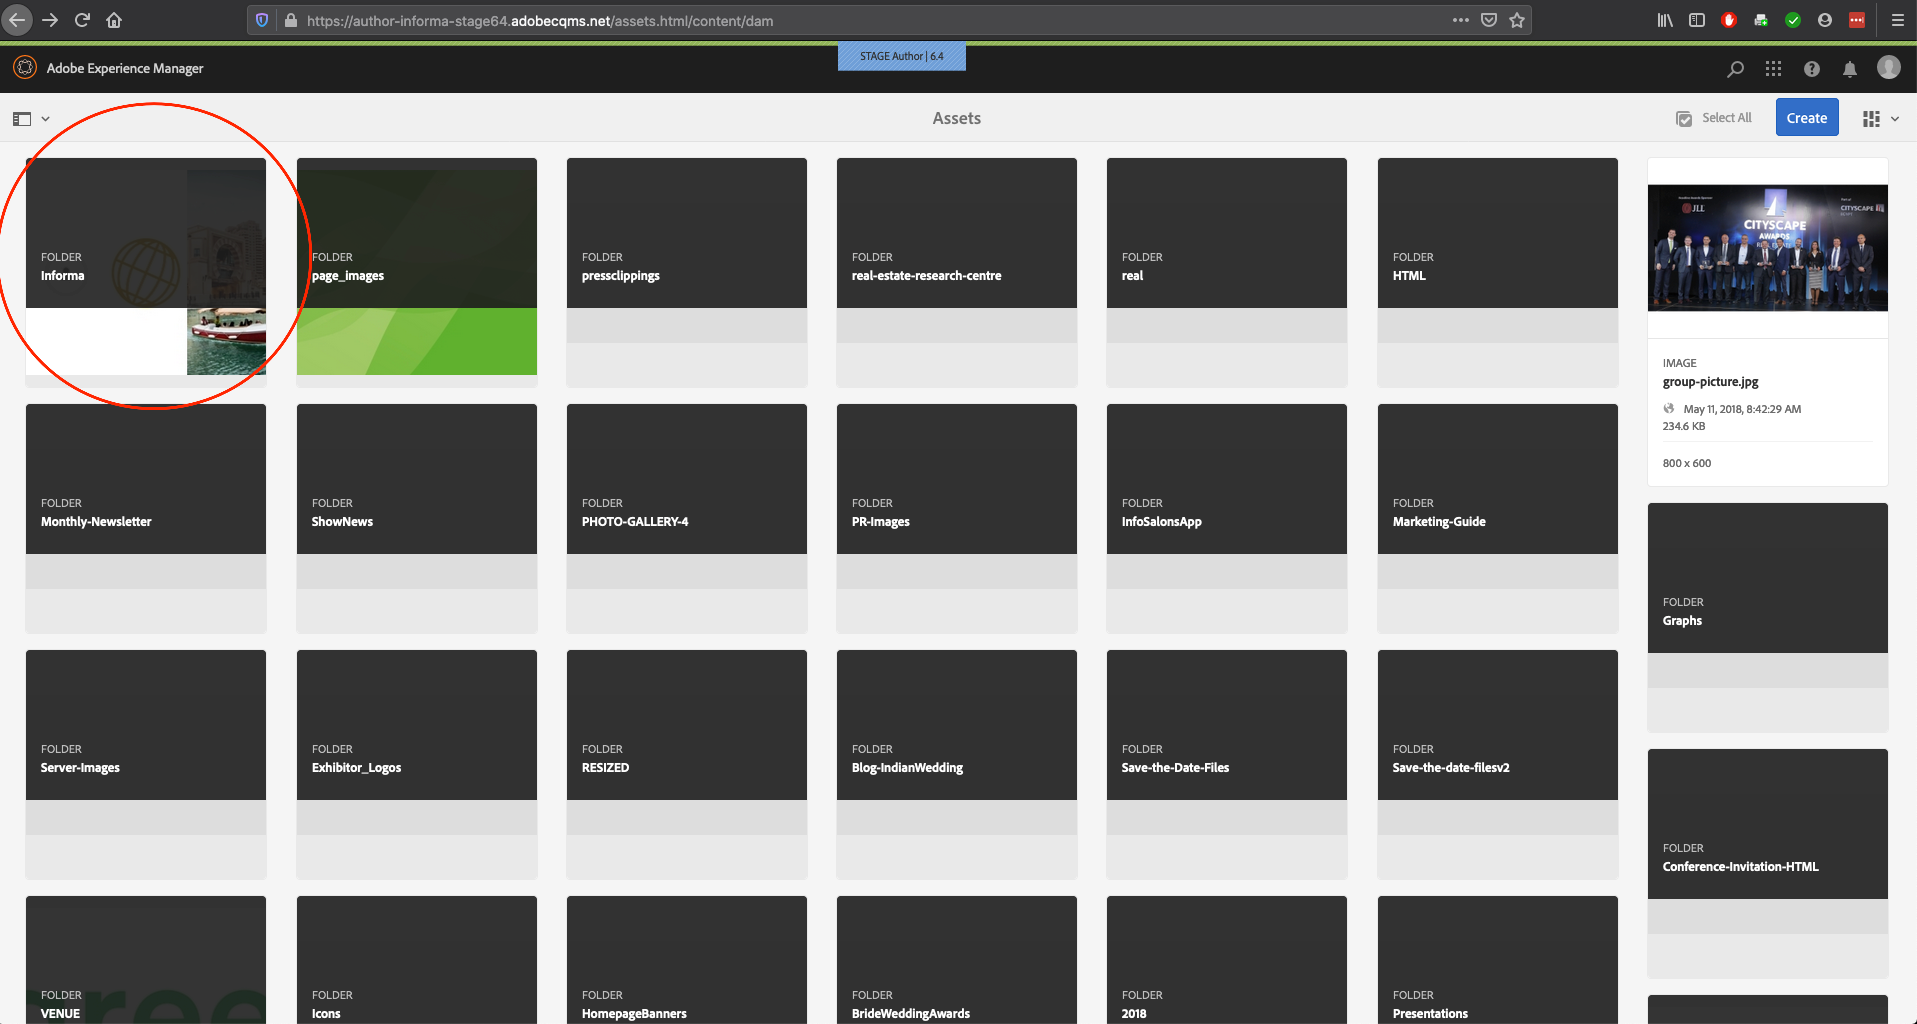
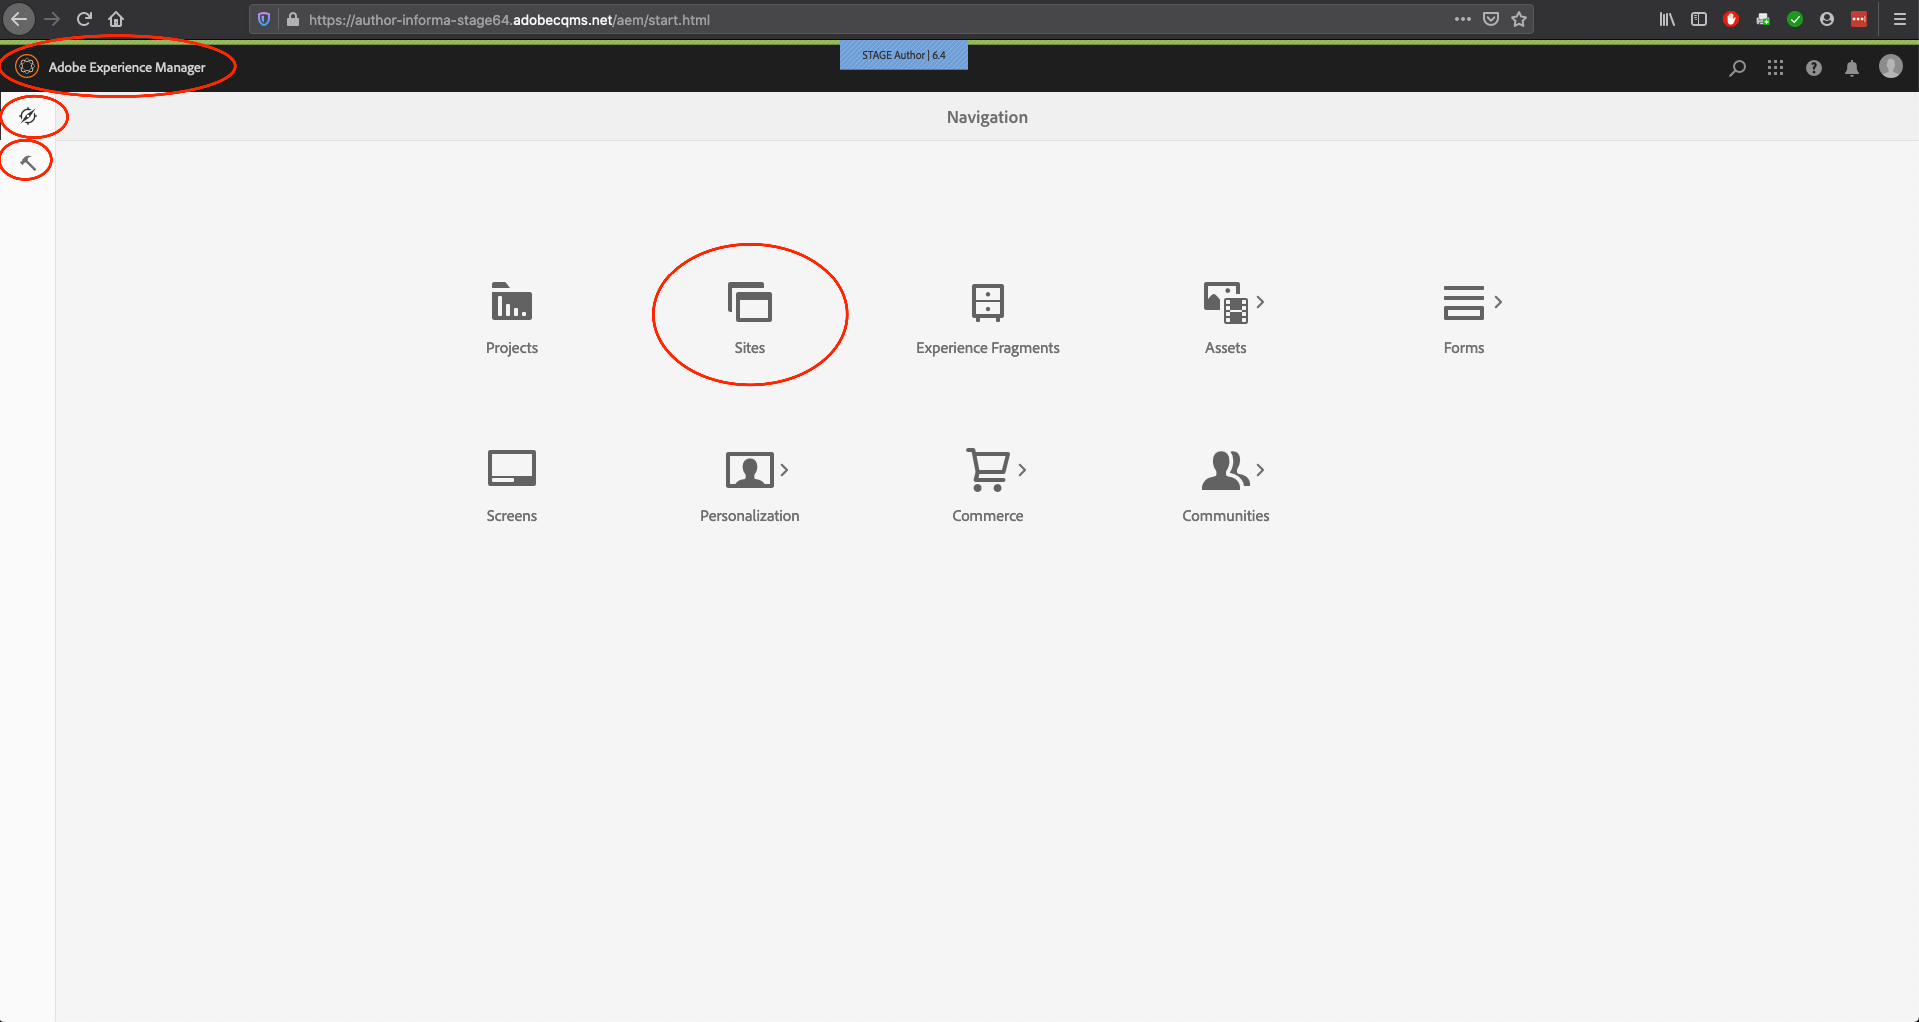
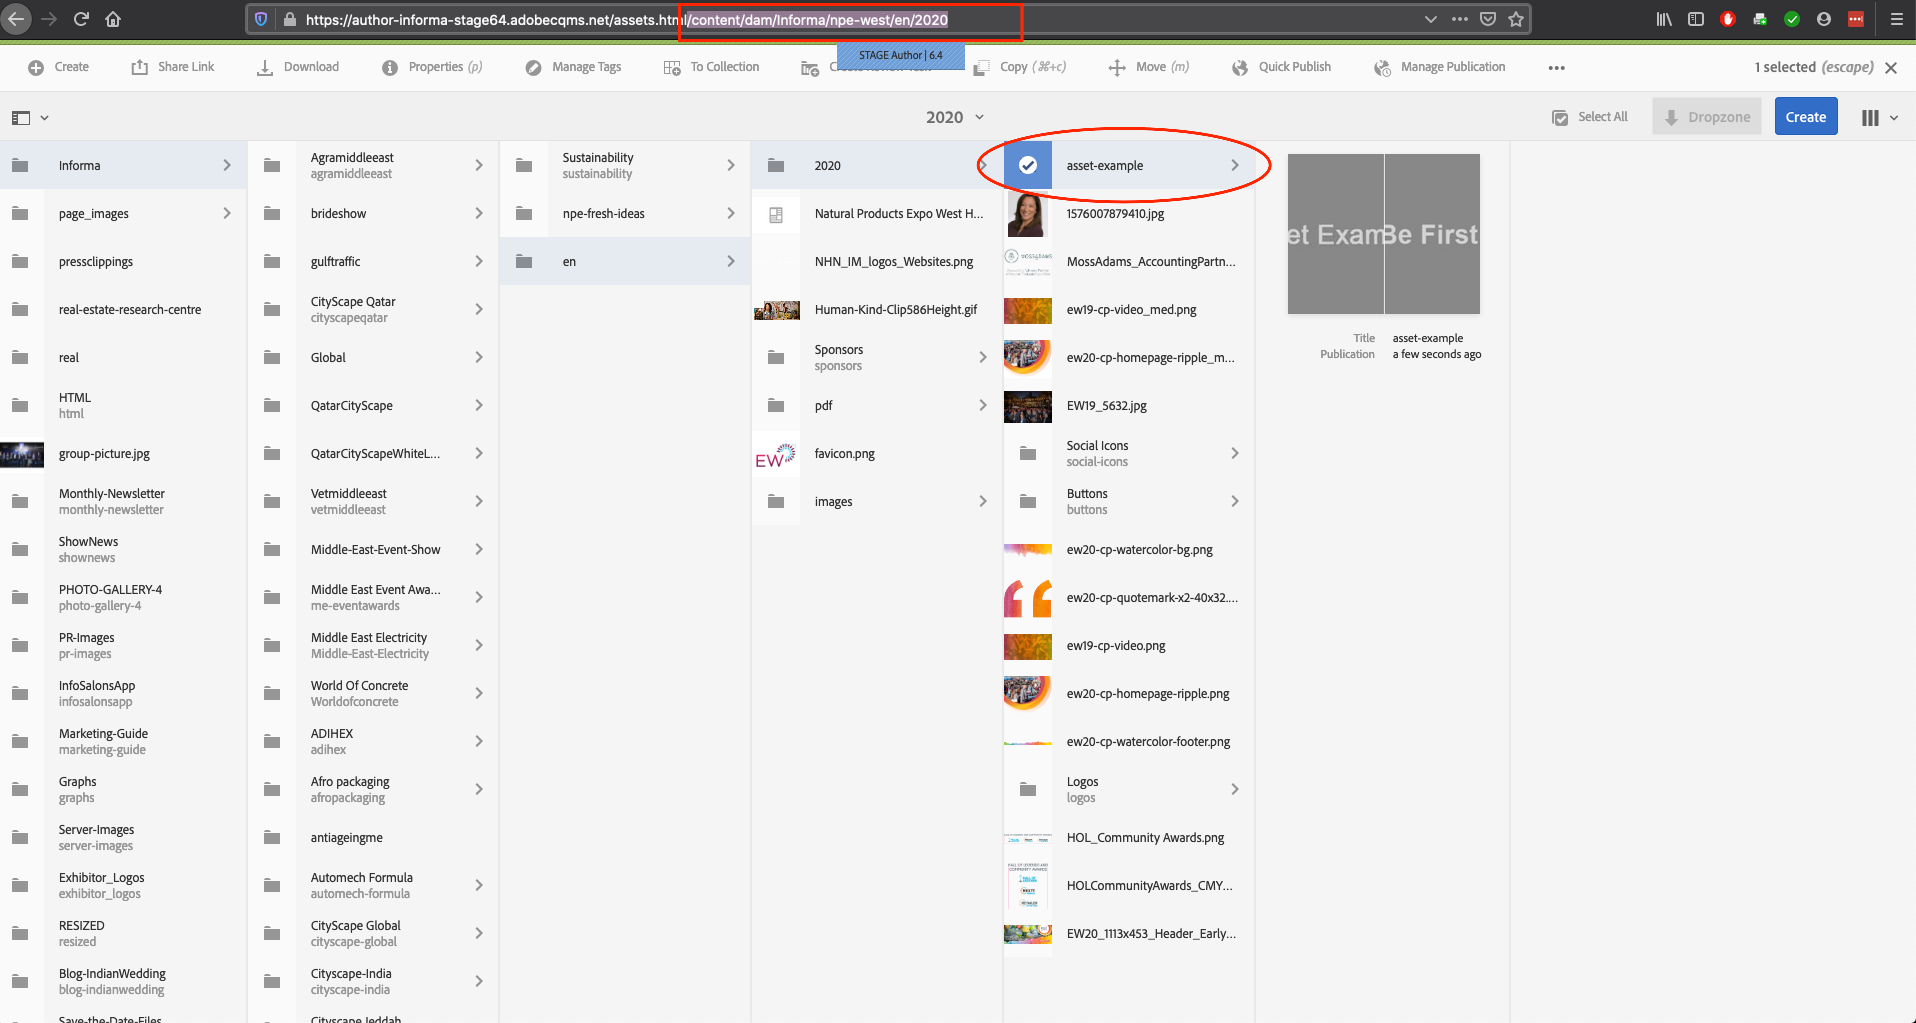
Login to AEM and click “Adobe Experience Manager” in the black ribbon at the top of the page to open the main menu. In the menu you see two icons on the left for Navigation (compass icon) and Tools (hammer icon). Click Navigation, then click the “Assets” tile.
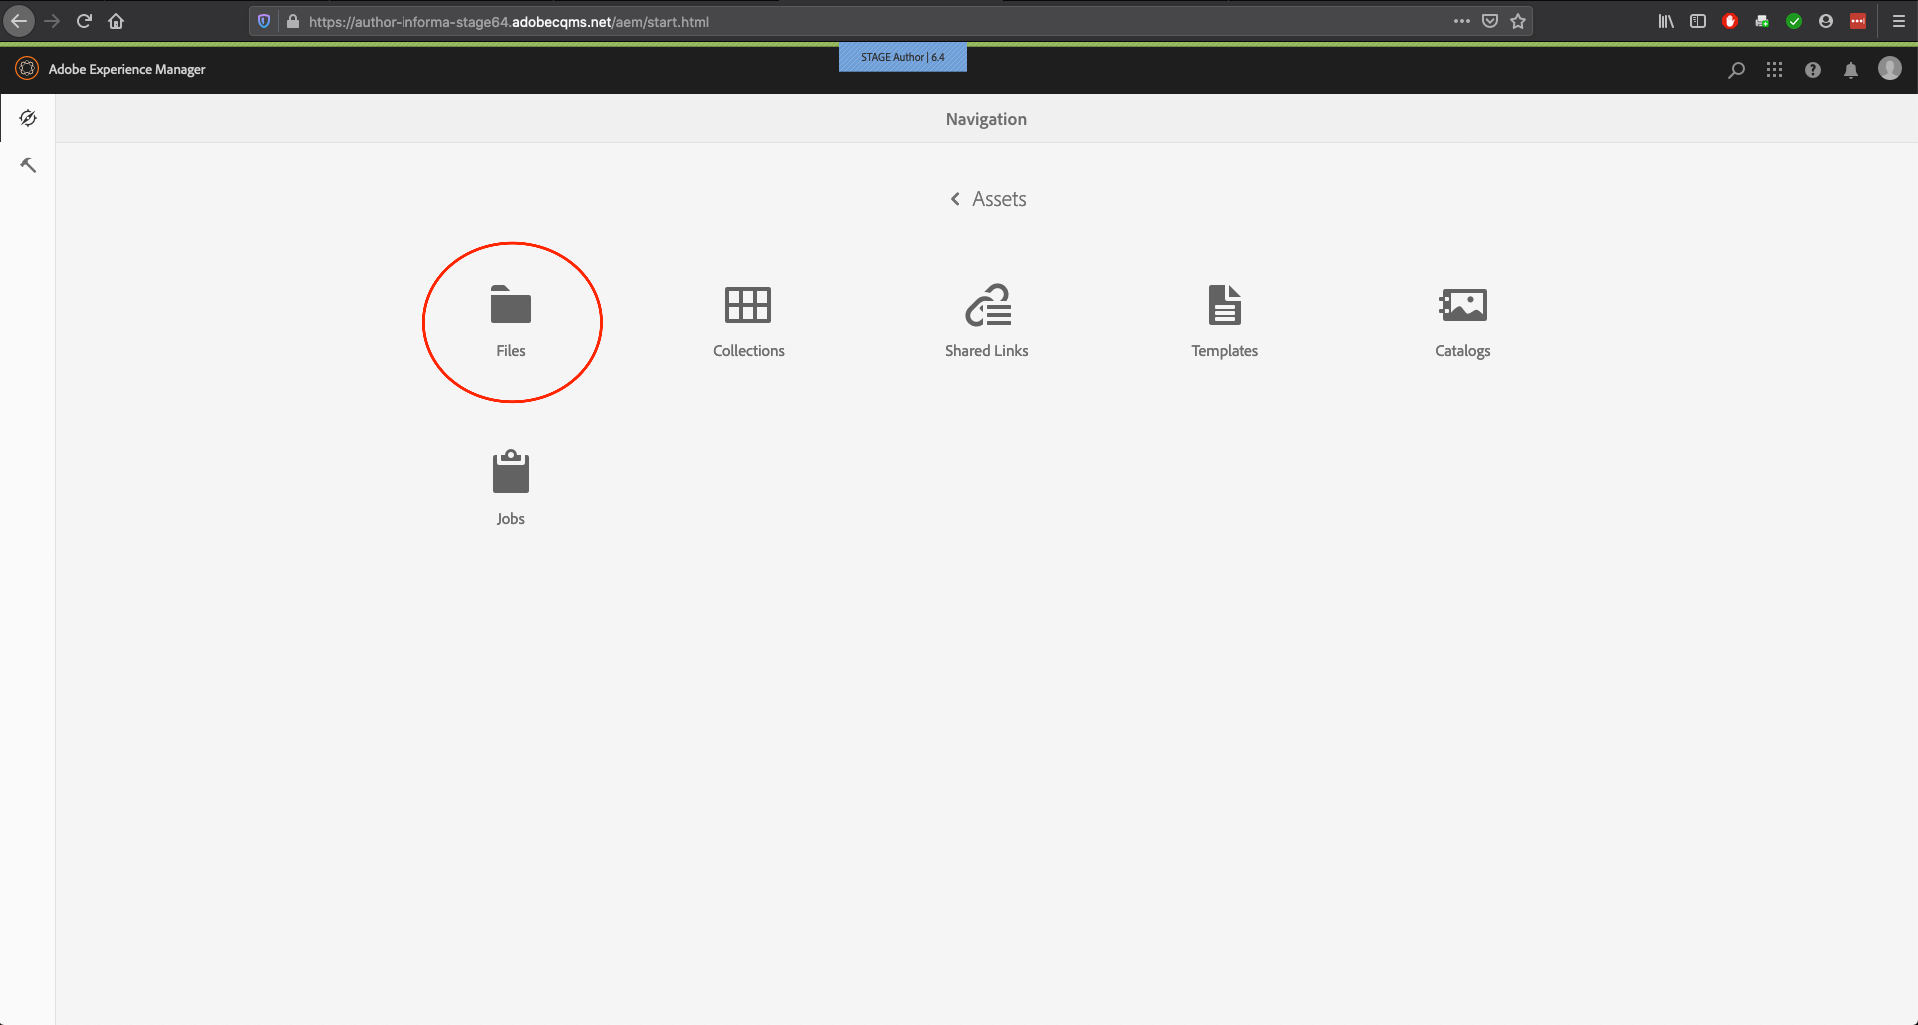
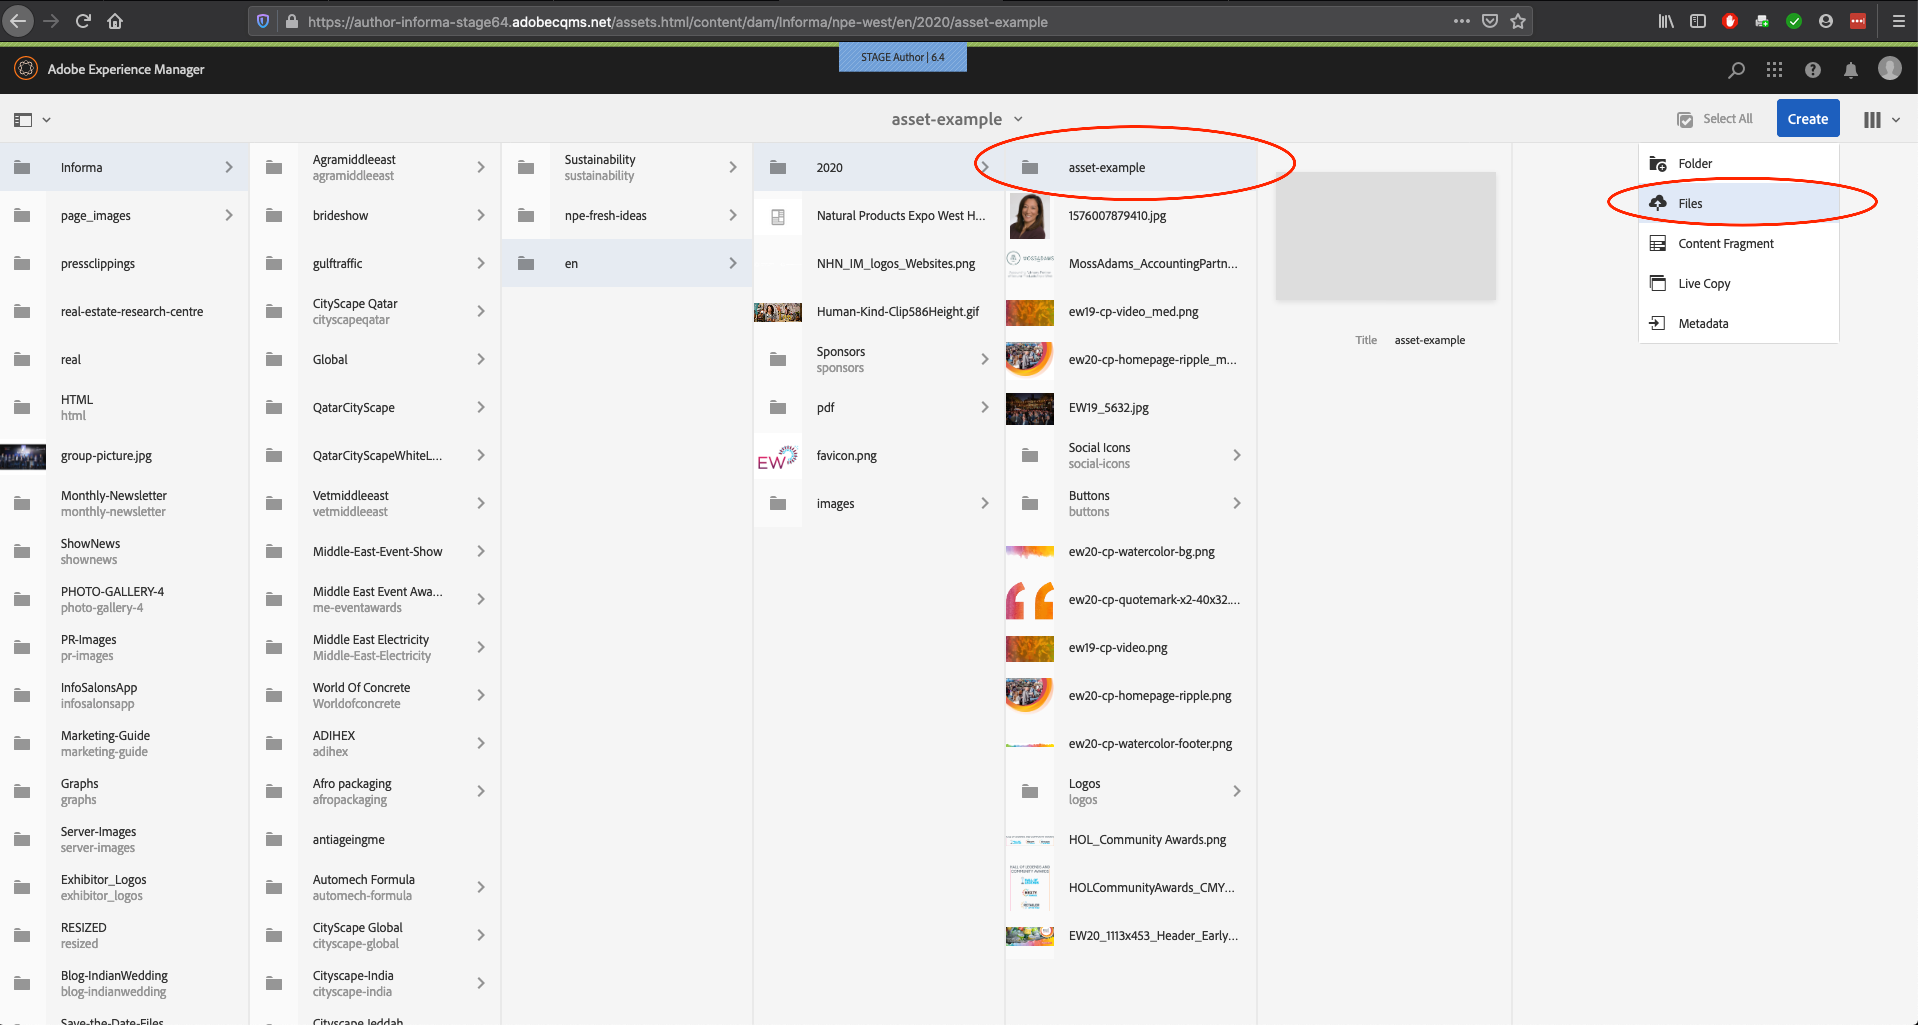
Now click on the “Files” icon:
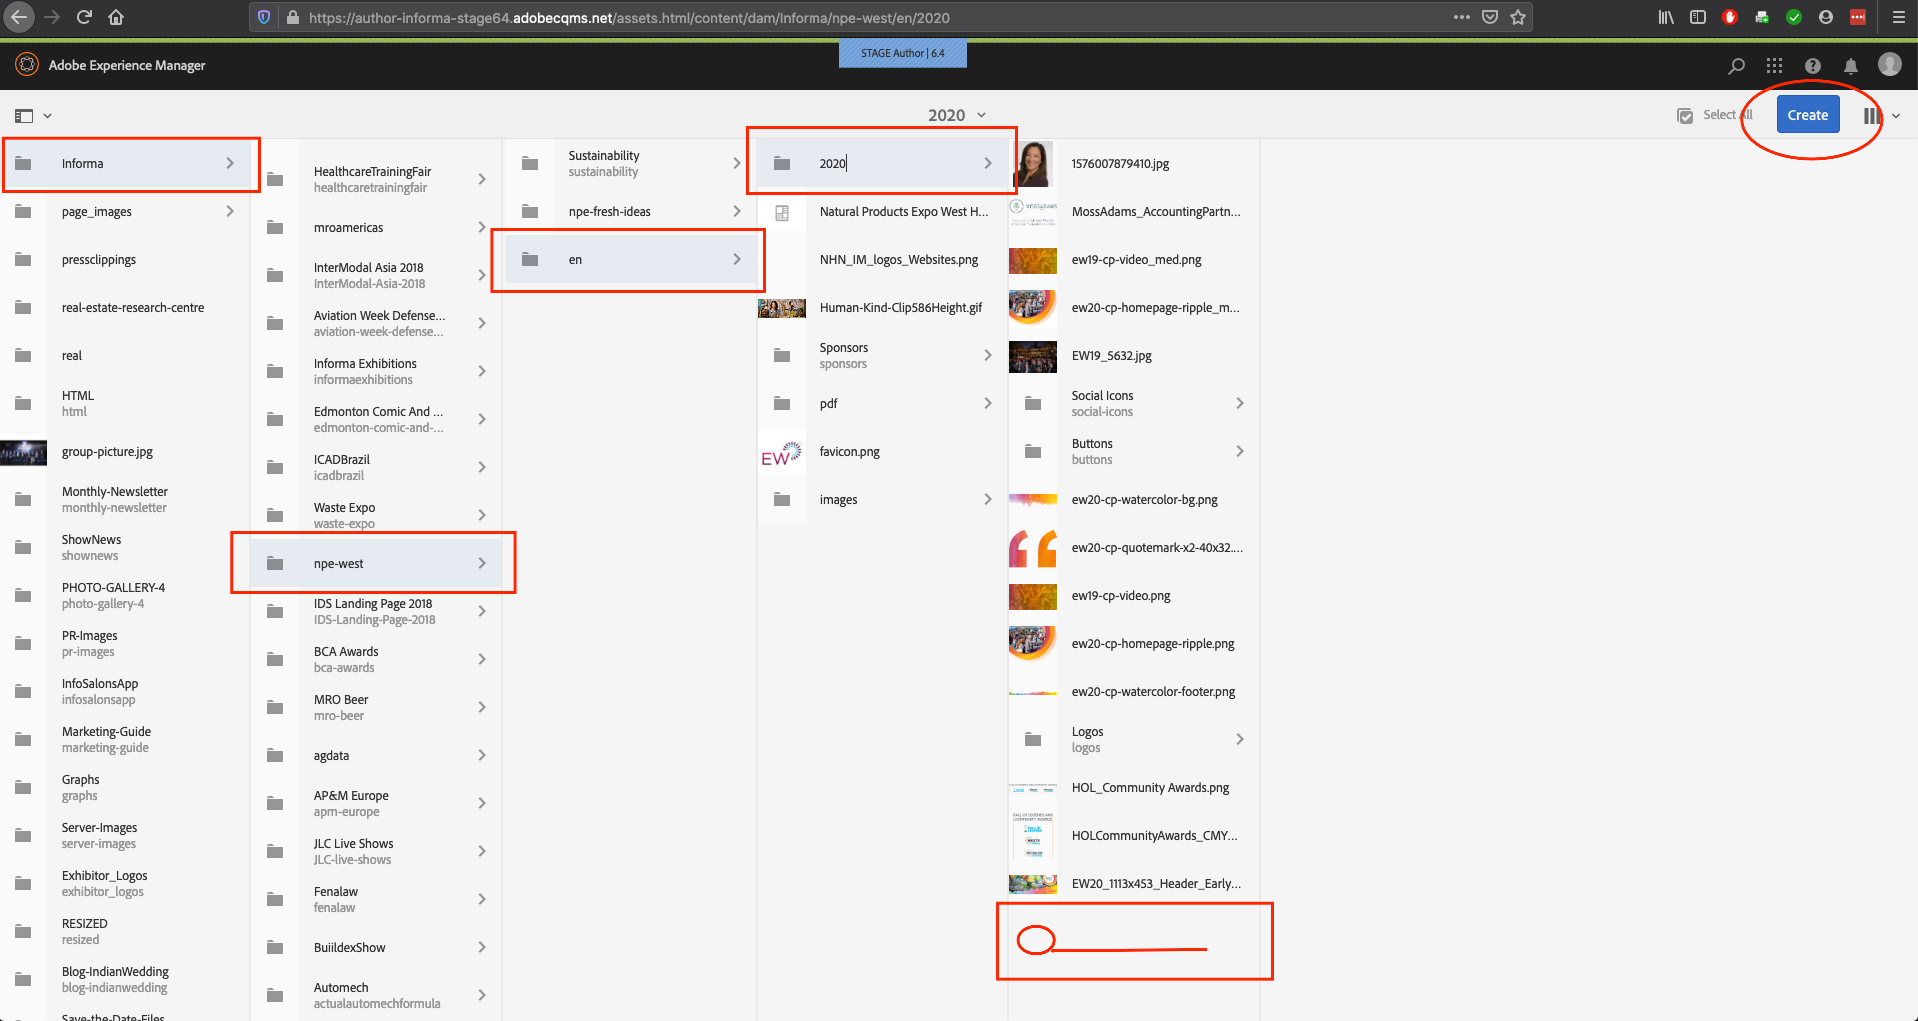
The Informa Markets sites resources are all located under the “Informa” folder so click that
Views
Be aware that DAM, similar to sites in AEM, have Views options. 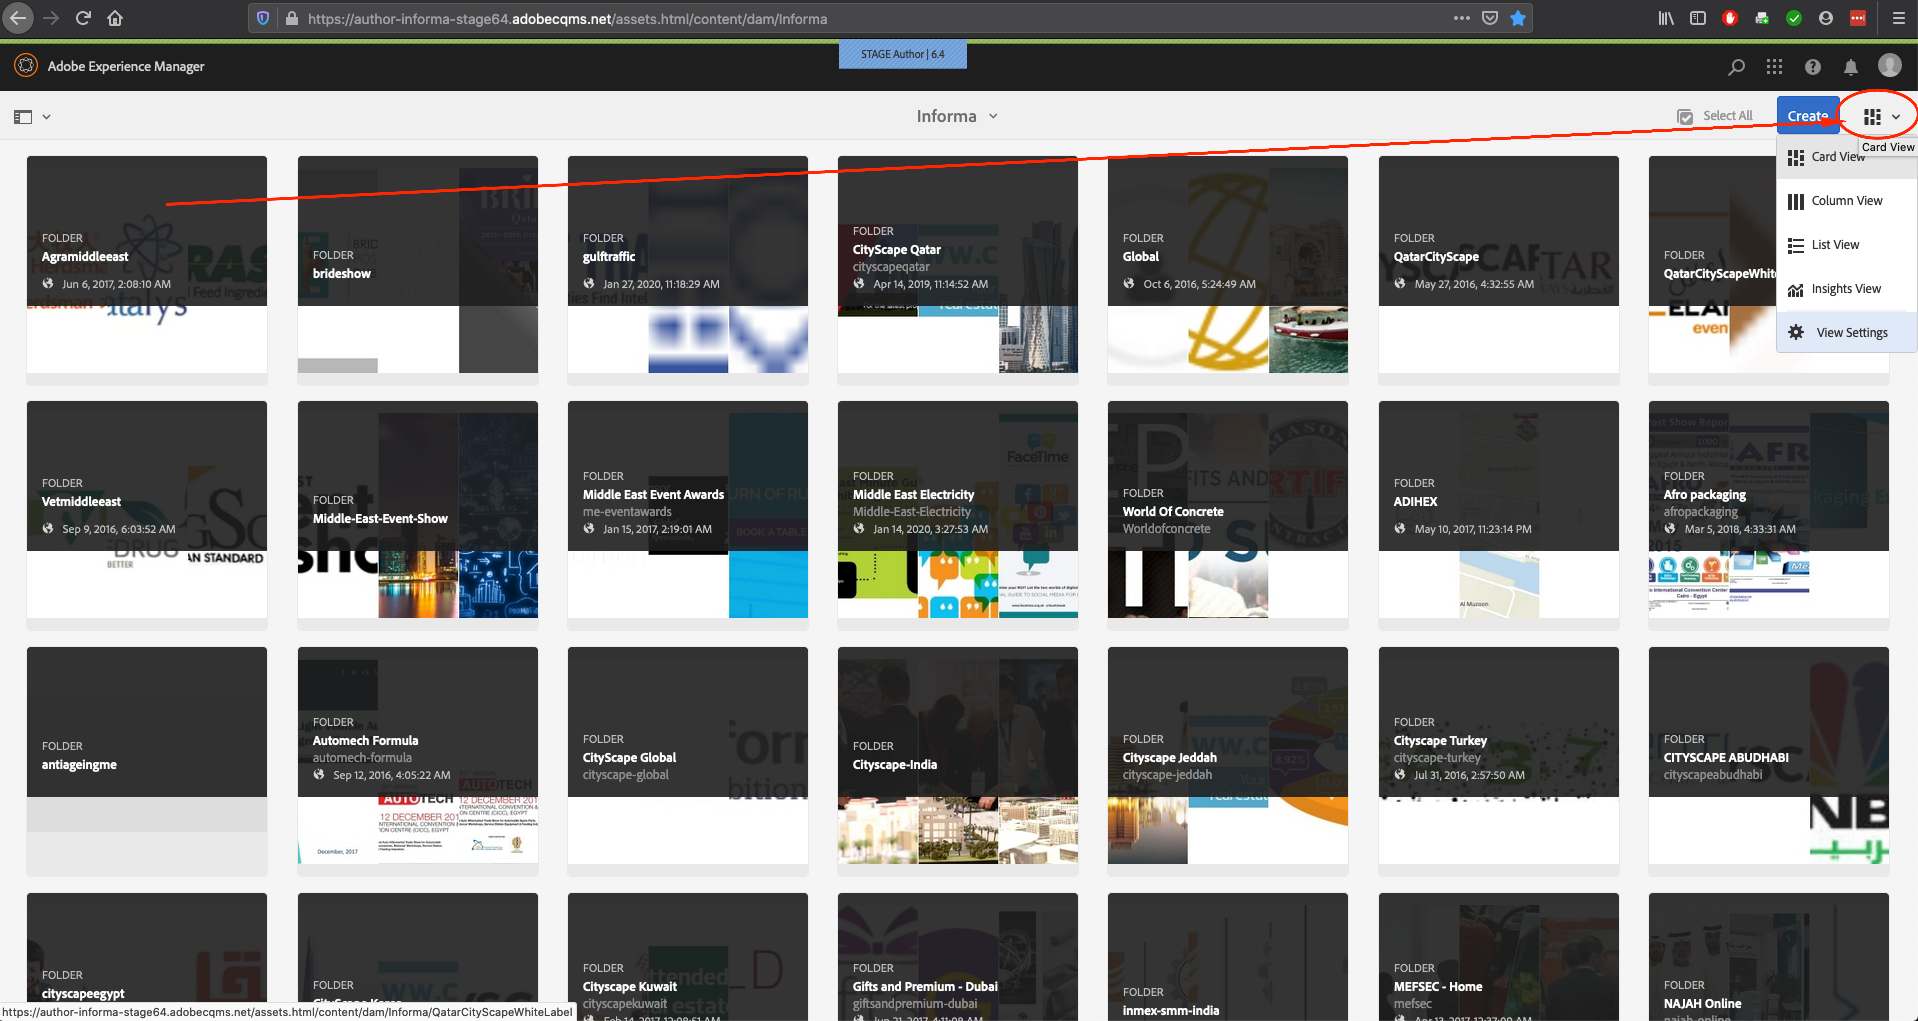
Each view offers different features so please be aware and choose whichever for your needs and preference:
Card View:

Column View:
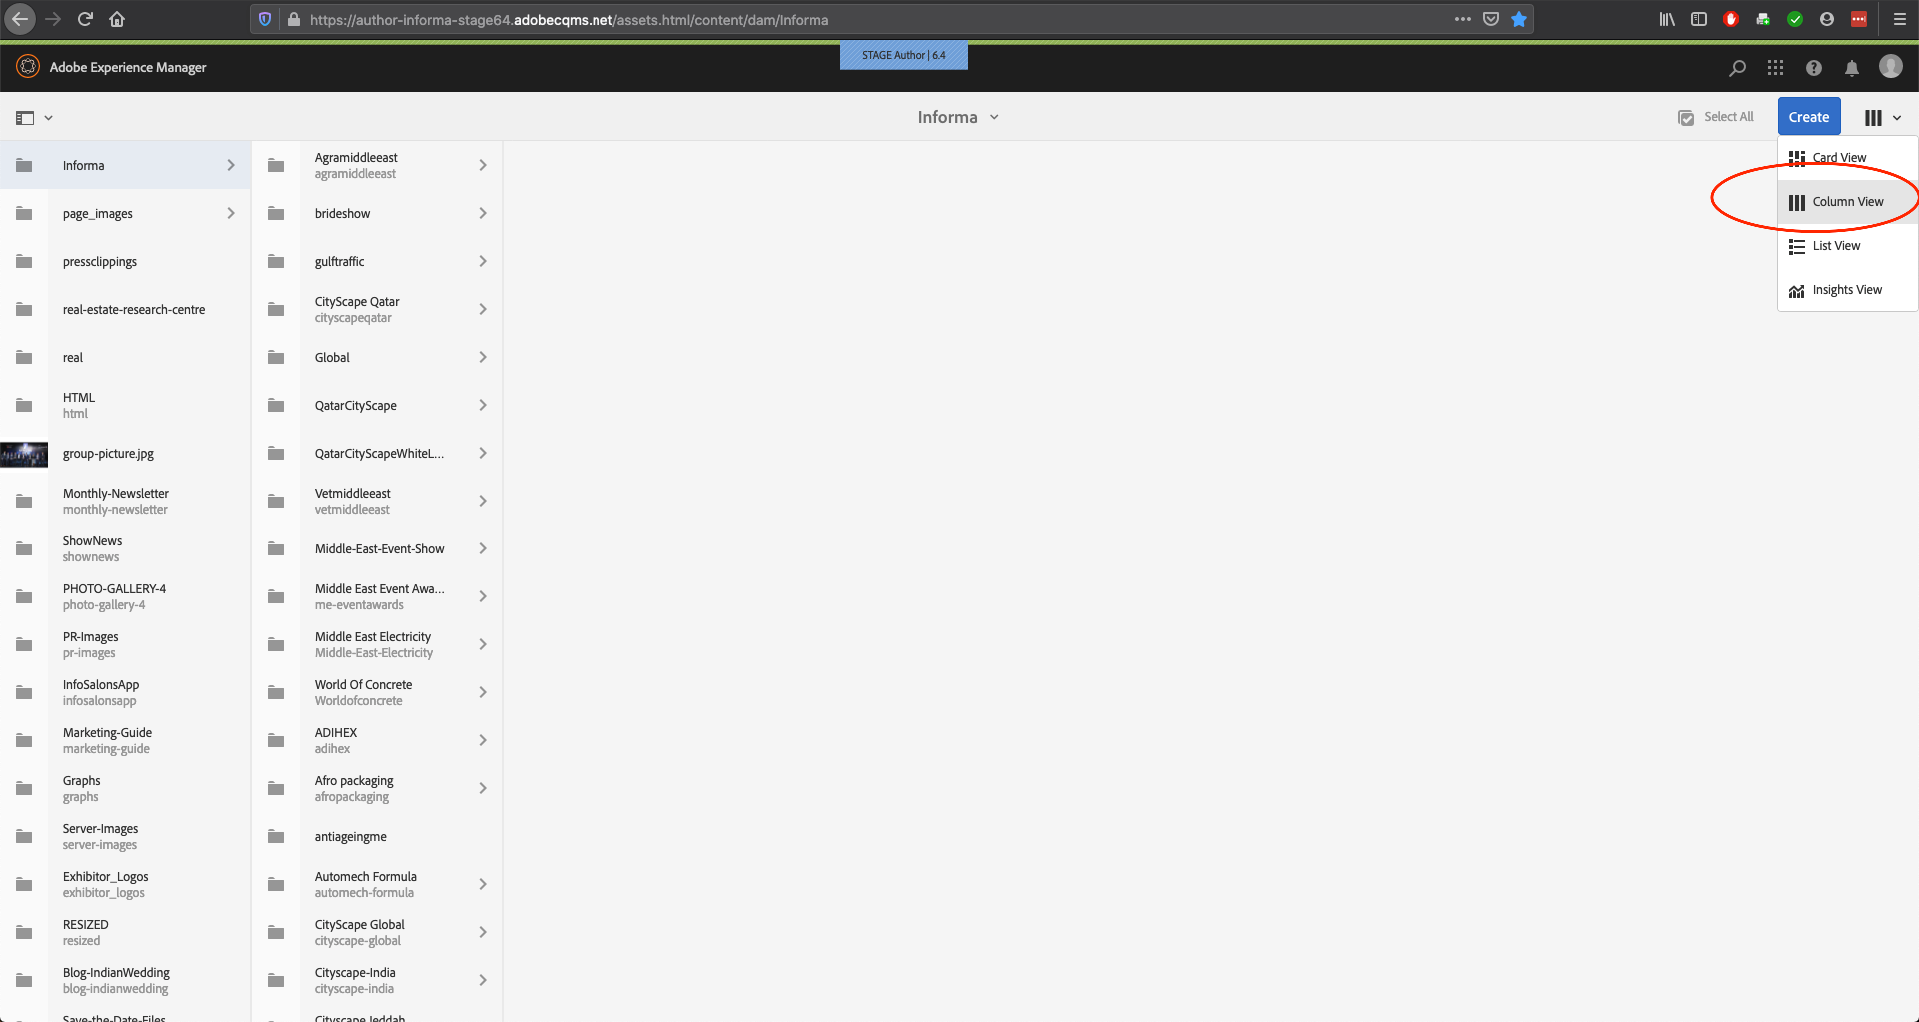
List View:
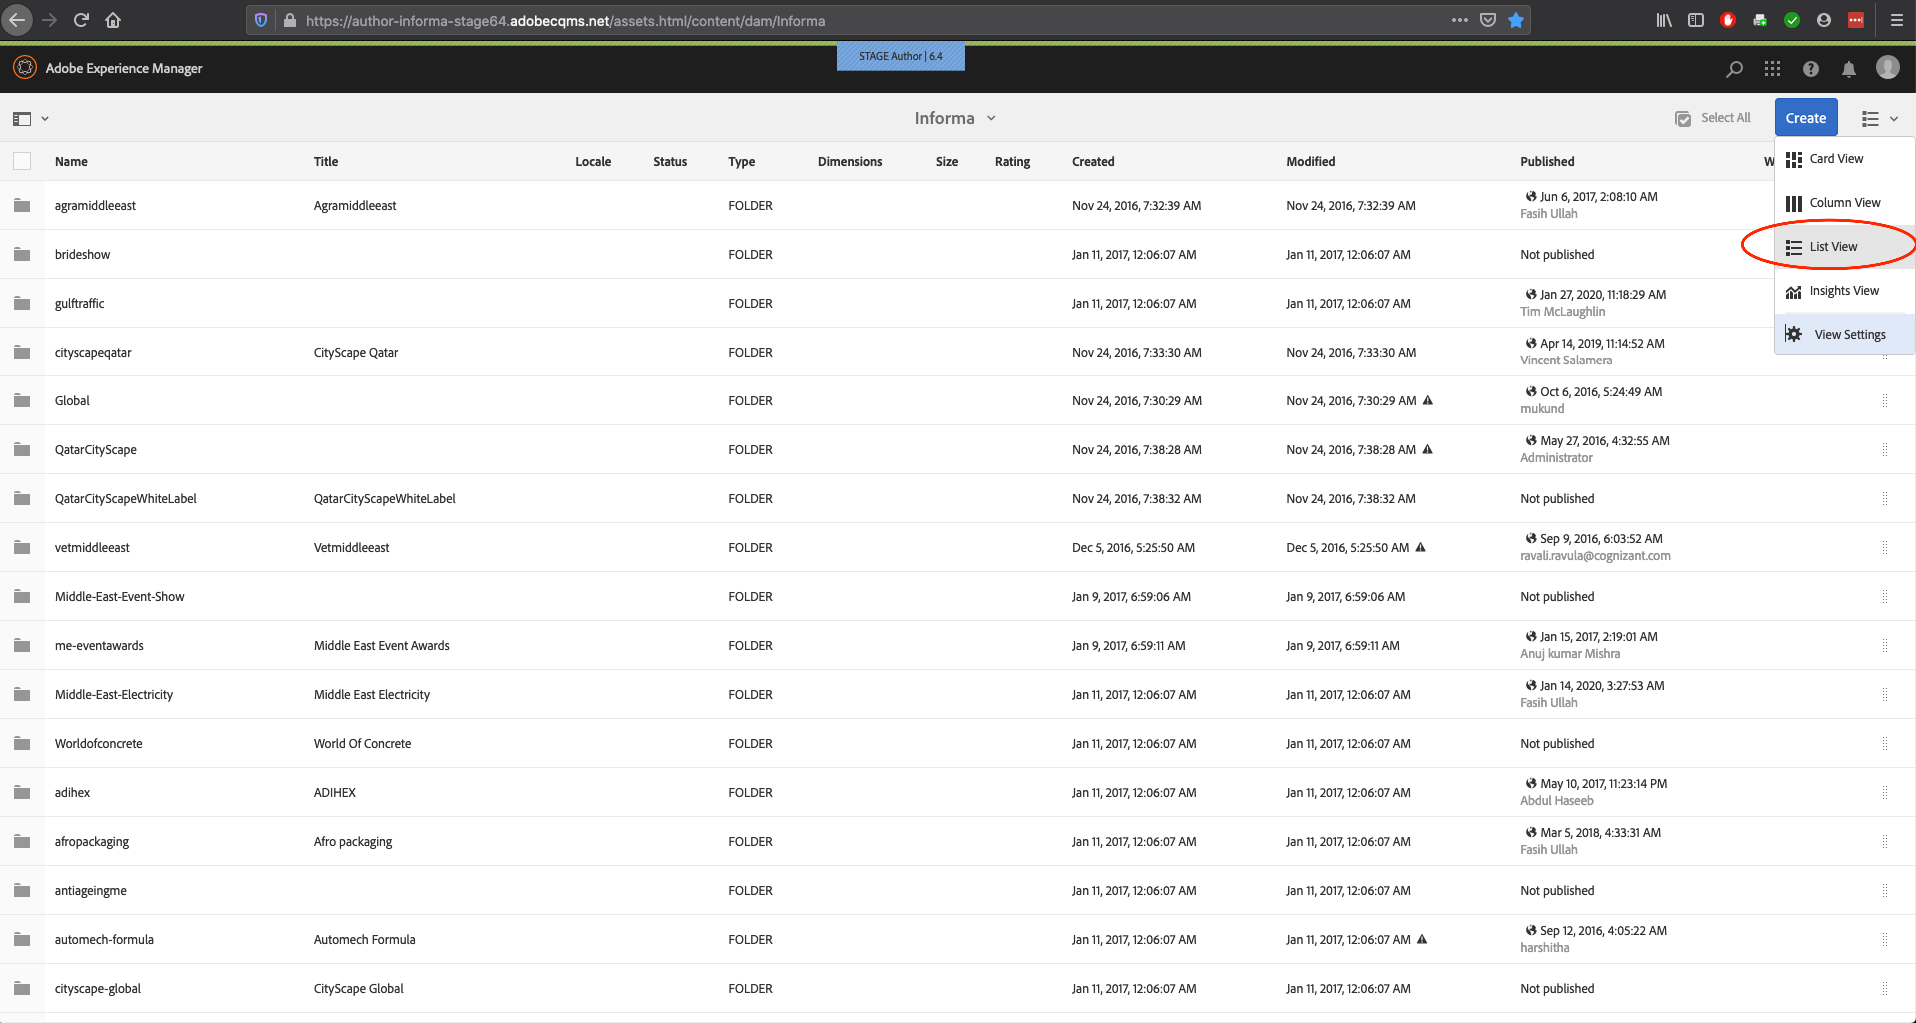
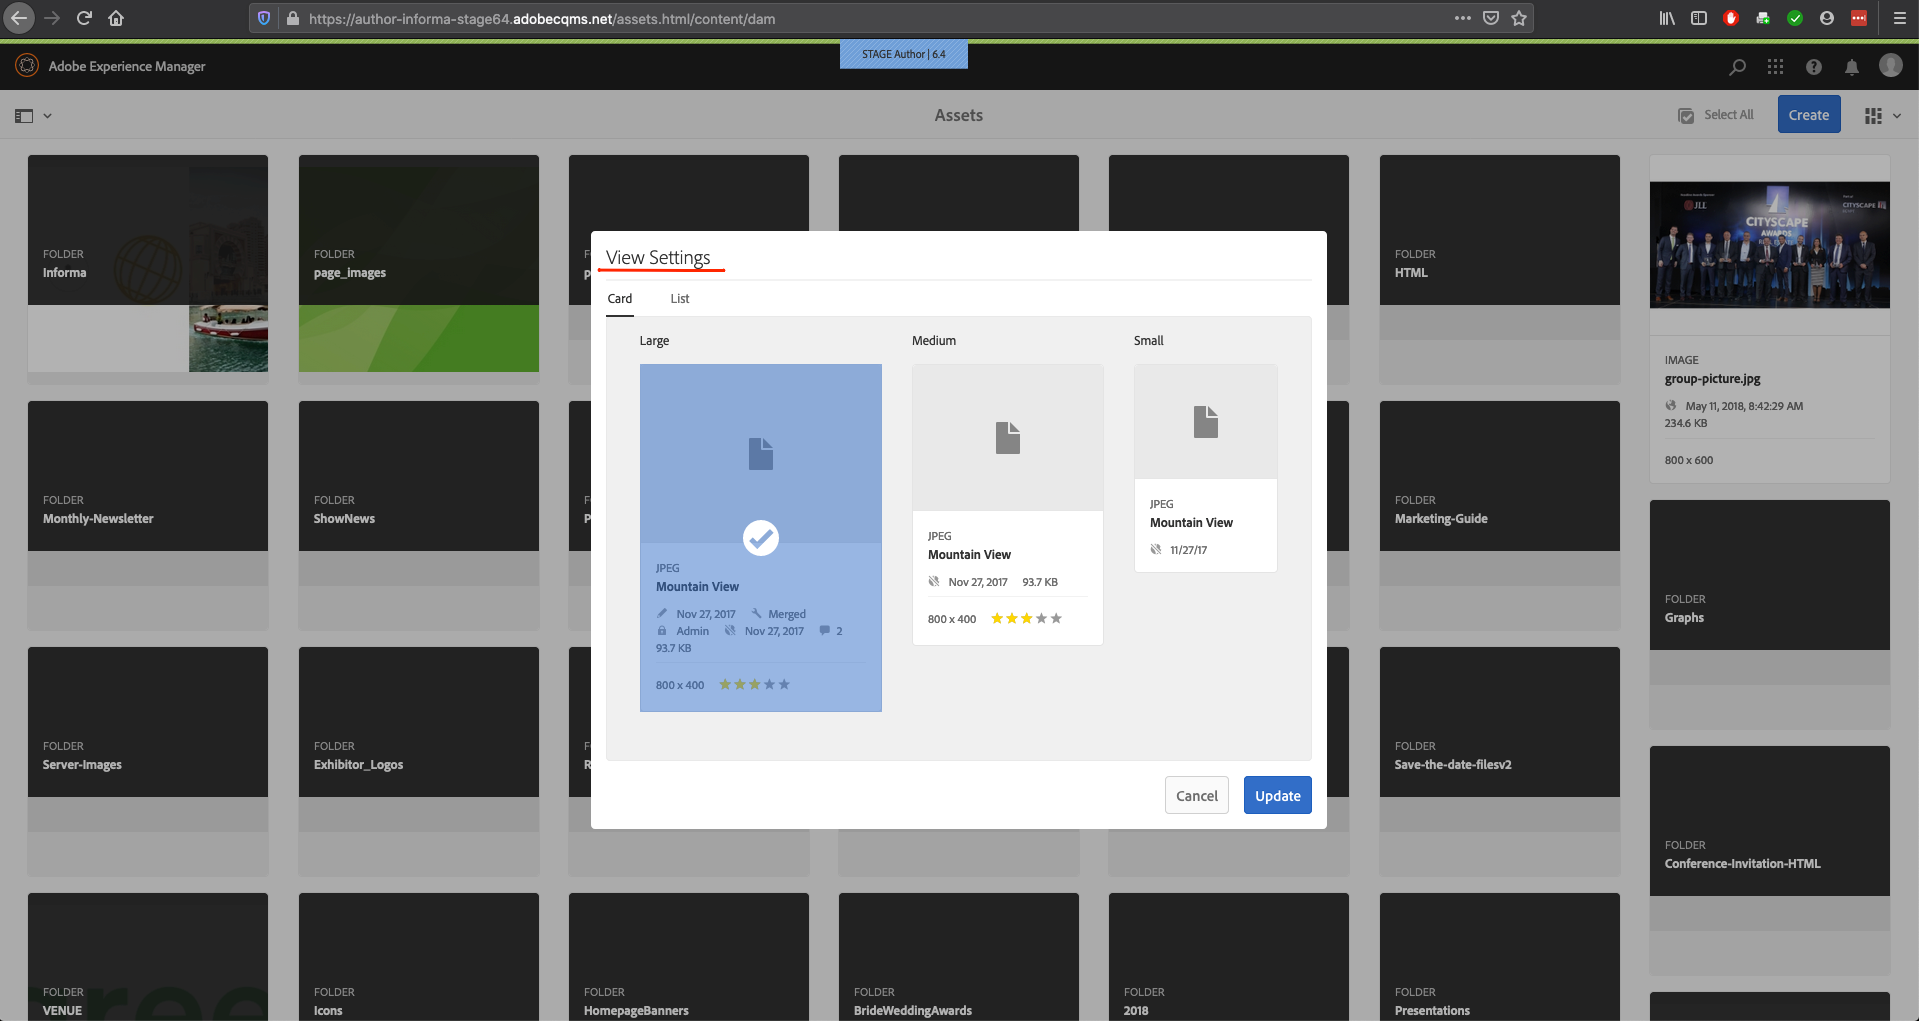
View Settings: (to customize your view size and metadata)
Use Folders
You can create a folder to store your creative Assets (files and images) for use when authoring a page on any AEM site. Once the folder is created, you can upload Assets to this folder to house and locate all your assets for a particular site.
For organization and best practices, group all images logically - this is best done through folders. Some good examples are by “year”, “associated page”, “concept type - ie: speakers” or whatever is clear to your team. Consistency is highly recommended.
Create a Folder
From the Assets location list, click the Asset area where the folder you want to create will be created and click the Create icon at the upper-right corner of the page
The Create list is displayed
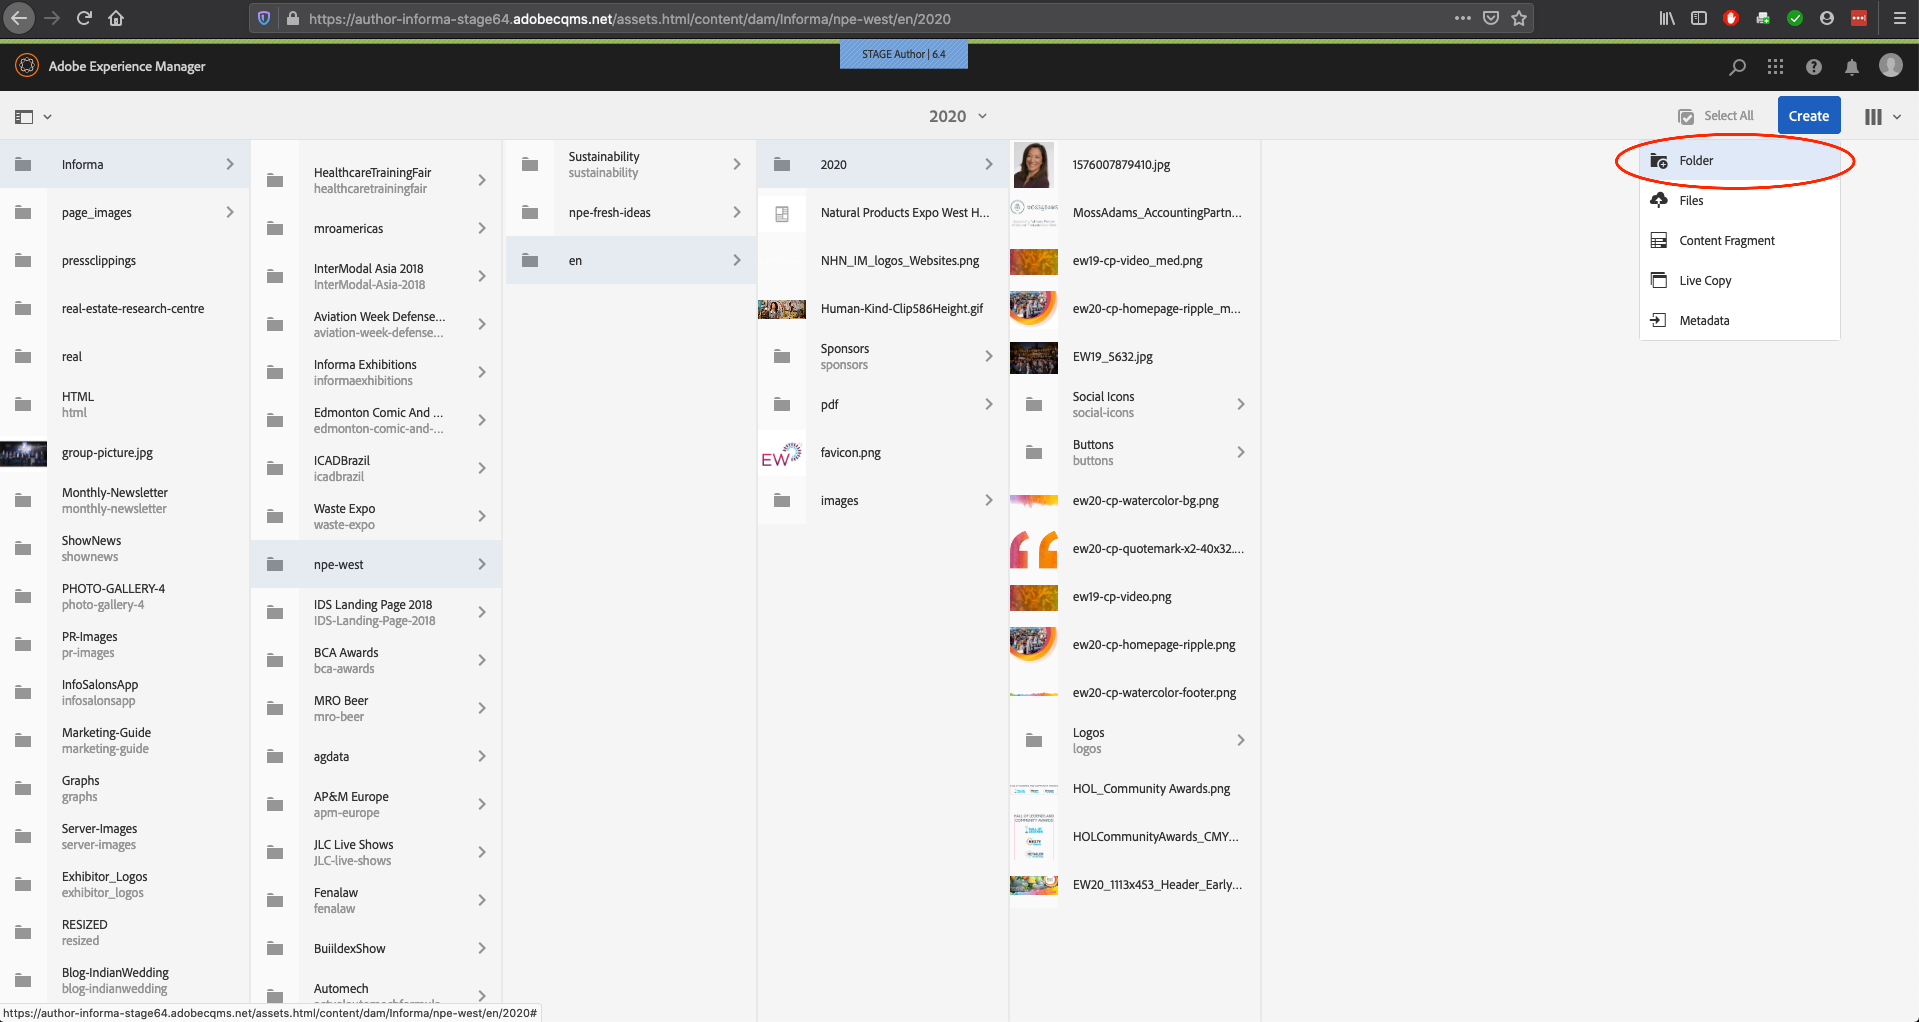
Click Folder and the Add Folder page is displayed.
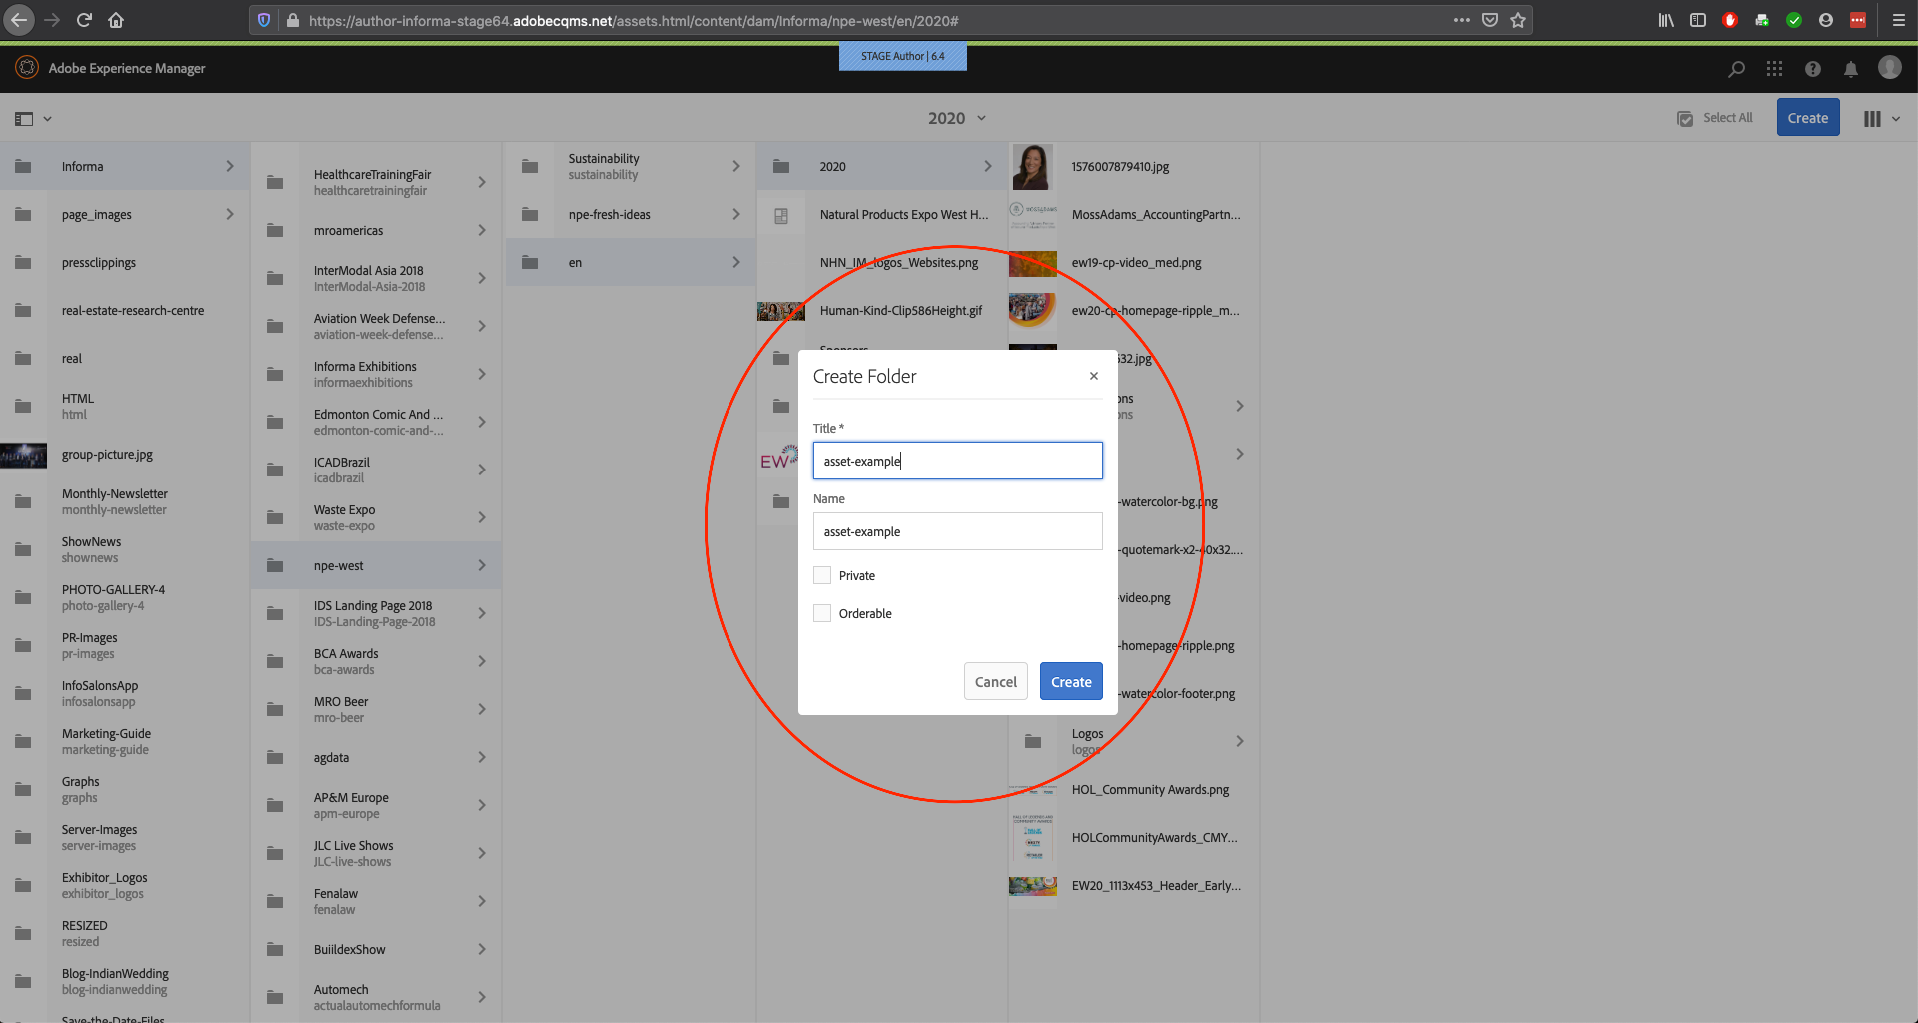
Remember good naming practices and enter the following information:
- Title: Type a title for your folder
- Name: Type a name for your folder
- Private: Select this check box if you want to make your folder private
- Reorderable in List View: Select this check box if you want to reorder the items in the list view (typically it’s good to check this box)
Click Create and your folder is successfully created
Assets to Folder
You can upload and store one or multiple creative Assets (files, images, etc.) in a specific folder. Uploading an Asset to the specific folder can be done in either of the following two ways:
- Using Upload Assets
- Using Drag-and-Drop Operation
To Upload an Asset to a Folder
From the Assets location list, click the Asset folder and then click the Create icon at the upper-right corner of the page. The Create list is displayed
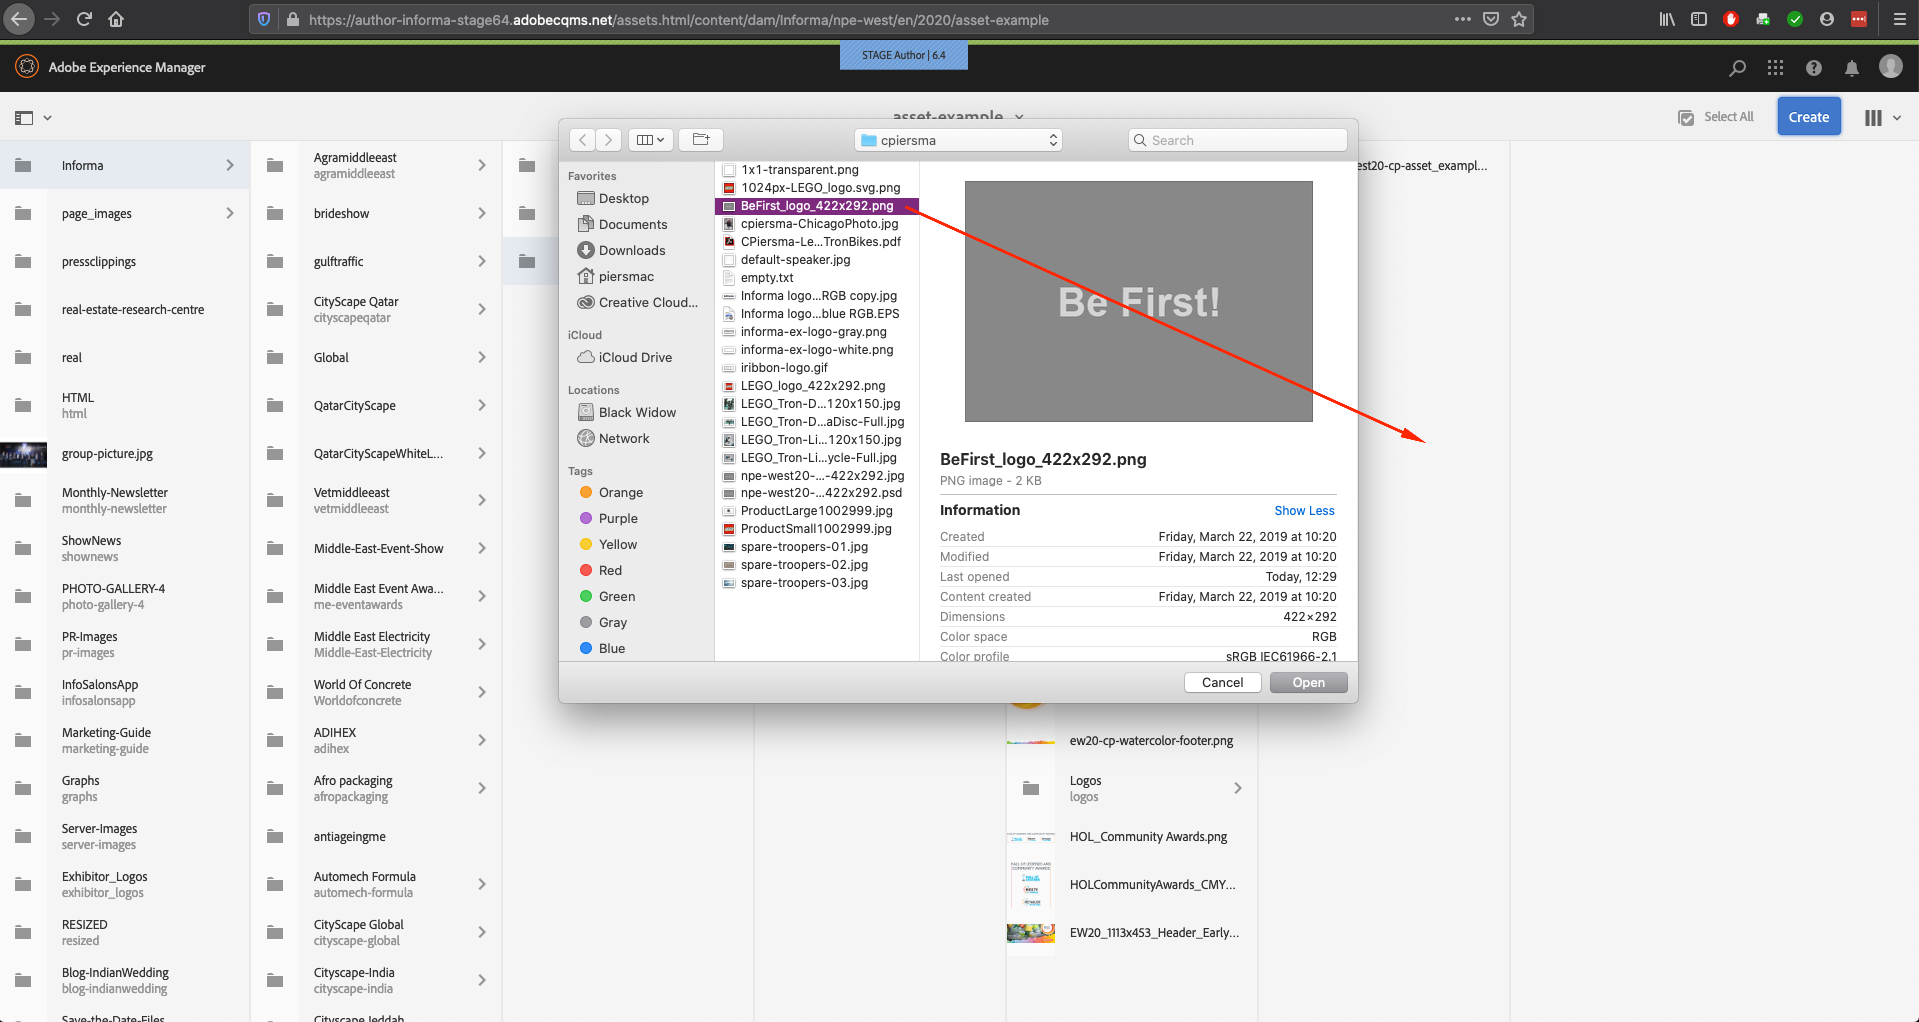
Click on “Files” and navigate to the Asset(s) (located in your local hard drive) and then click Open (hold down the shift key to select multiple items). The Upload page is displayed with the name of the selected Asset(s) in the Selected Items box
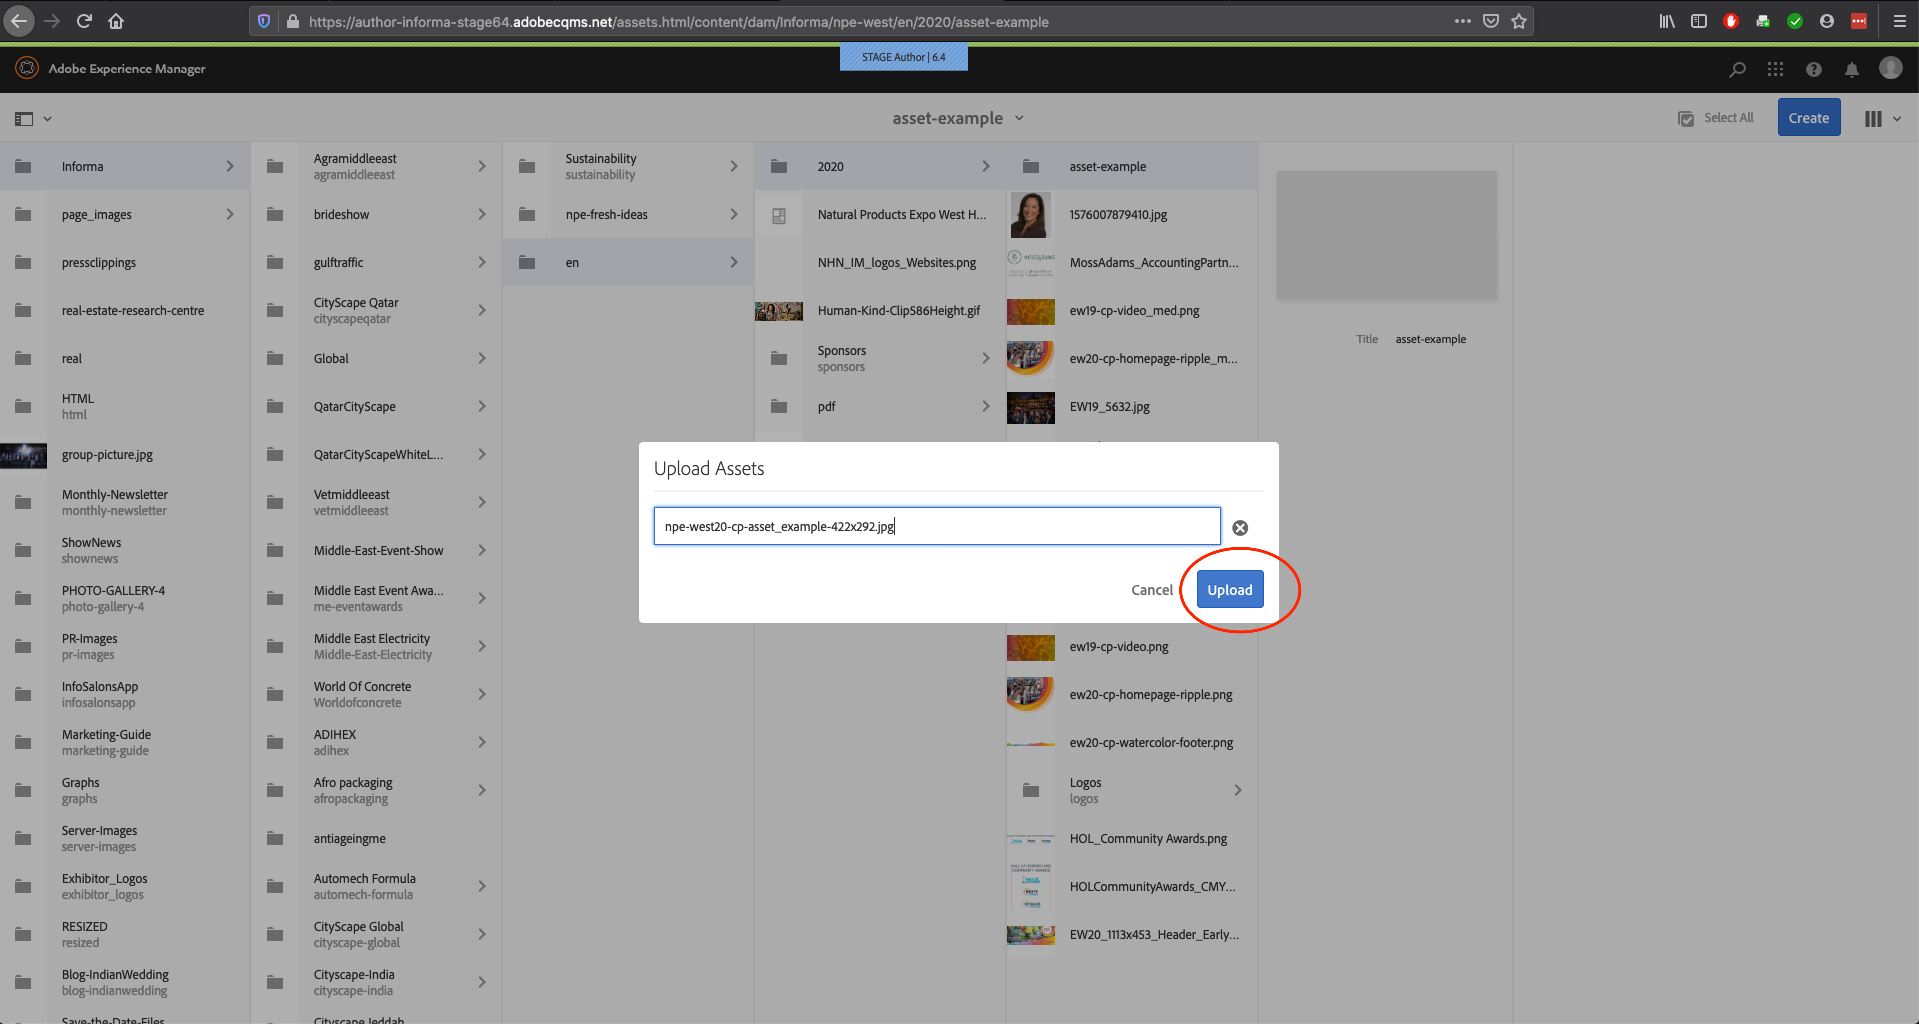
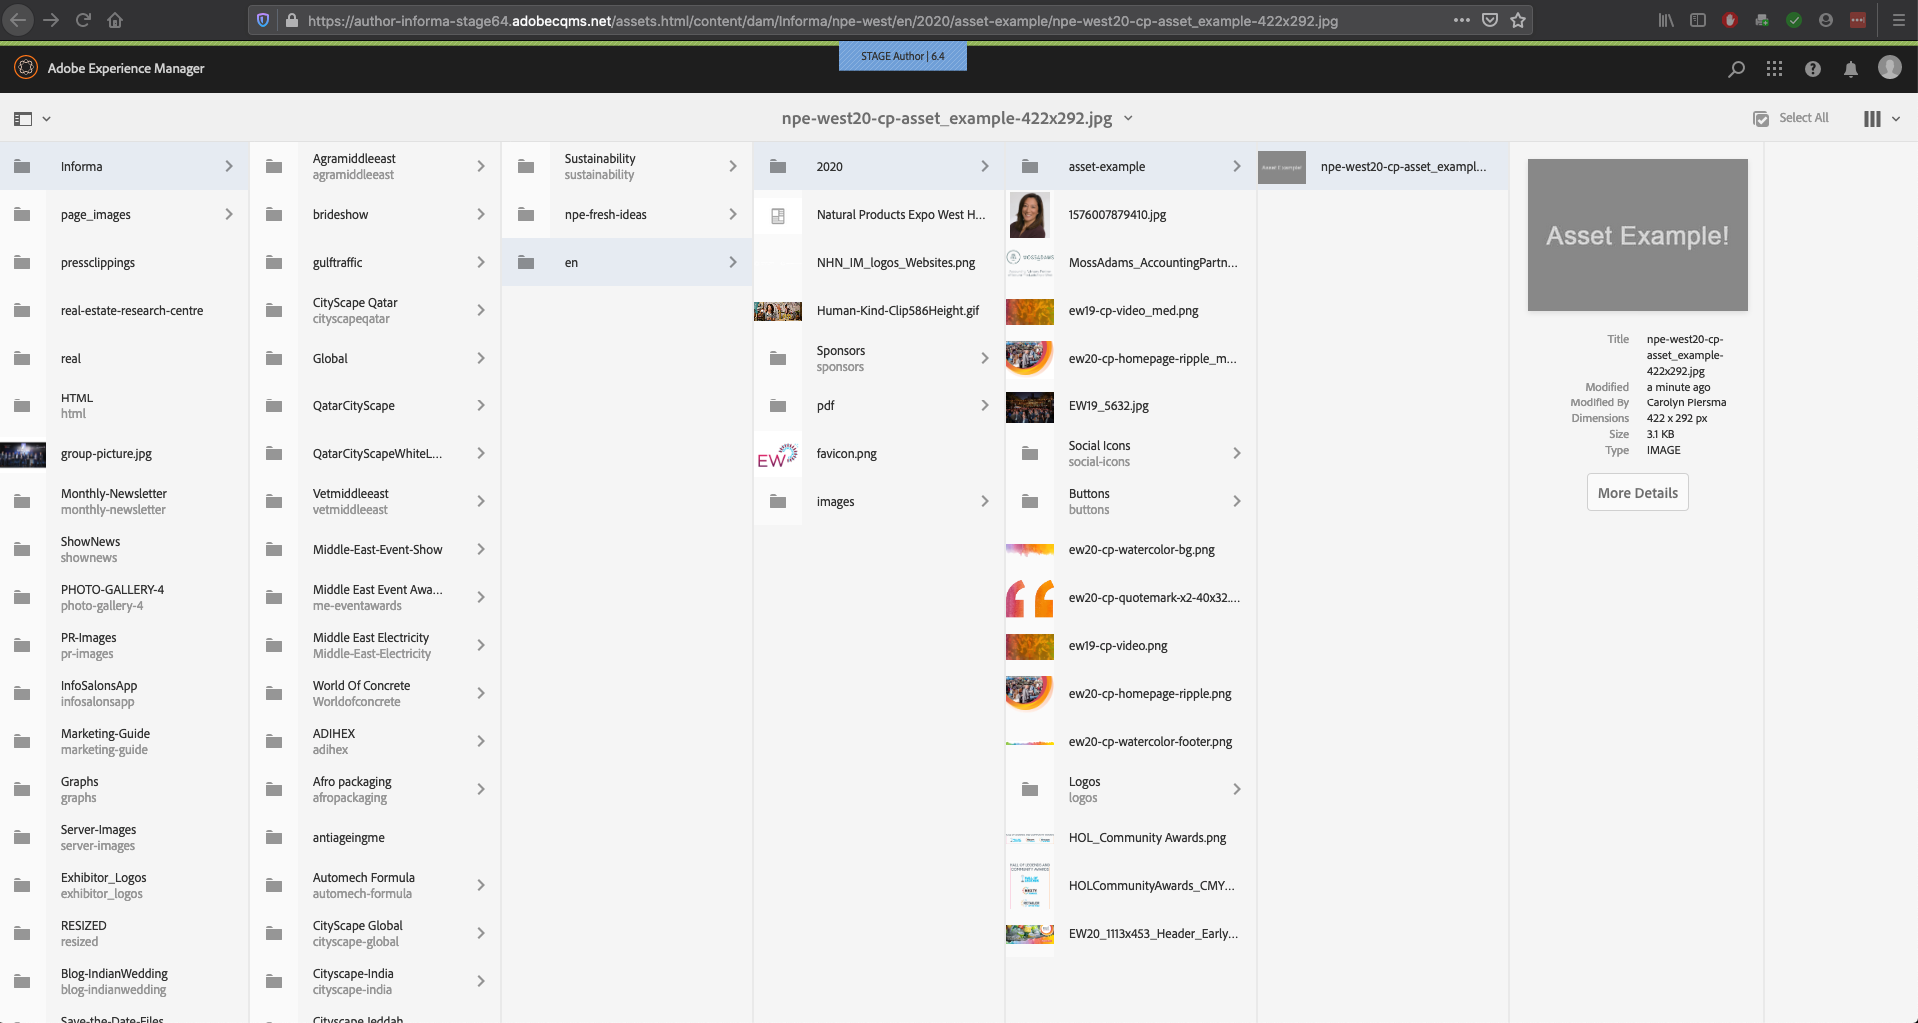
Click to Upload. The page should refresh and the Asset will now be uploaded successfully and is displayed in the Assets page
To Upload using Drag-and-drop
From the Assets location list, click the Asset folder and then click the Create icon at the upper-right corner of the page. The Create list is displayed

Click on “Files” and navigate to the Asset (located in your local hard drive) and then navigate to the Asset(s) (located in your local hard drive) where you want to upload the Asset(s) and then, (hold down the shift key to select multiple items) drag-and-drop the required Asset(s) to the folder
The Asset should now be added successfully
Publishing an Asset
After creating an Asset, you can use it to author a web page in AEM. To do this, it’s first recommended that you publish the Asset. After it is published, it is displayed under the Assets sidebar options section of the website edit view in AEM sites.
Publishing can be done in the following ways:
- At an Entity level
- At a Folder level
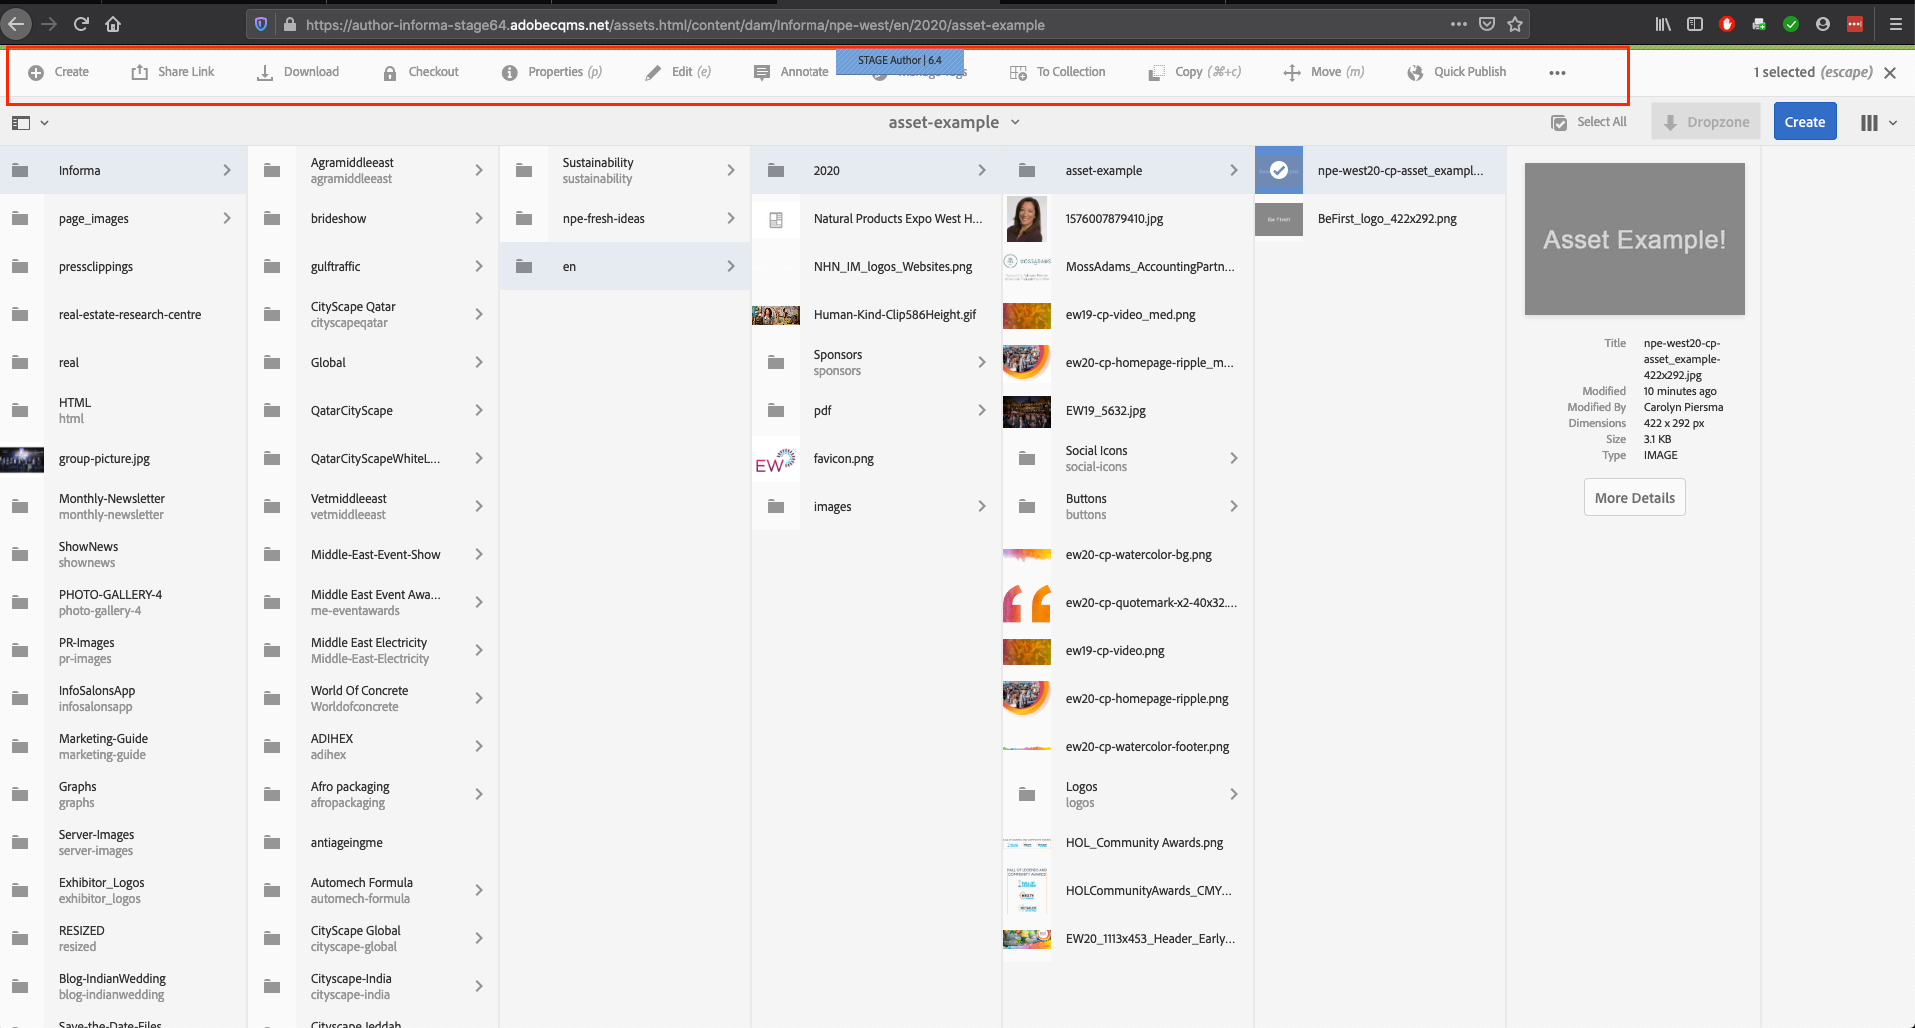
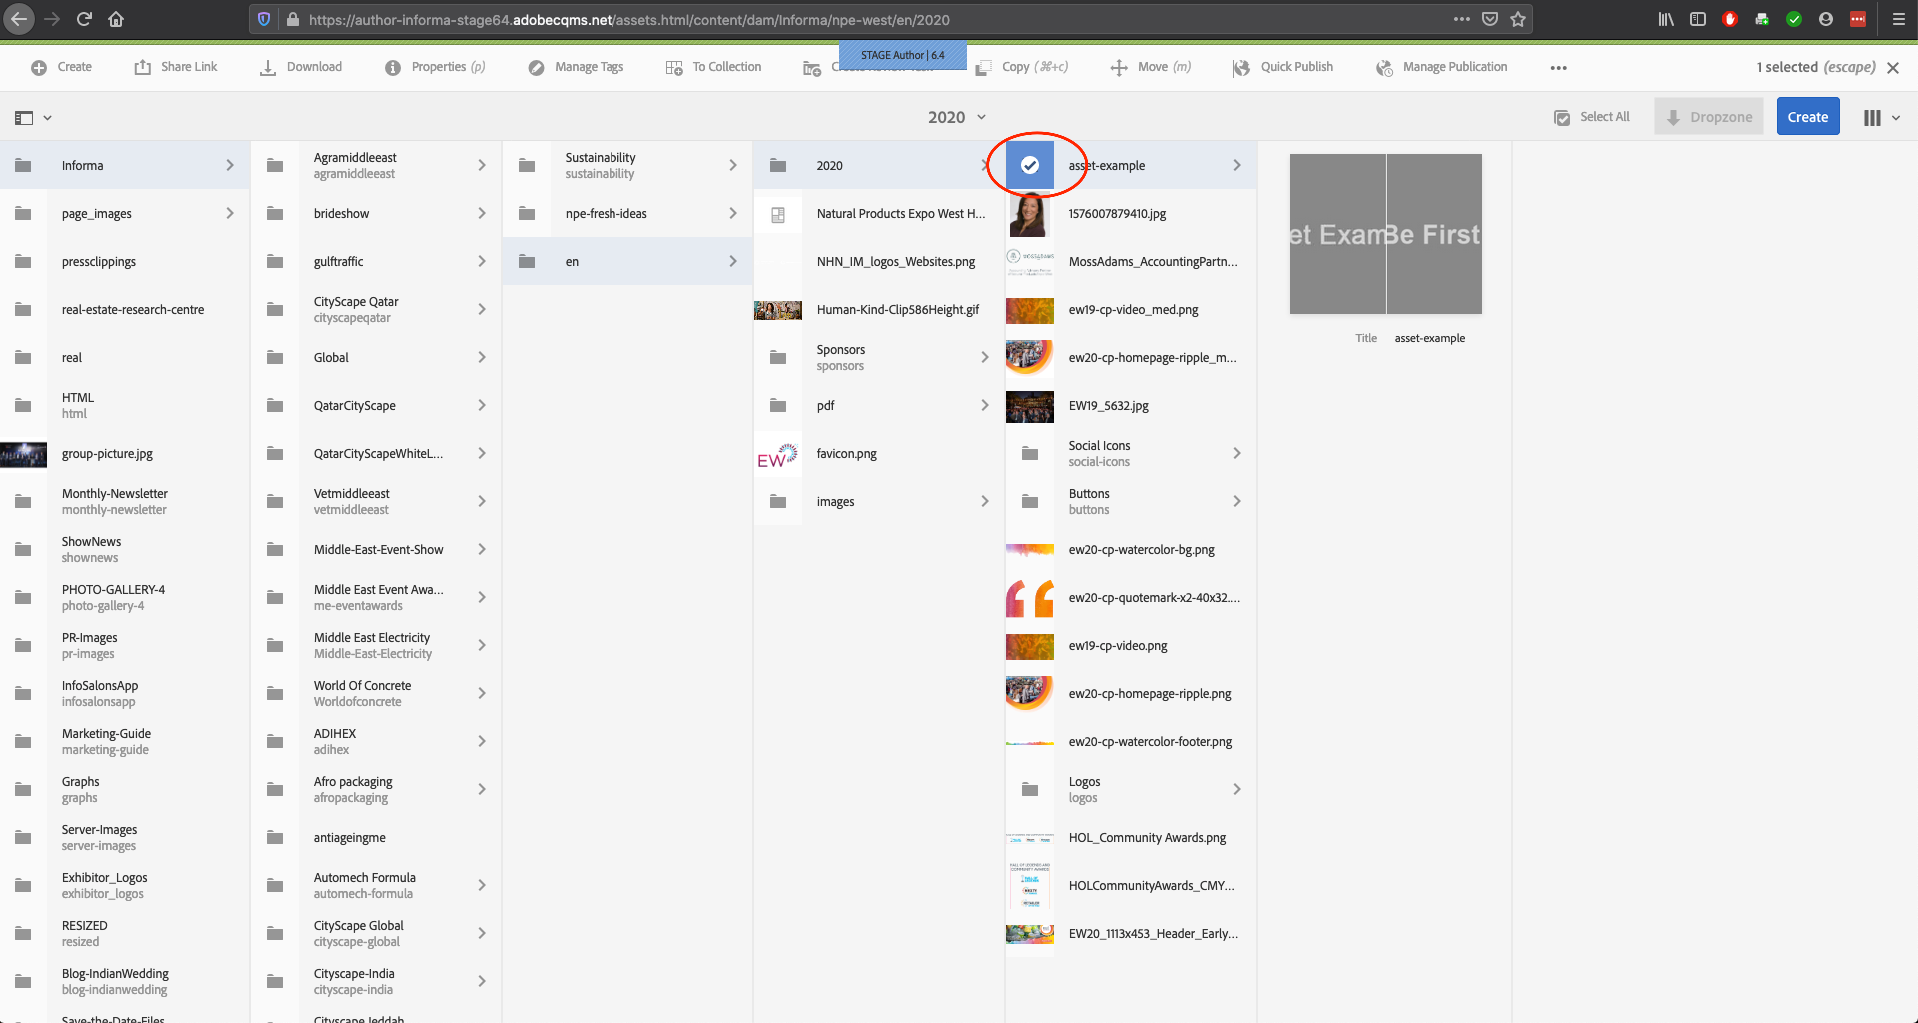
Single Asset Entity Level
From the Assets list, click the item check icon corresponding to the Asset item that you want to publish
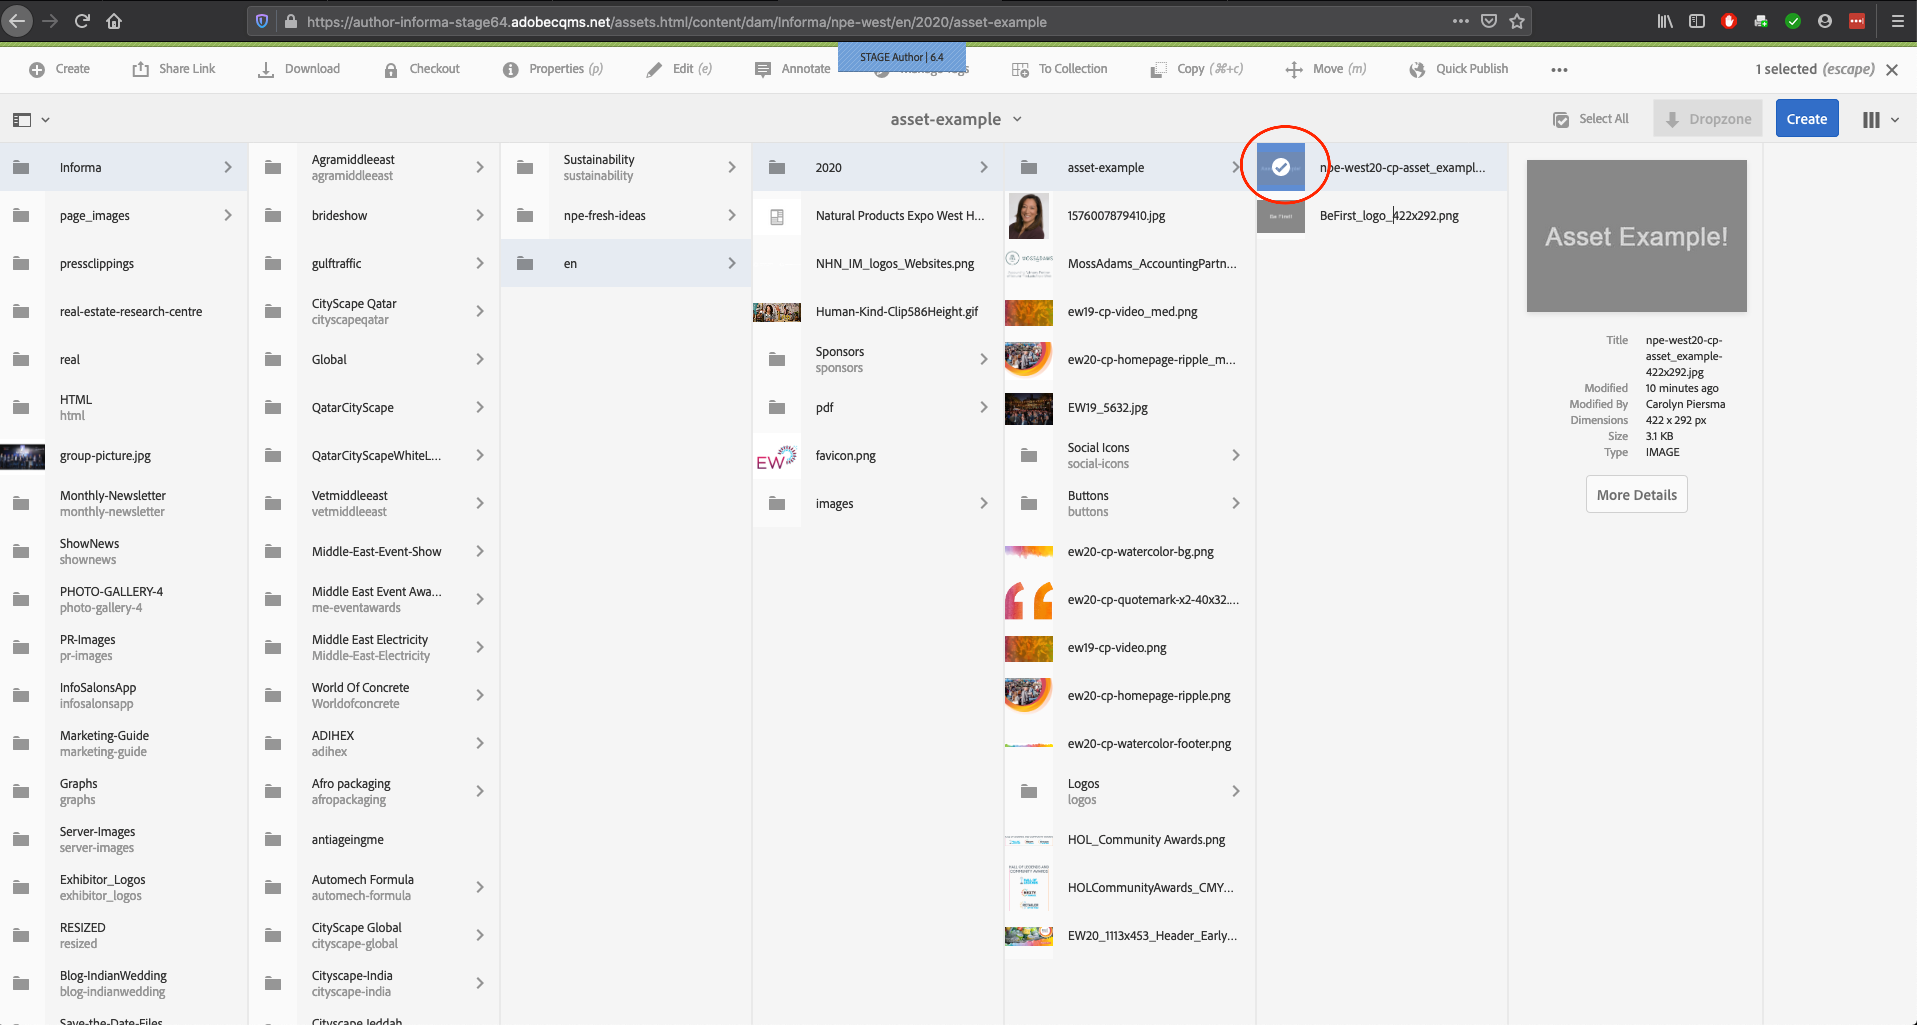
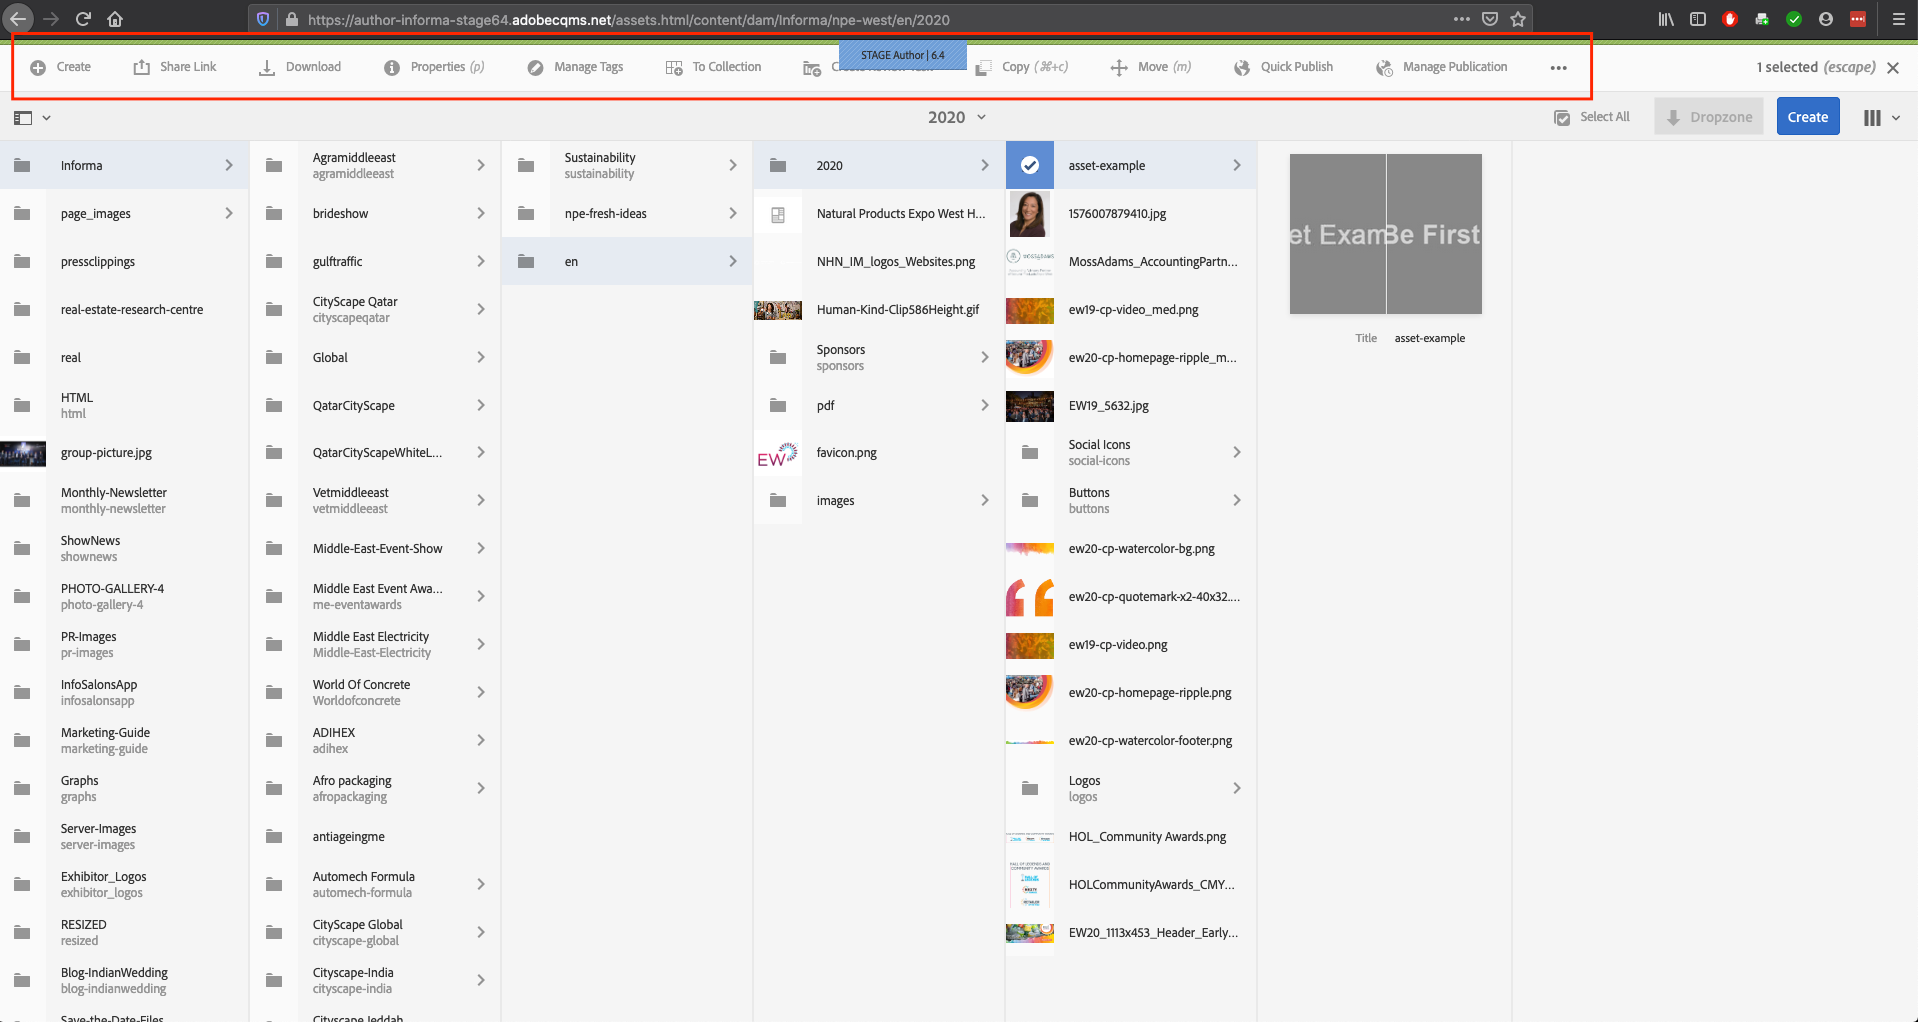
The Asset configure options menu will display
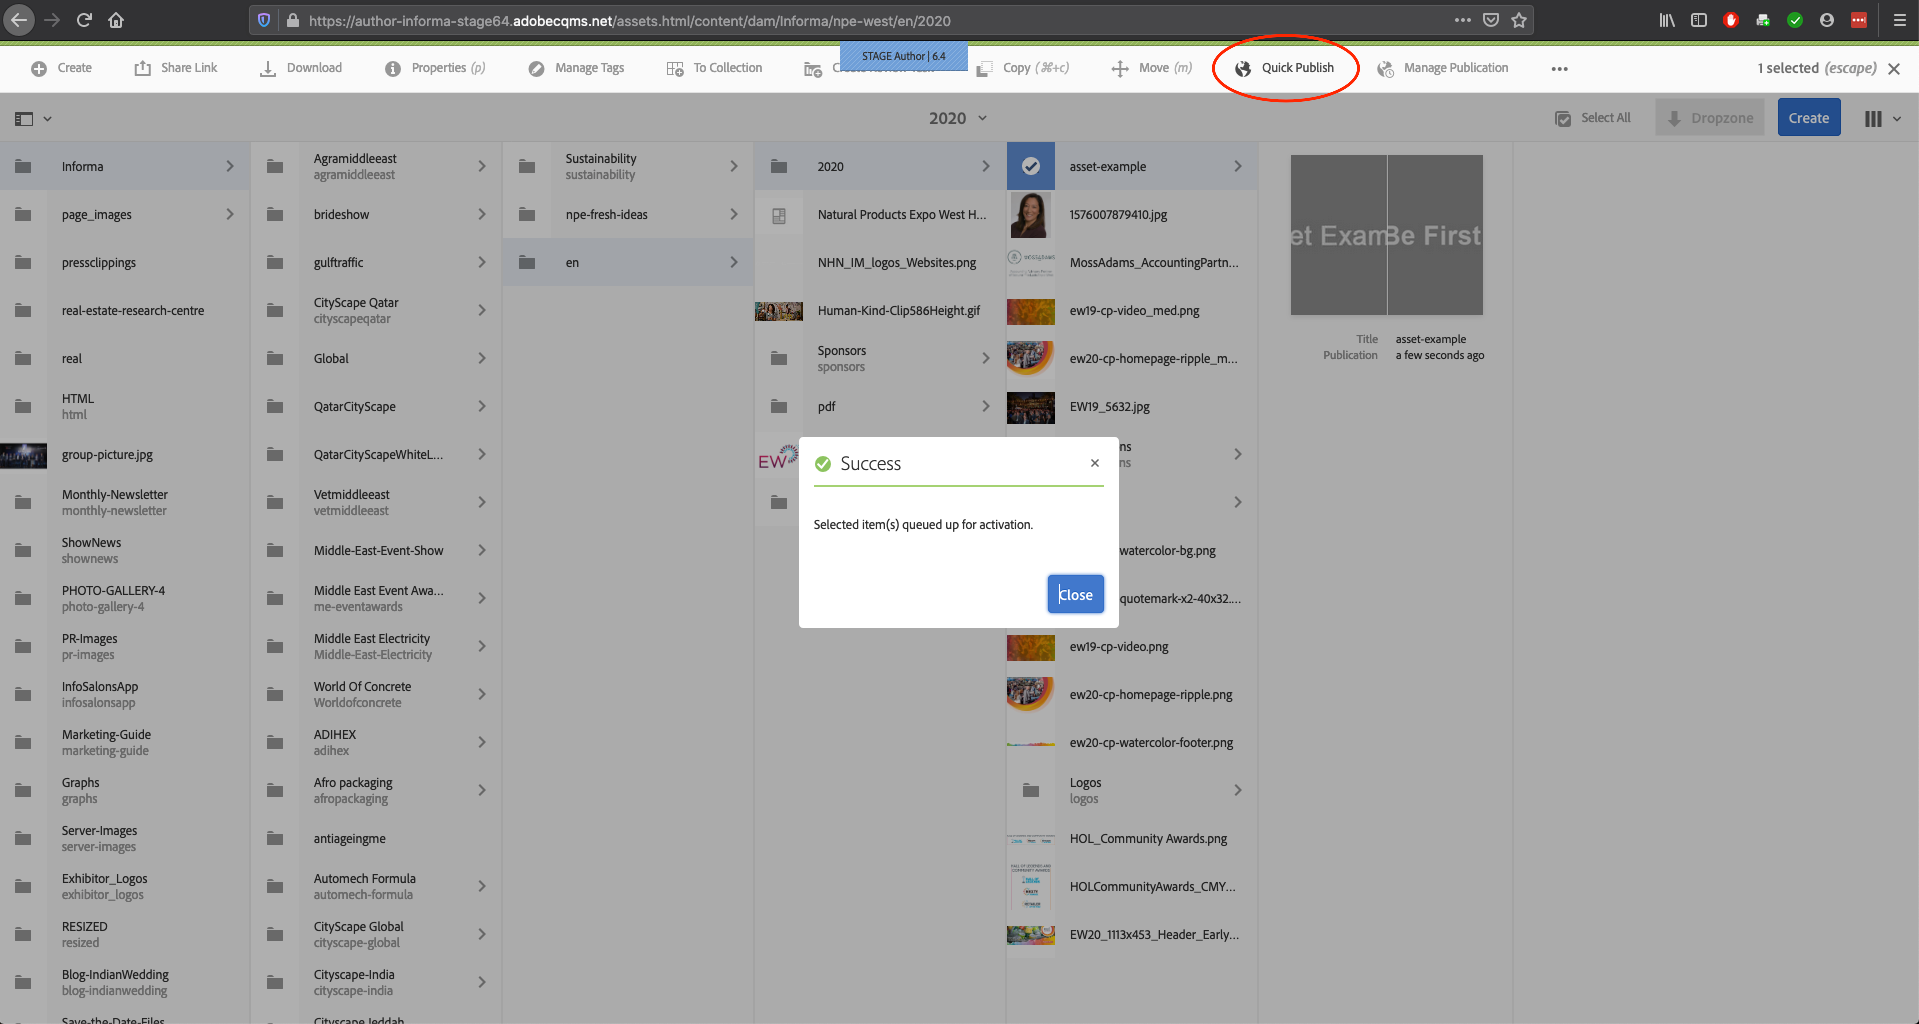
Click the Quick Publish link and the confirmation pop-up should appear and confirm the item is now published:
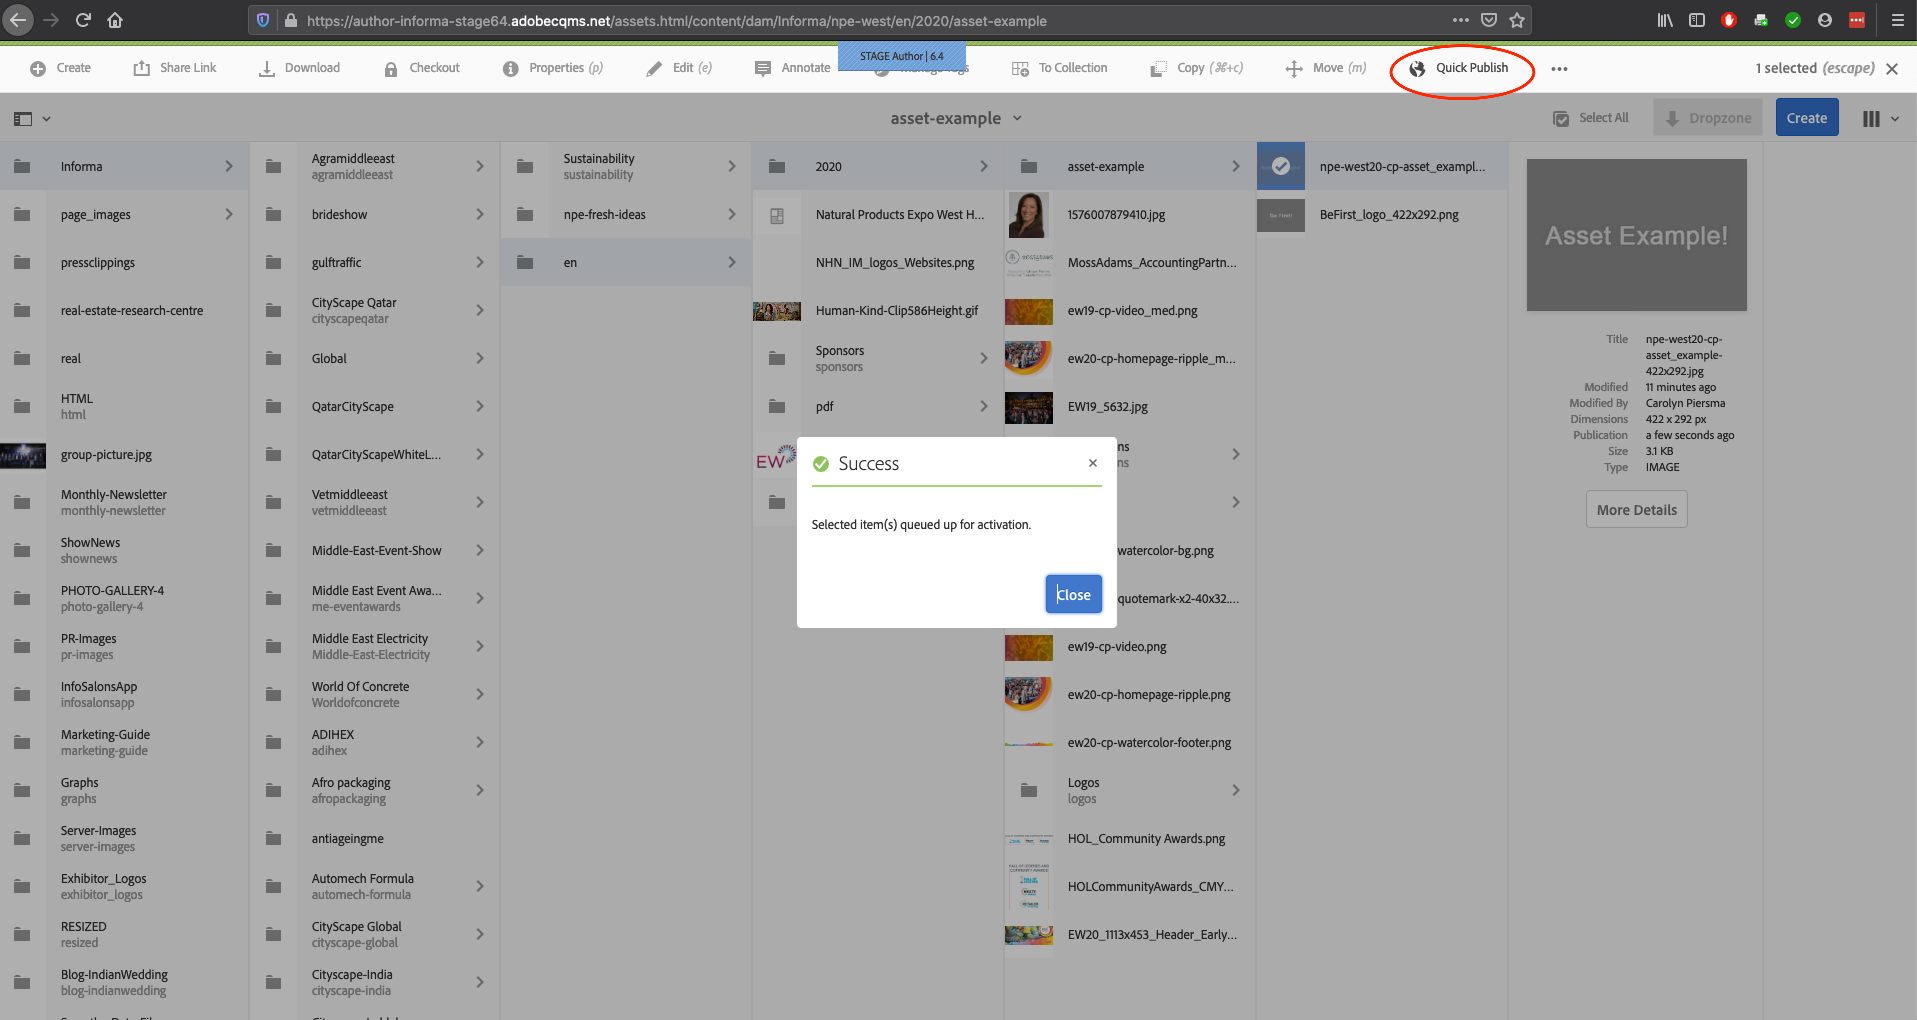
Please note that while ‘published’ means ‘live’ (now viewable online with a public URL) it does not mean it’s automatically linked on your site or is findable without a URL.
Folder Asset Level
From the Assets listed, click the Folder icon corresponding to the Asset entity that you want to publish
The Asset configure options menu will display
Click the Quick Publish link and the confirmation pop-up should confirm that the selected items are now published
Please note that this means all assets within that selected folder are now published. (Accessibility note from single asset entry still applies.)
Adding an Asset to a Component
After adding your assets as per the above, you can now go to the “Sites” side of AEM and add your Asset(s) to components to enhance your site. This would be the most direct example of AEM’s ability to create increased efficiencies across all websites. Here AEM does not require a separate source to be called to for adding assets to your site, it directly connects all assets for use across any component.
To add an asset to a component, choose either STAGE or PRODUCTION as needed.
Login to AEM and click “Adobe Experience Manager” in the black ribbon at the top of the page to open the main menu. In the menu you see two icons on the left for Navigation (compass icon) and Tools (hammer icon). Click Navigation, then click the “Sites” tile
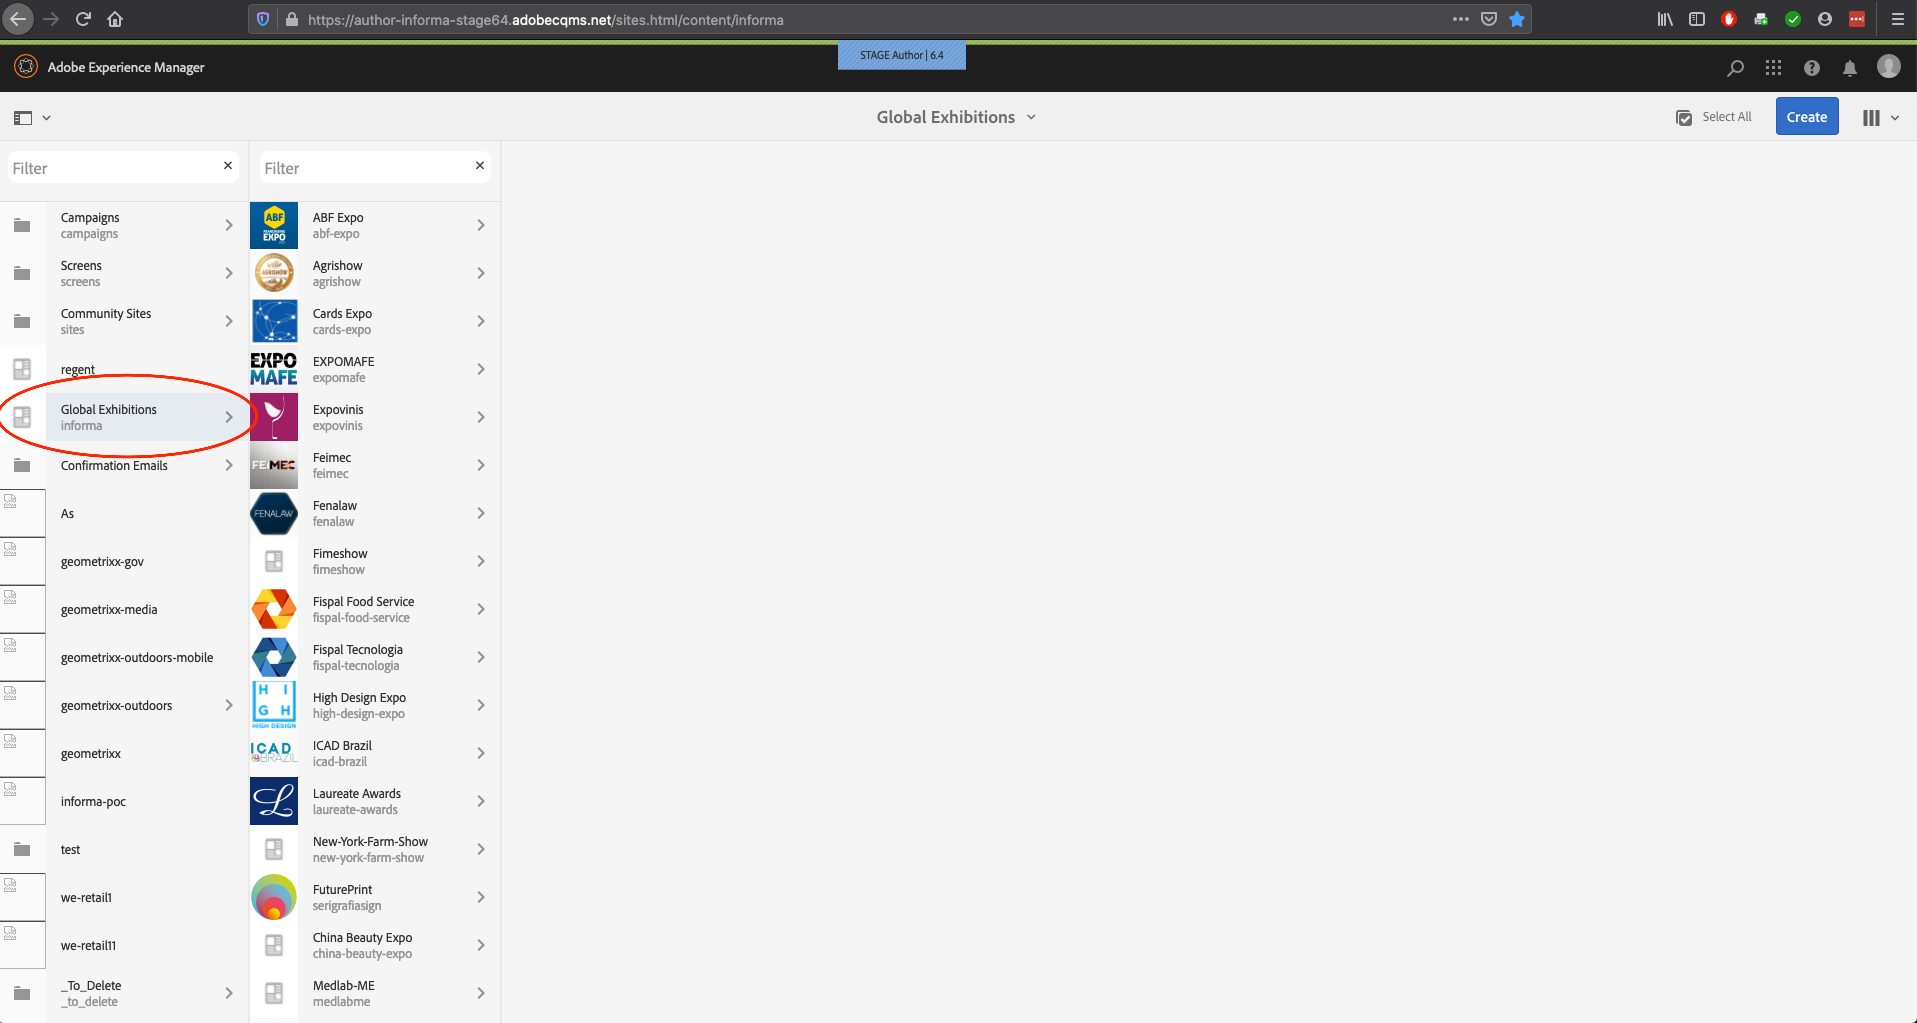
On the left, you see a list of items. Find and click “Global Exhibitions” in the list to display all Informa Global Exhibitions sites.
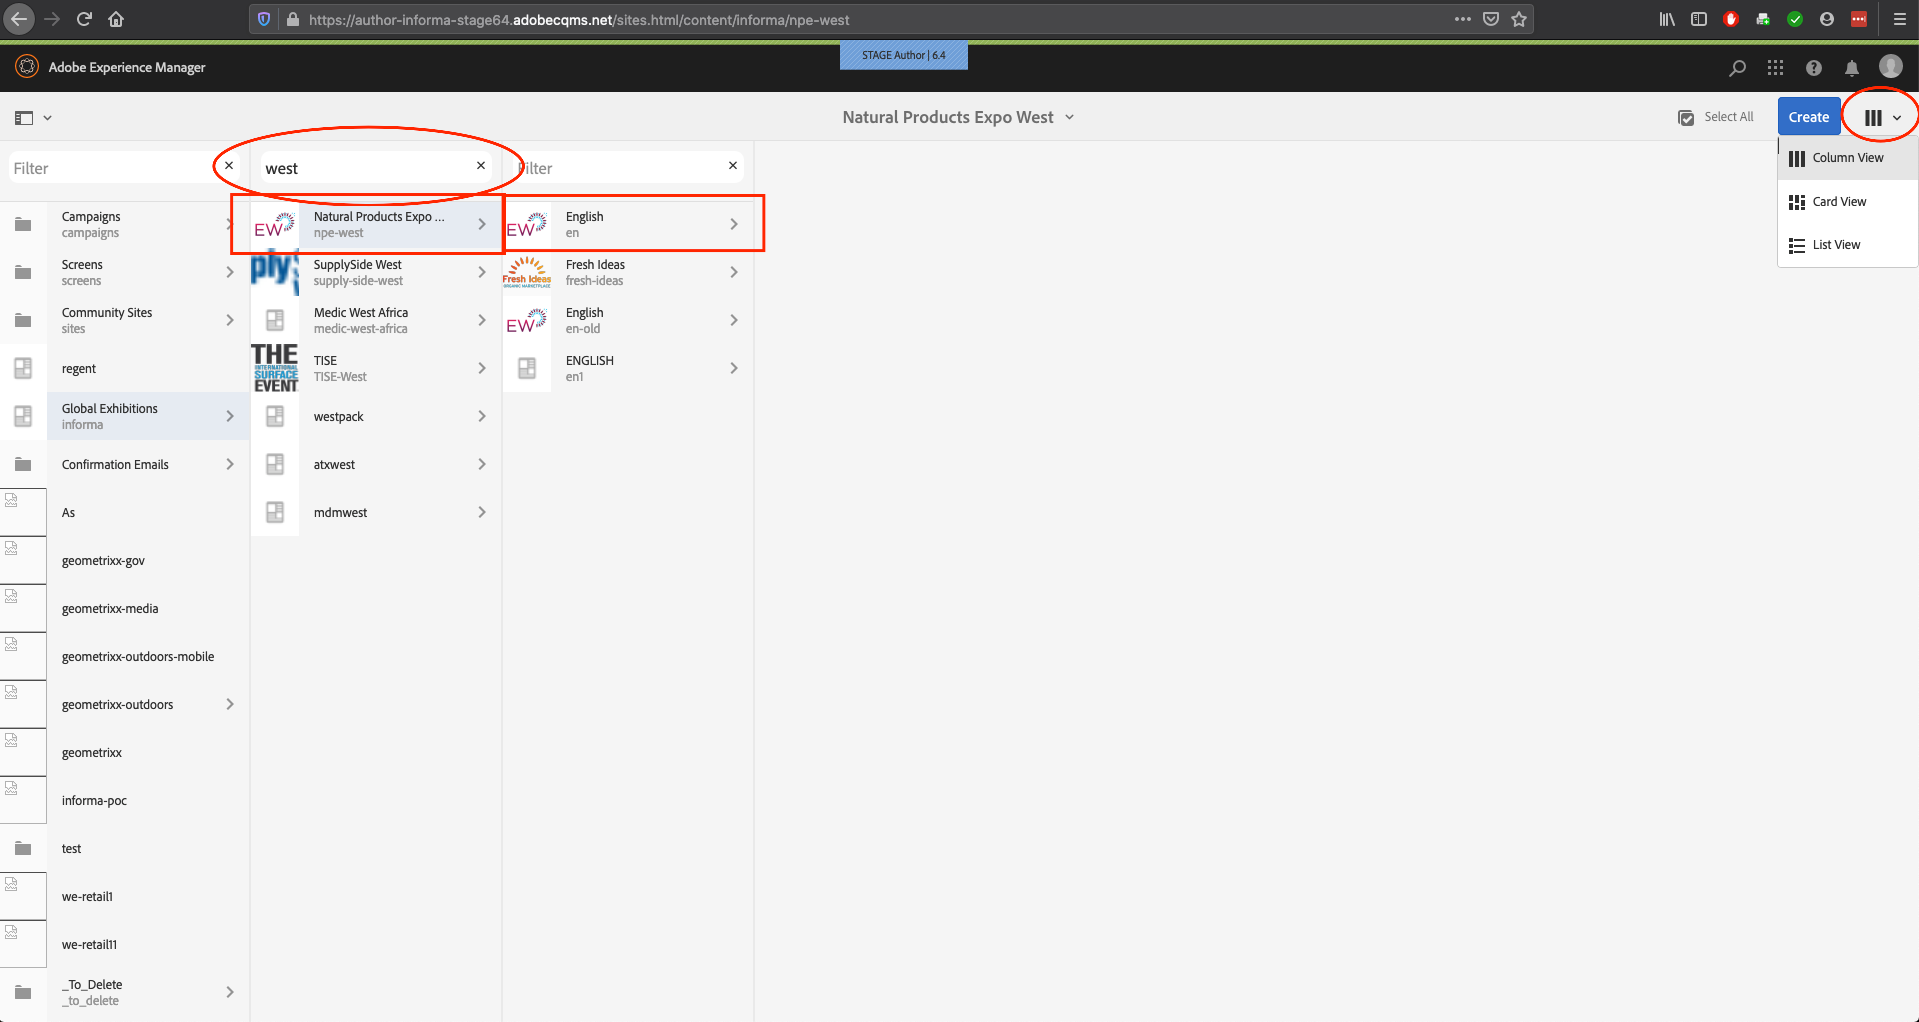
Here, use the filter search text field (recommended) to find your specific site, but you can also change views to scroll through all sites
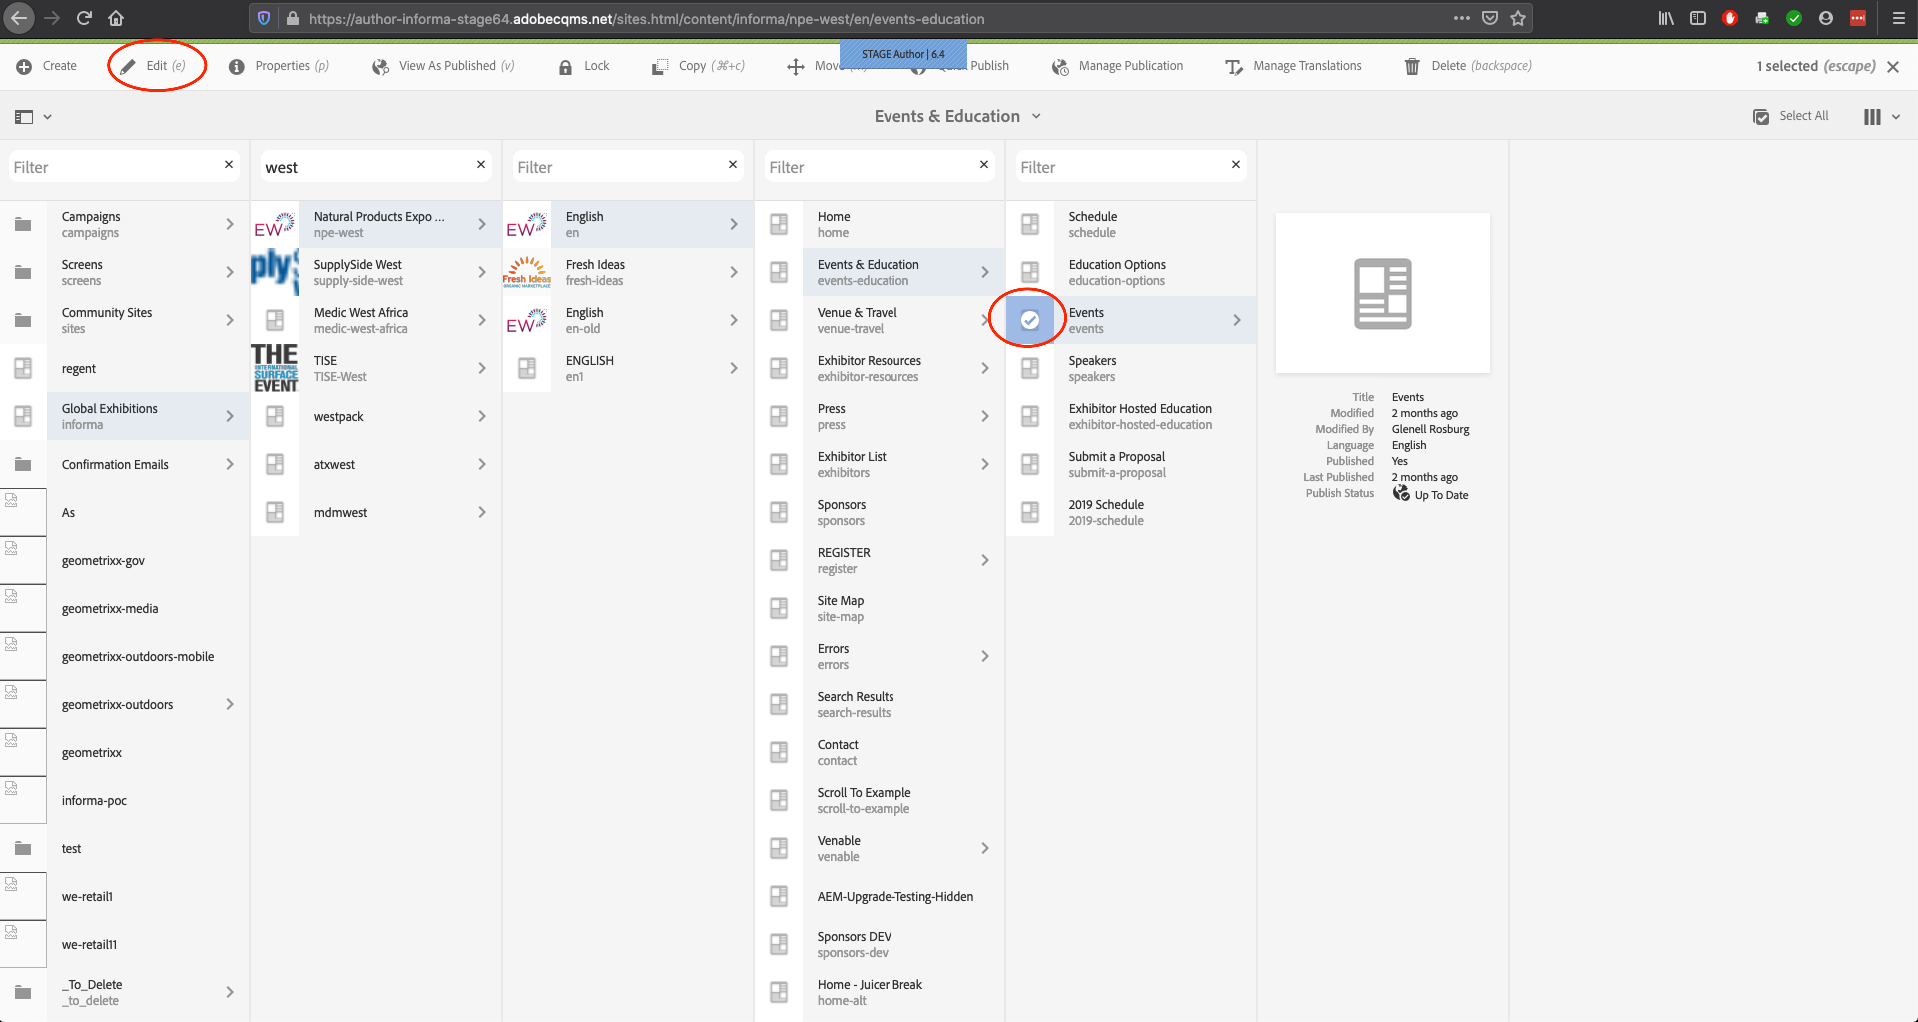
Click to select the page in question and choose “Edit” from the page options menu that appears
This will open the page to edit it in a new browser tab. Go to that new tab and be sure that the sidebar options panel is open
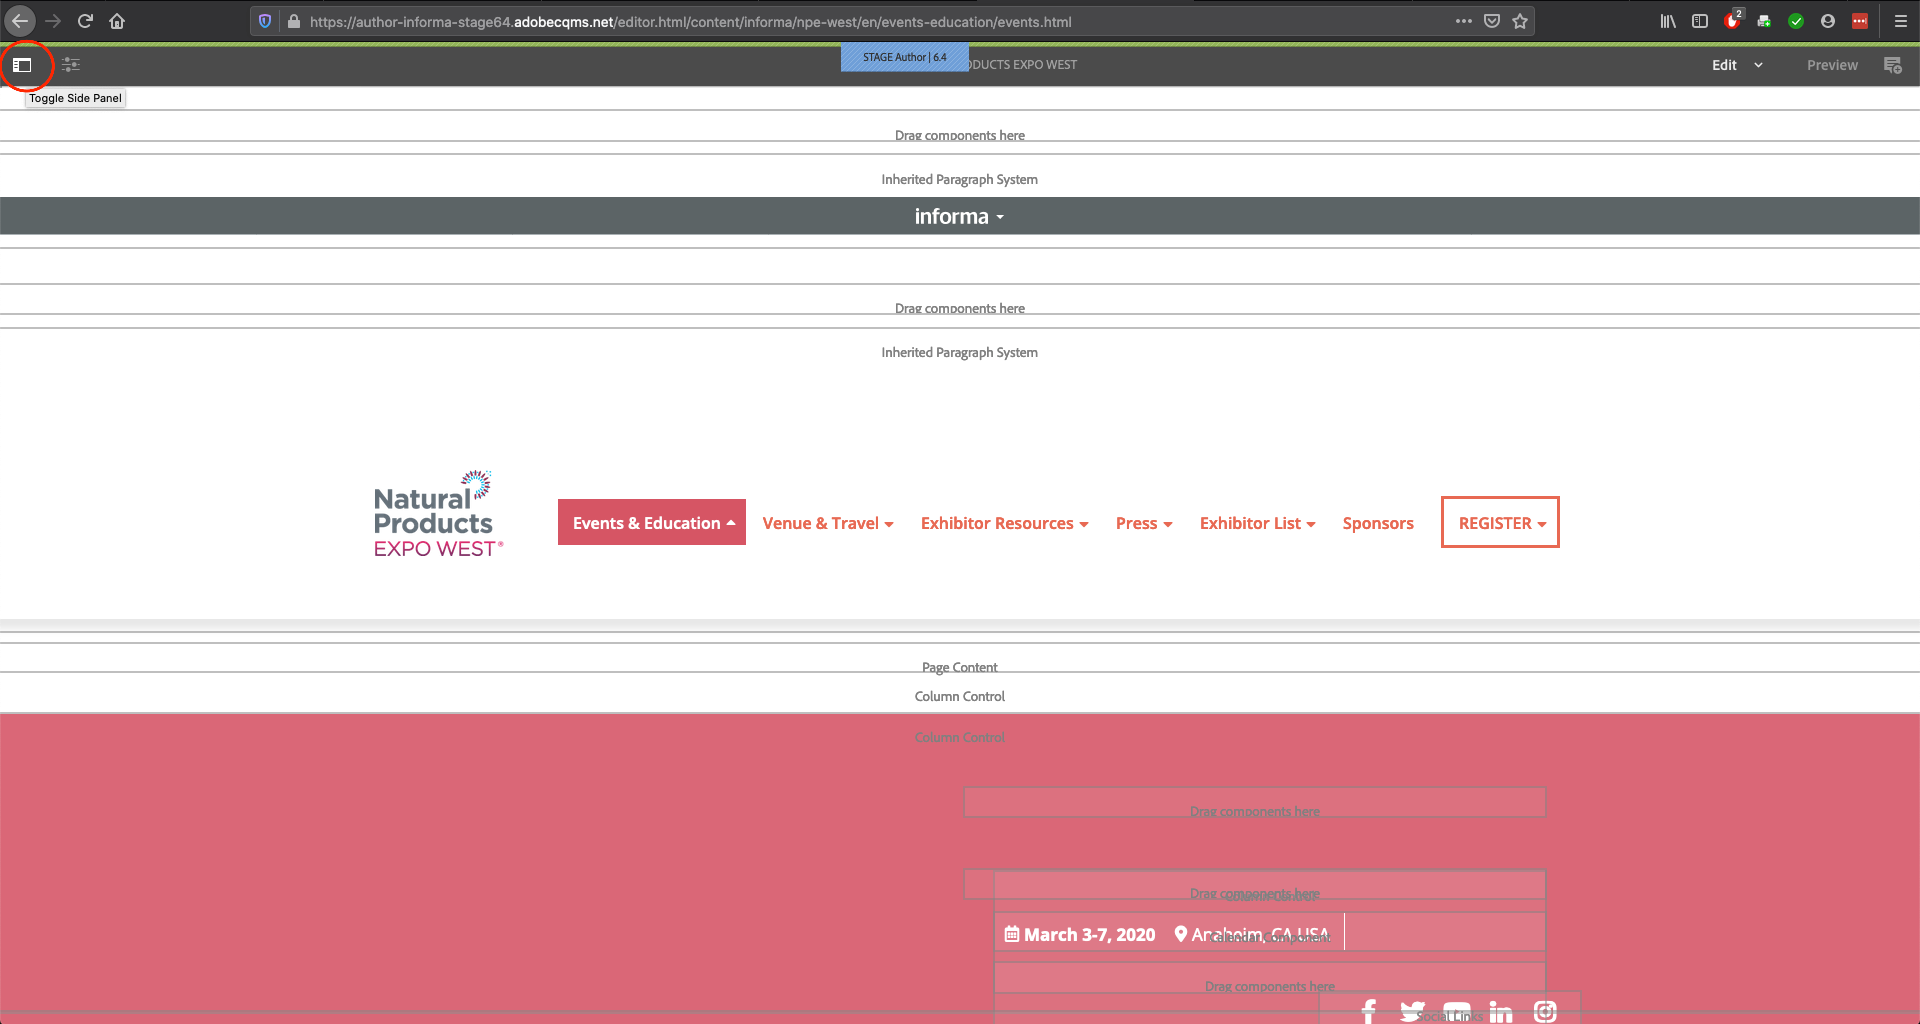
Assets will be the first collection the Sidebar Option Panel will show

But it’s through components that assets are added to the pages, so, in choosing the second icon from the Sidebar Option Panel, you can select any component to use (such as the “Image” component)
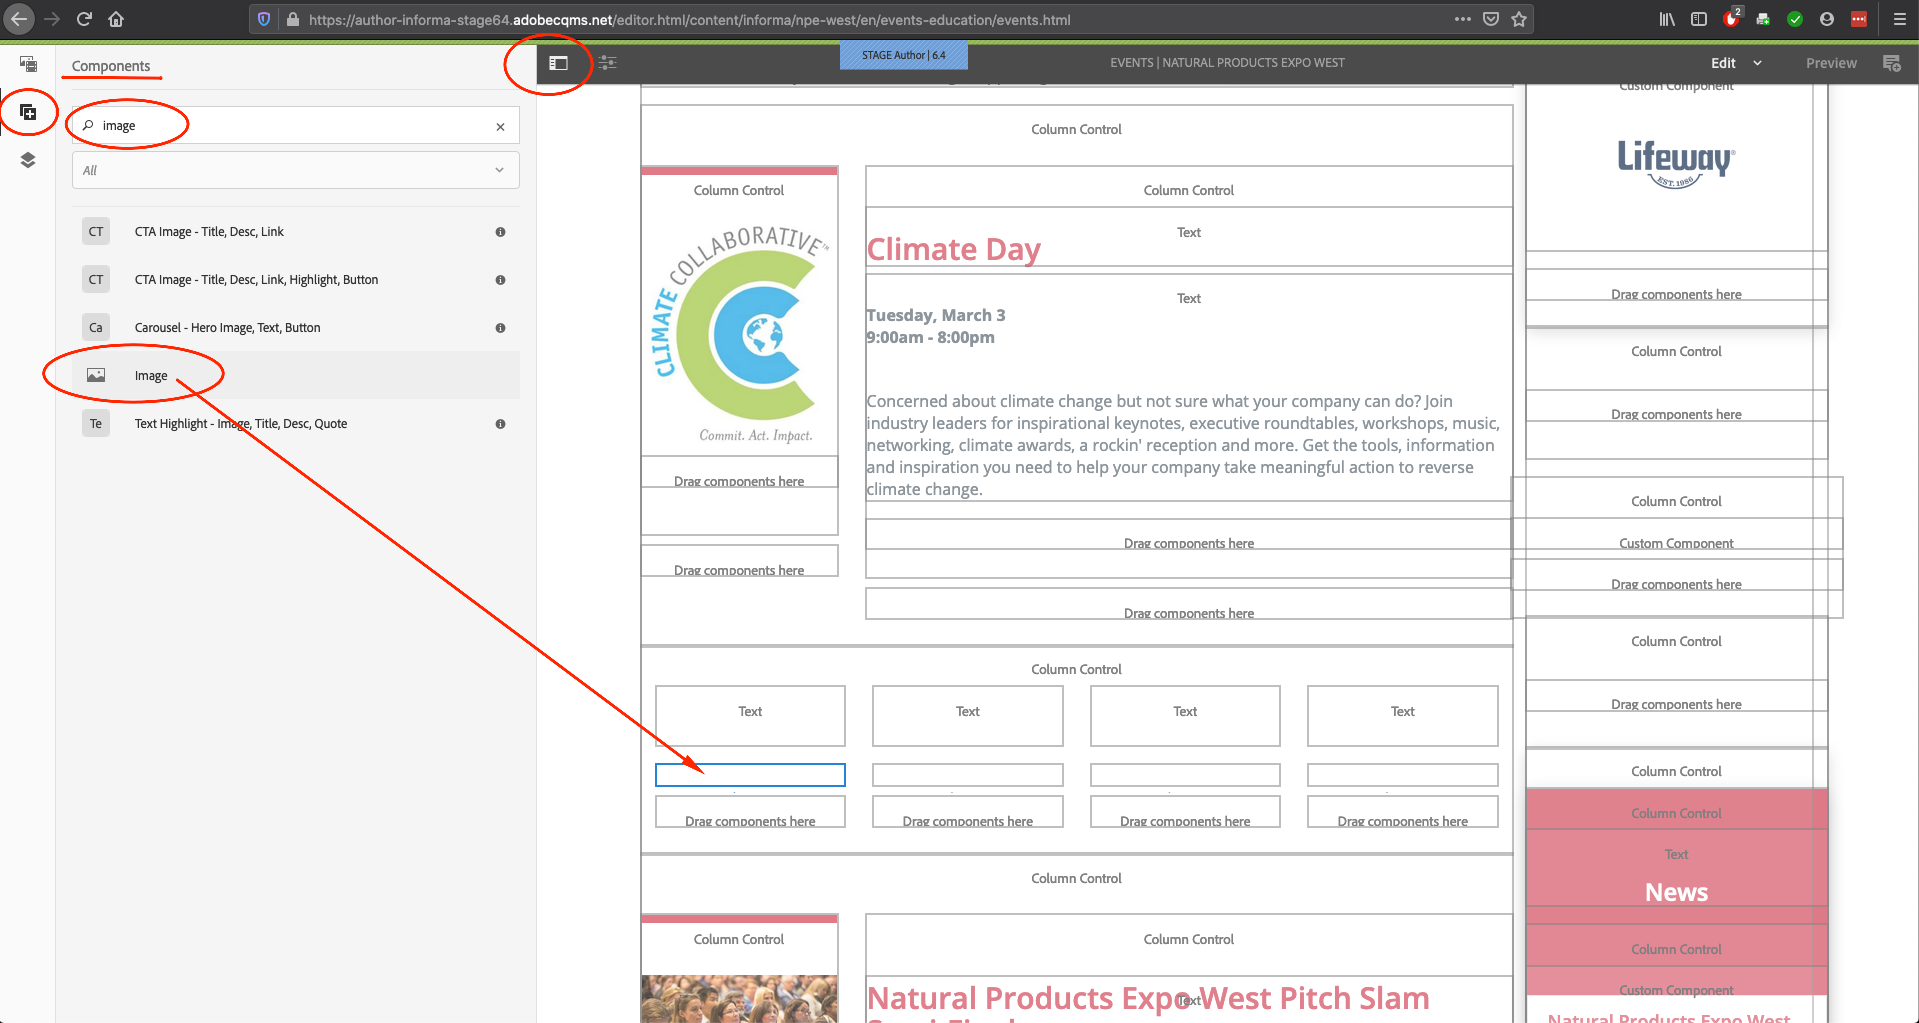
Each component will have different options. To see them, add the component to a page and single click it. Often clicking the “wrench” option is best
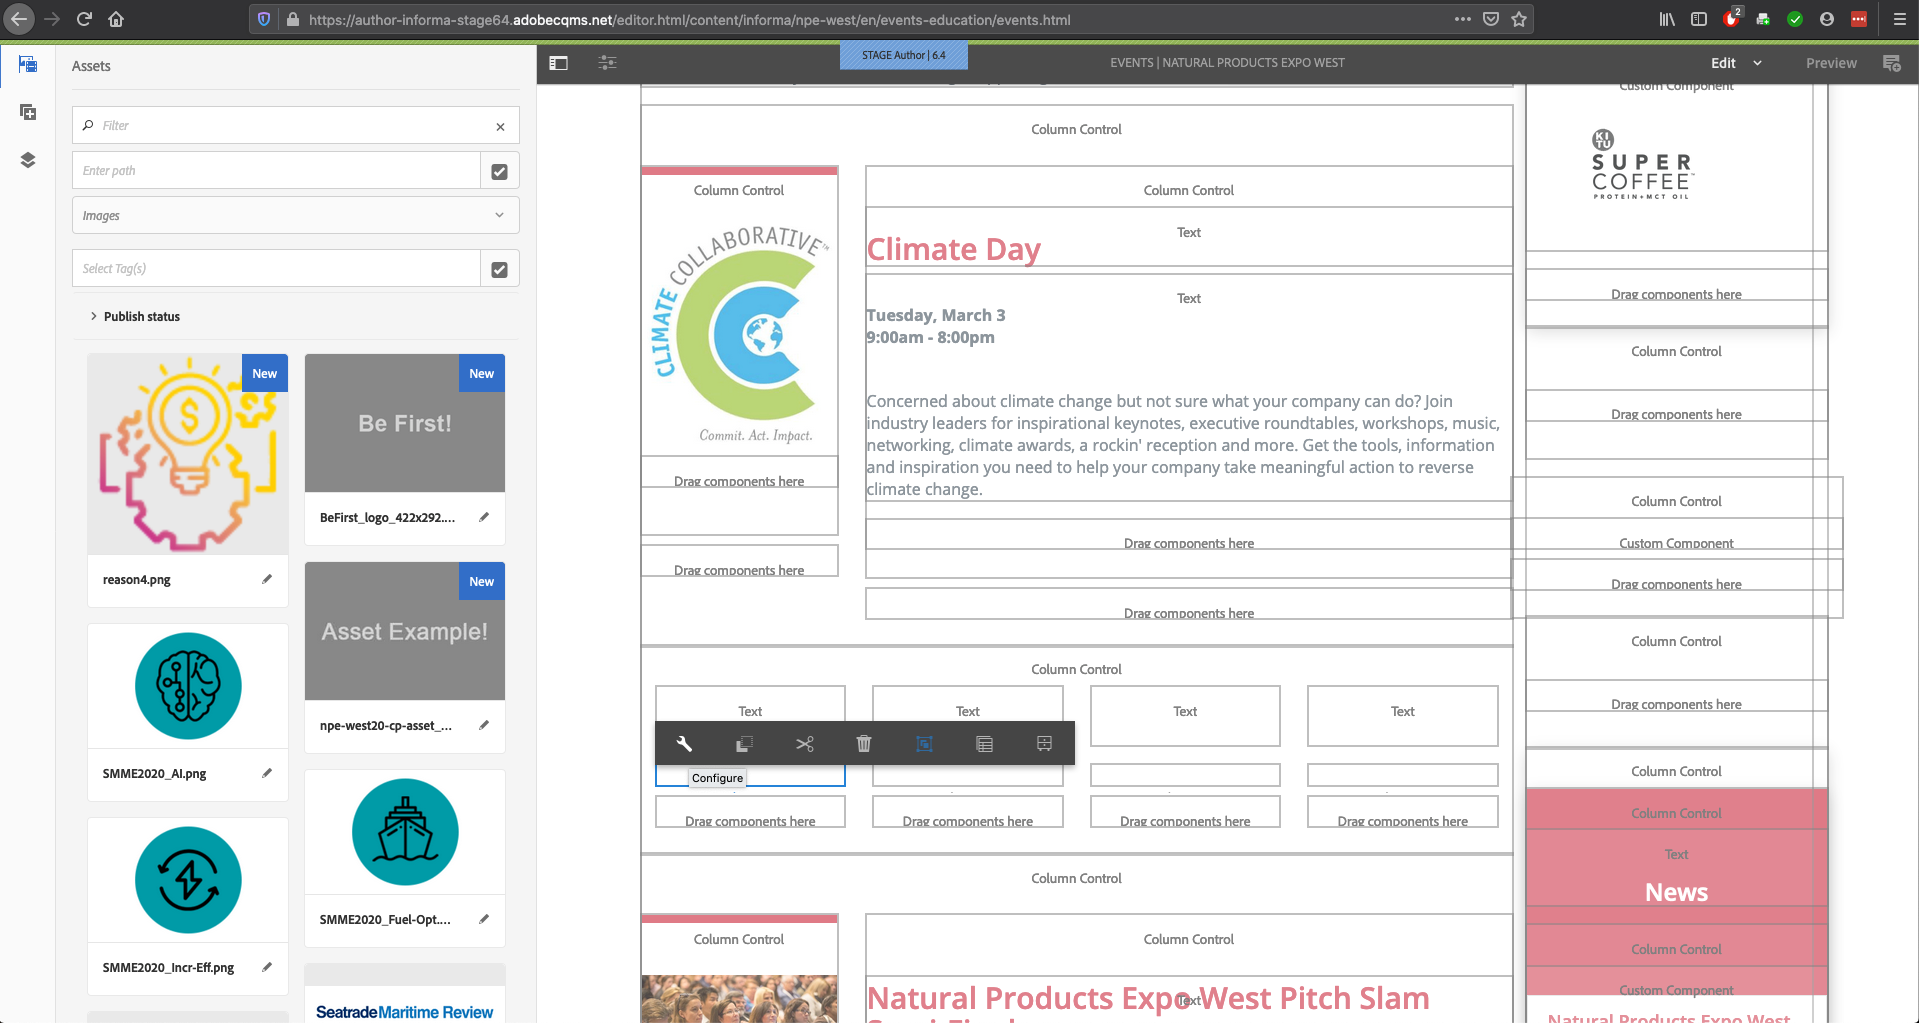
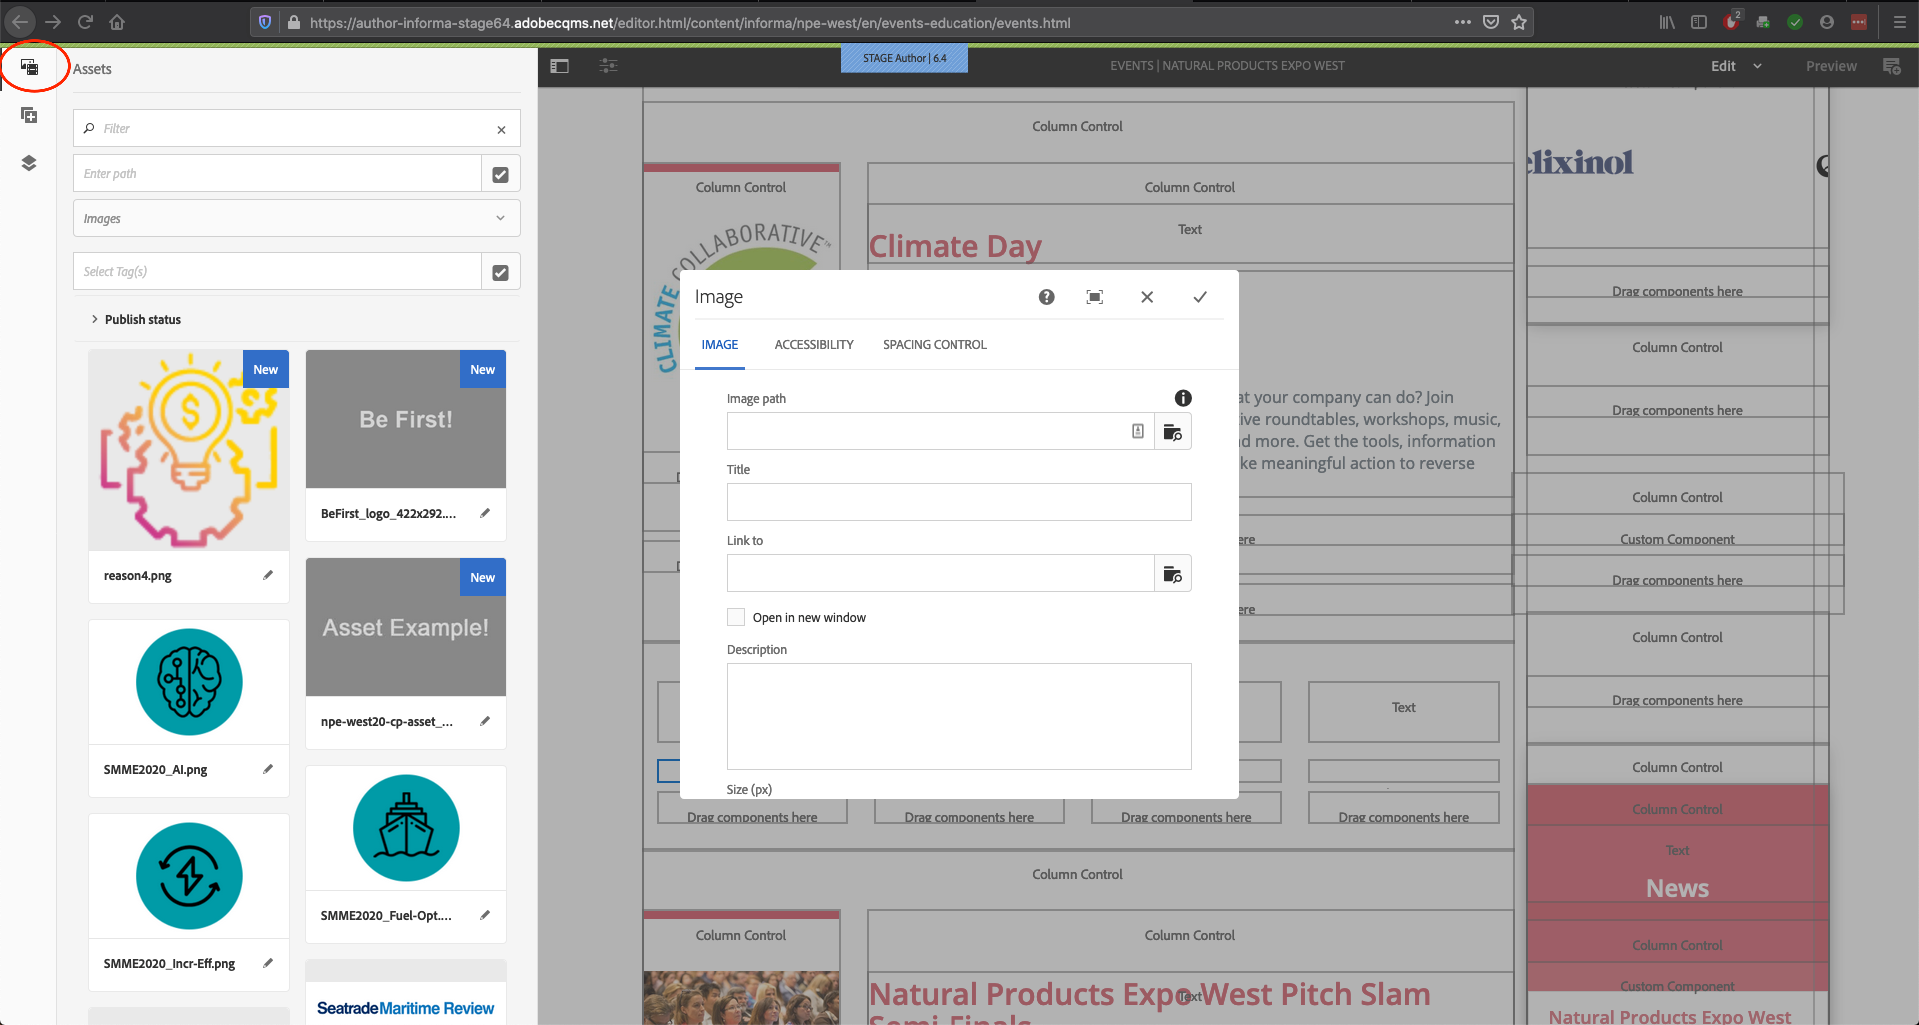
With this component configuration popup open, you can return to the Assets collection in the Sidebar Option Panel
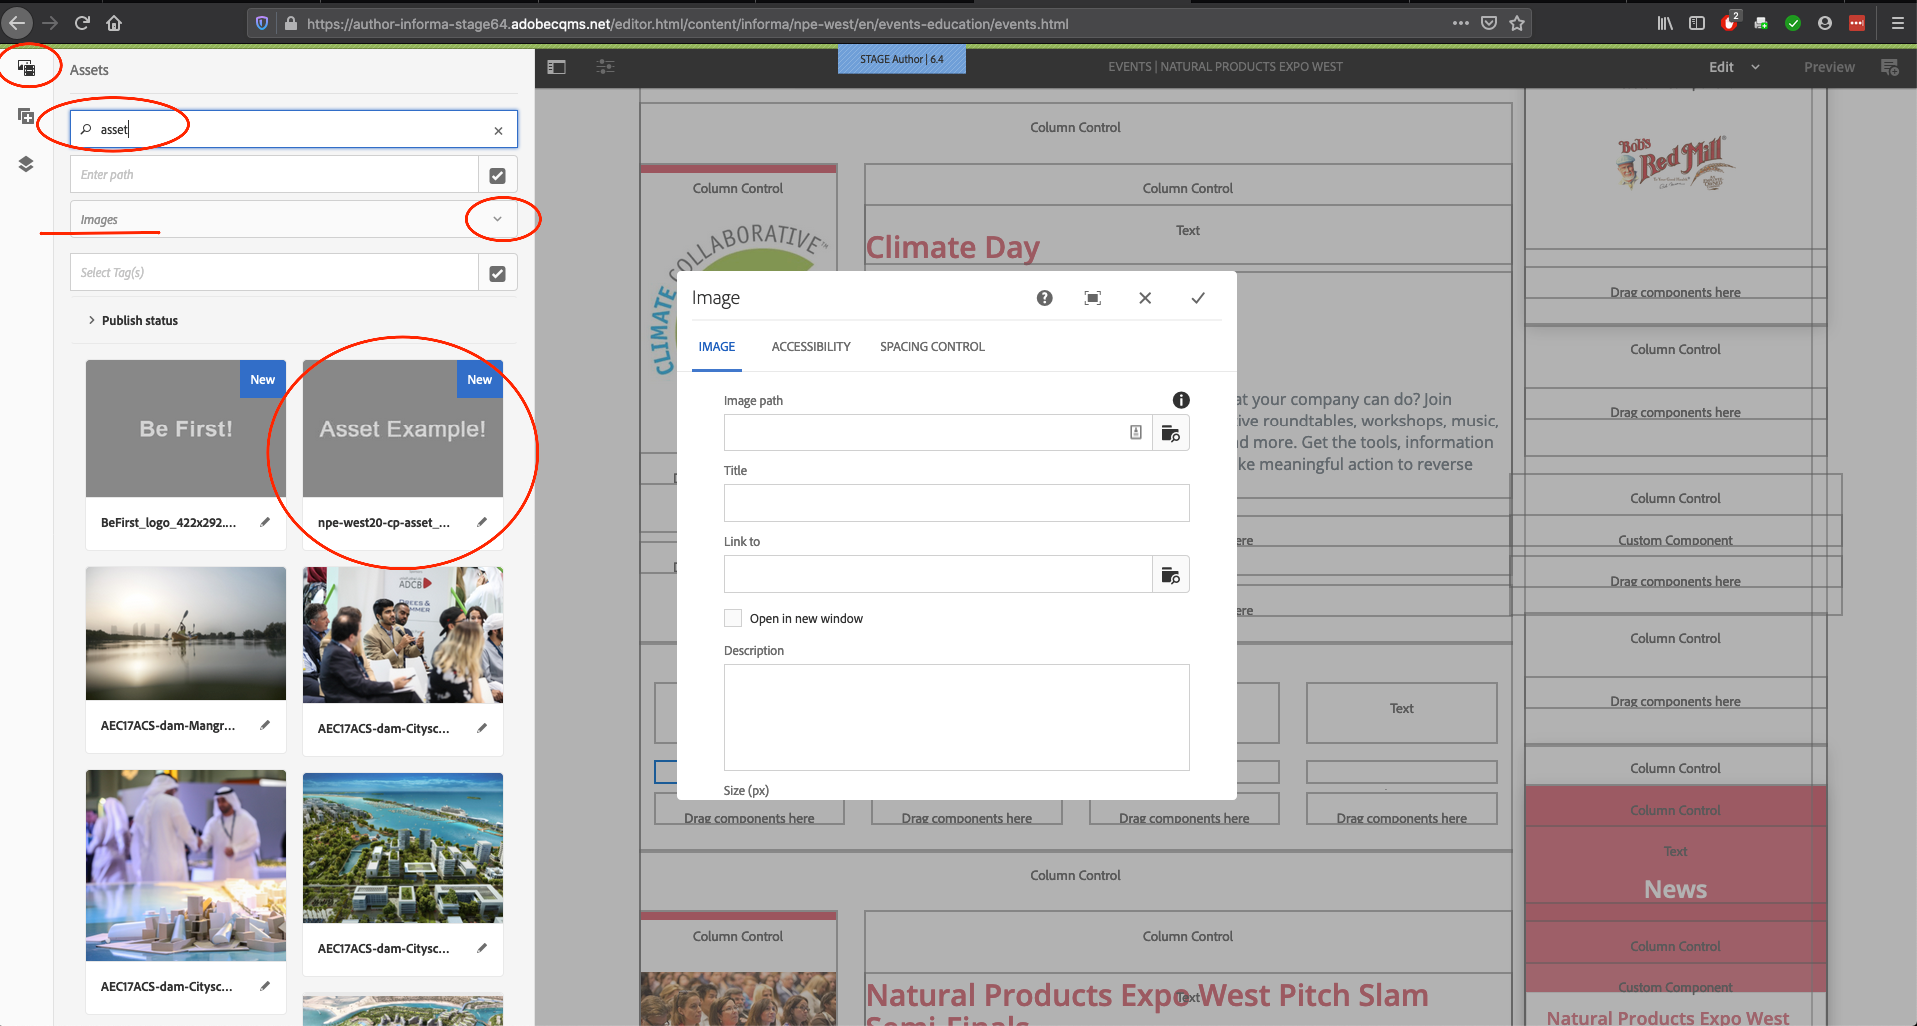
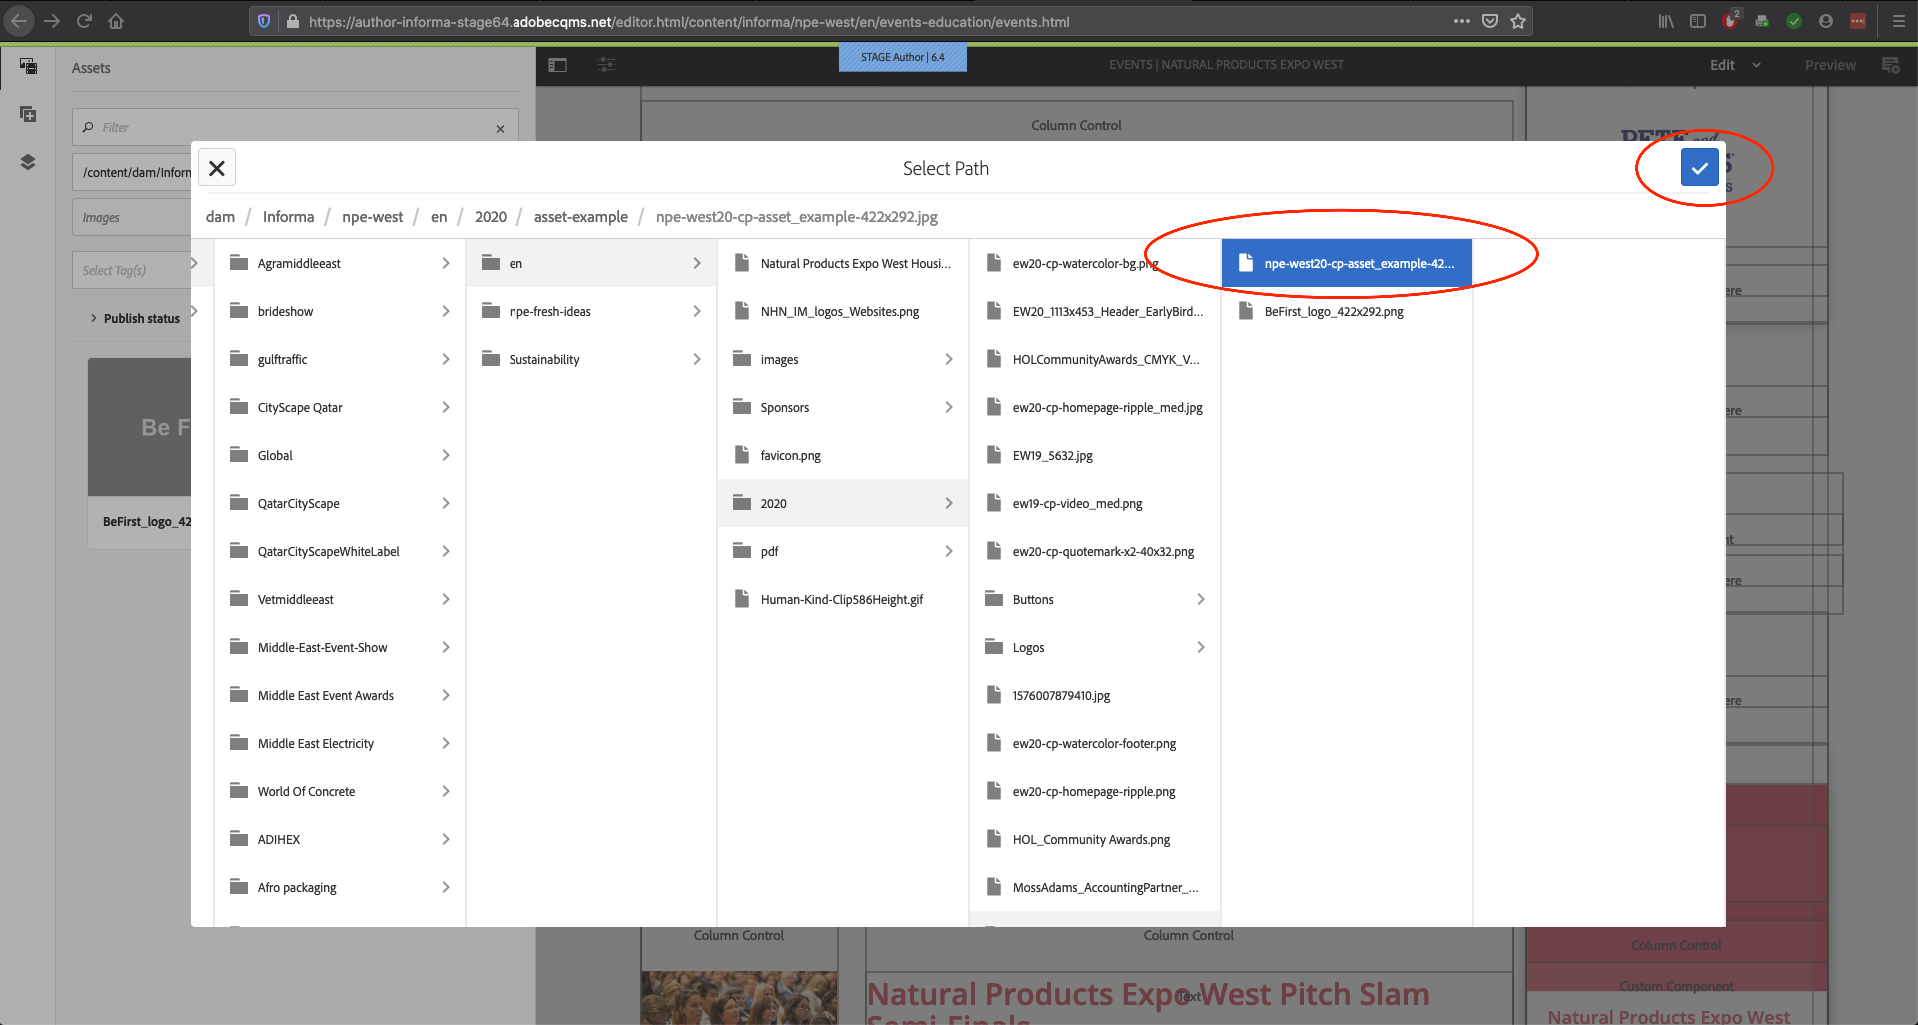
Your newly published Asset(s) should appear at the top of this chronological list, but if not, you can search by any of the possible filters to find your asset
While some components will allow you to drag and drop elements in this view, it’s best to always know the AEM path to your site’s Asset folder.
Using the “Enter path” text field is easiest, as from the above DAM walk-through, the assets path is the last half of the URL in your browser
Typing the asset path into either the sidebar “Enter path” search and/or the component itself will take you directly to your sites asset folder
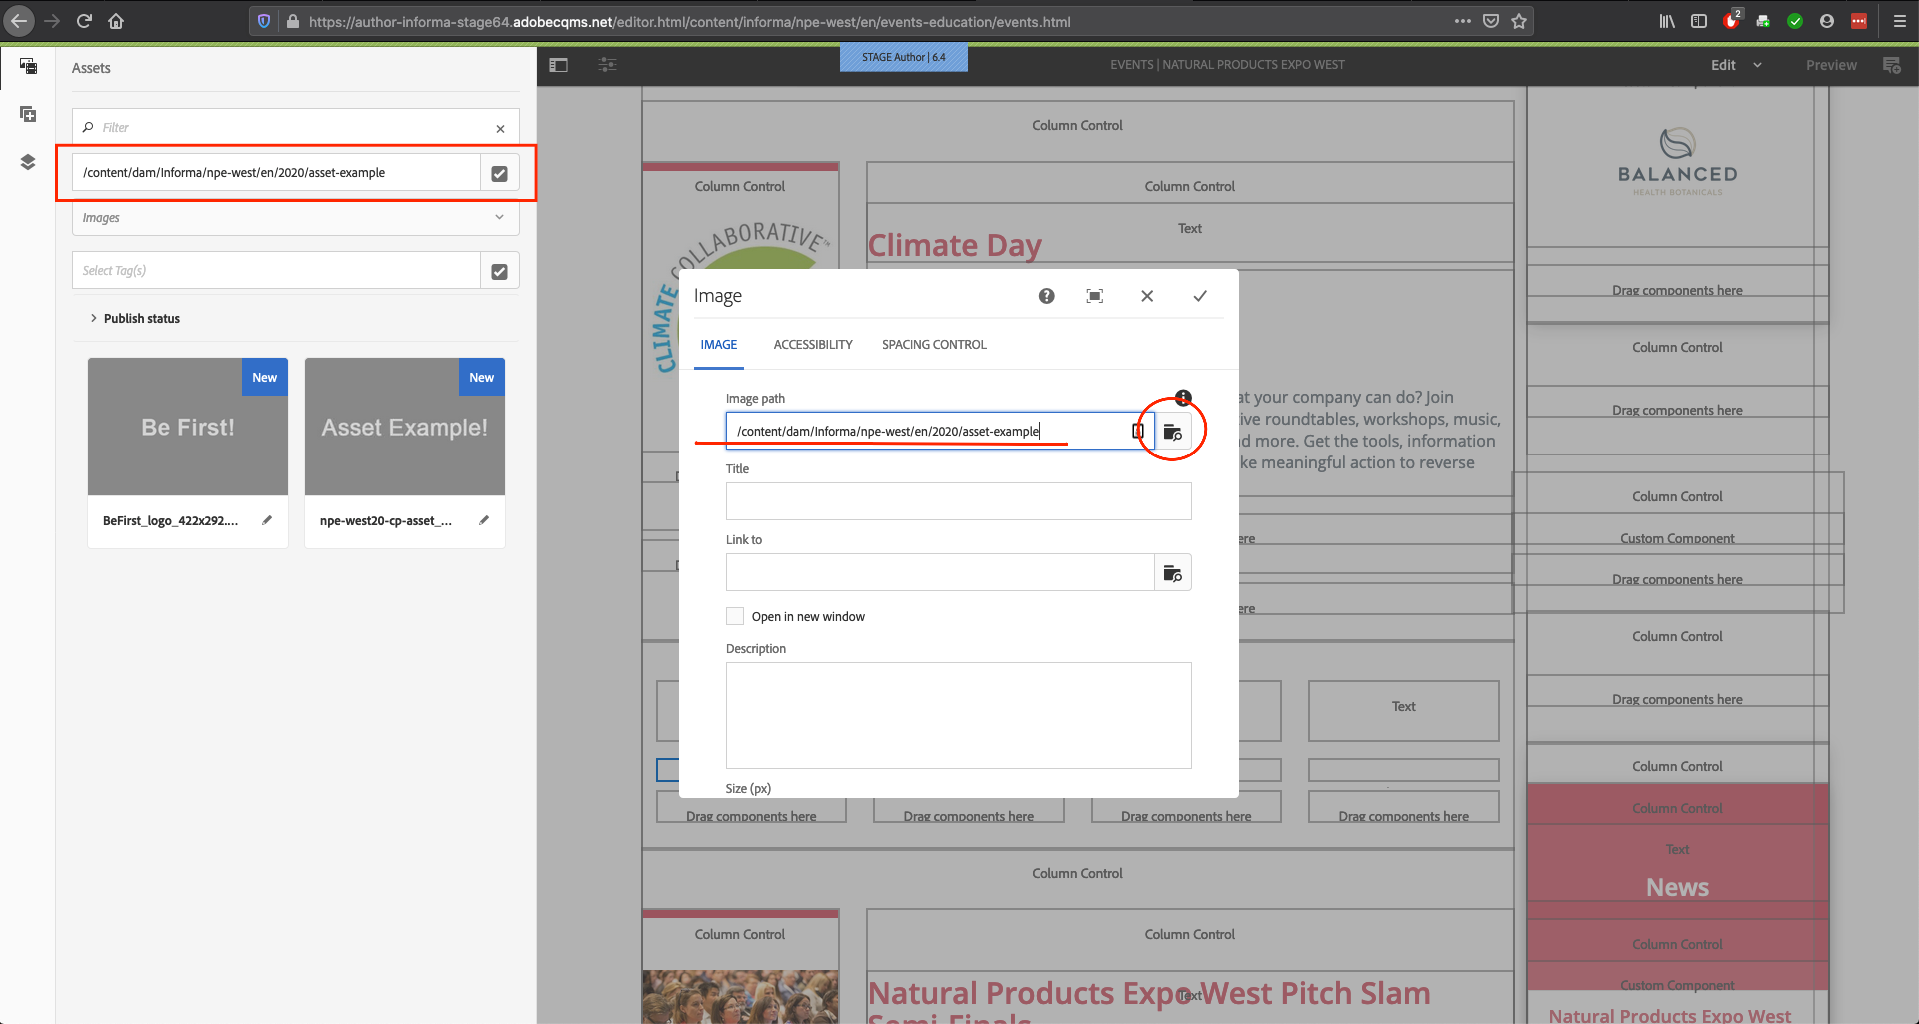
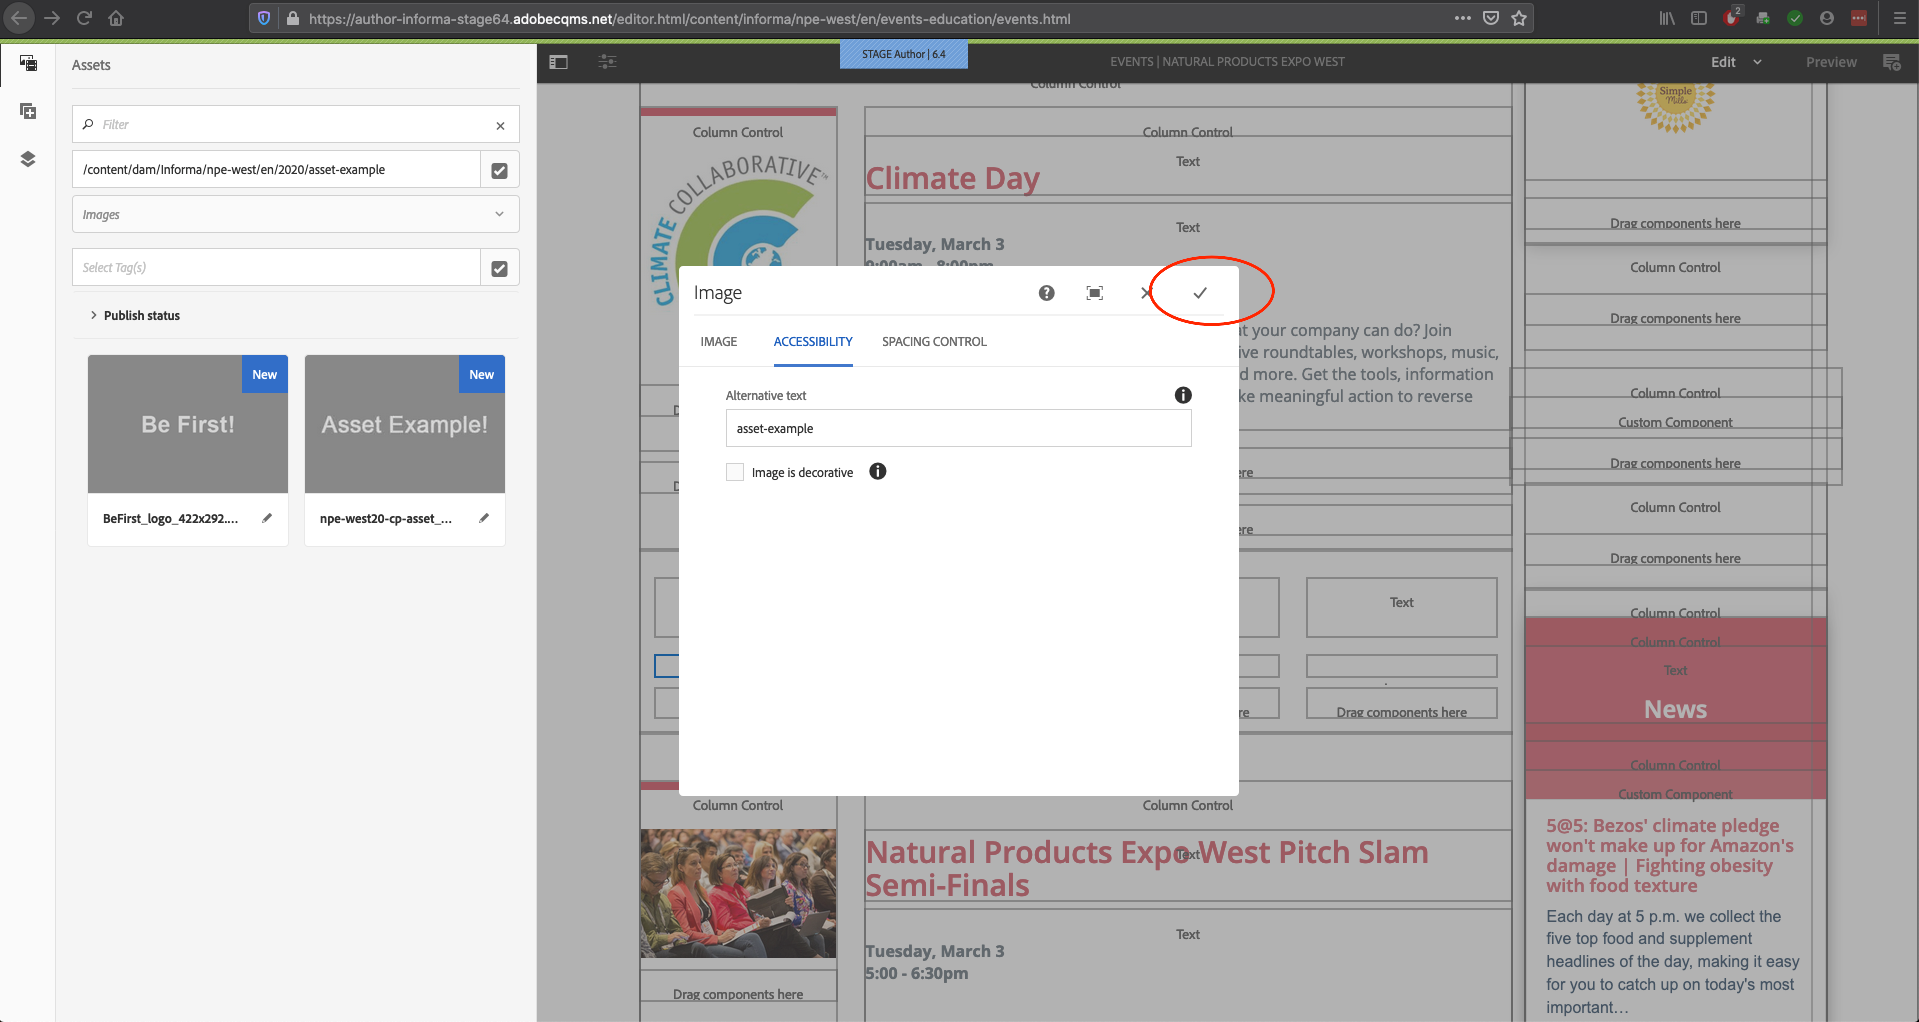
Once the path is in place in the component, clicking the folder icon will jump you to your sites asset folder, there you should find all your sites assets. Clicking the check mark connects your asset to the component
Fill out as much of the components fields as possible, paying close attention to the “Alternative Text” field often found under the “Accessibility” component configuration tab
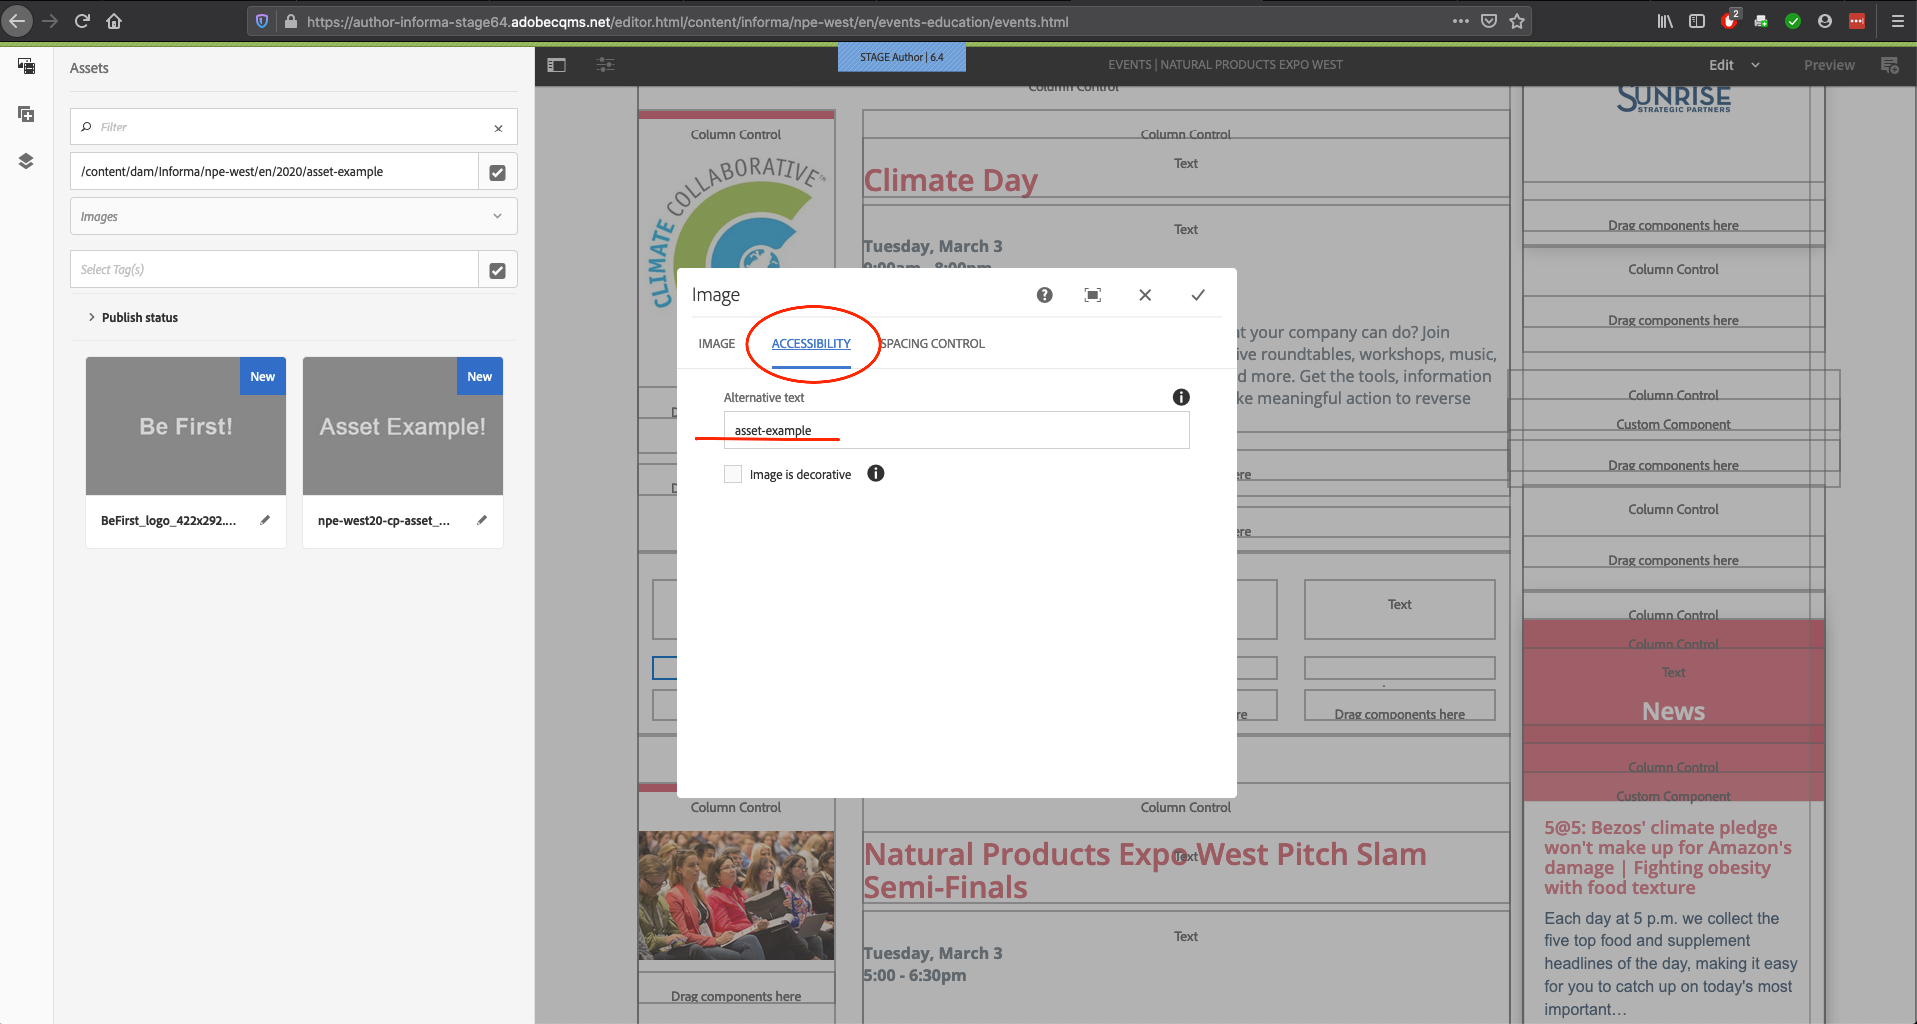
- Please note that while this field will vary depending on the component, it’s still best practice to use both the “asset path” and fill out the “Alternative text” fields for all assets
- Alternative text should be a description that best defines the asset and the purpose of it
Now click the check mark to accept your update to the component and review the updated webpage
Your new asset is now ready for site publication/authoring
Best Practices and Resources
Further details about components and AEM can be found here: Click here
Use relevant and web safe (no spaces or special characters) alternative text for all asset entries
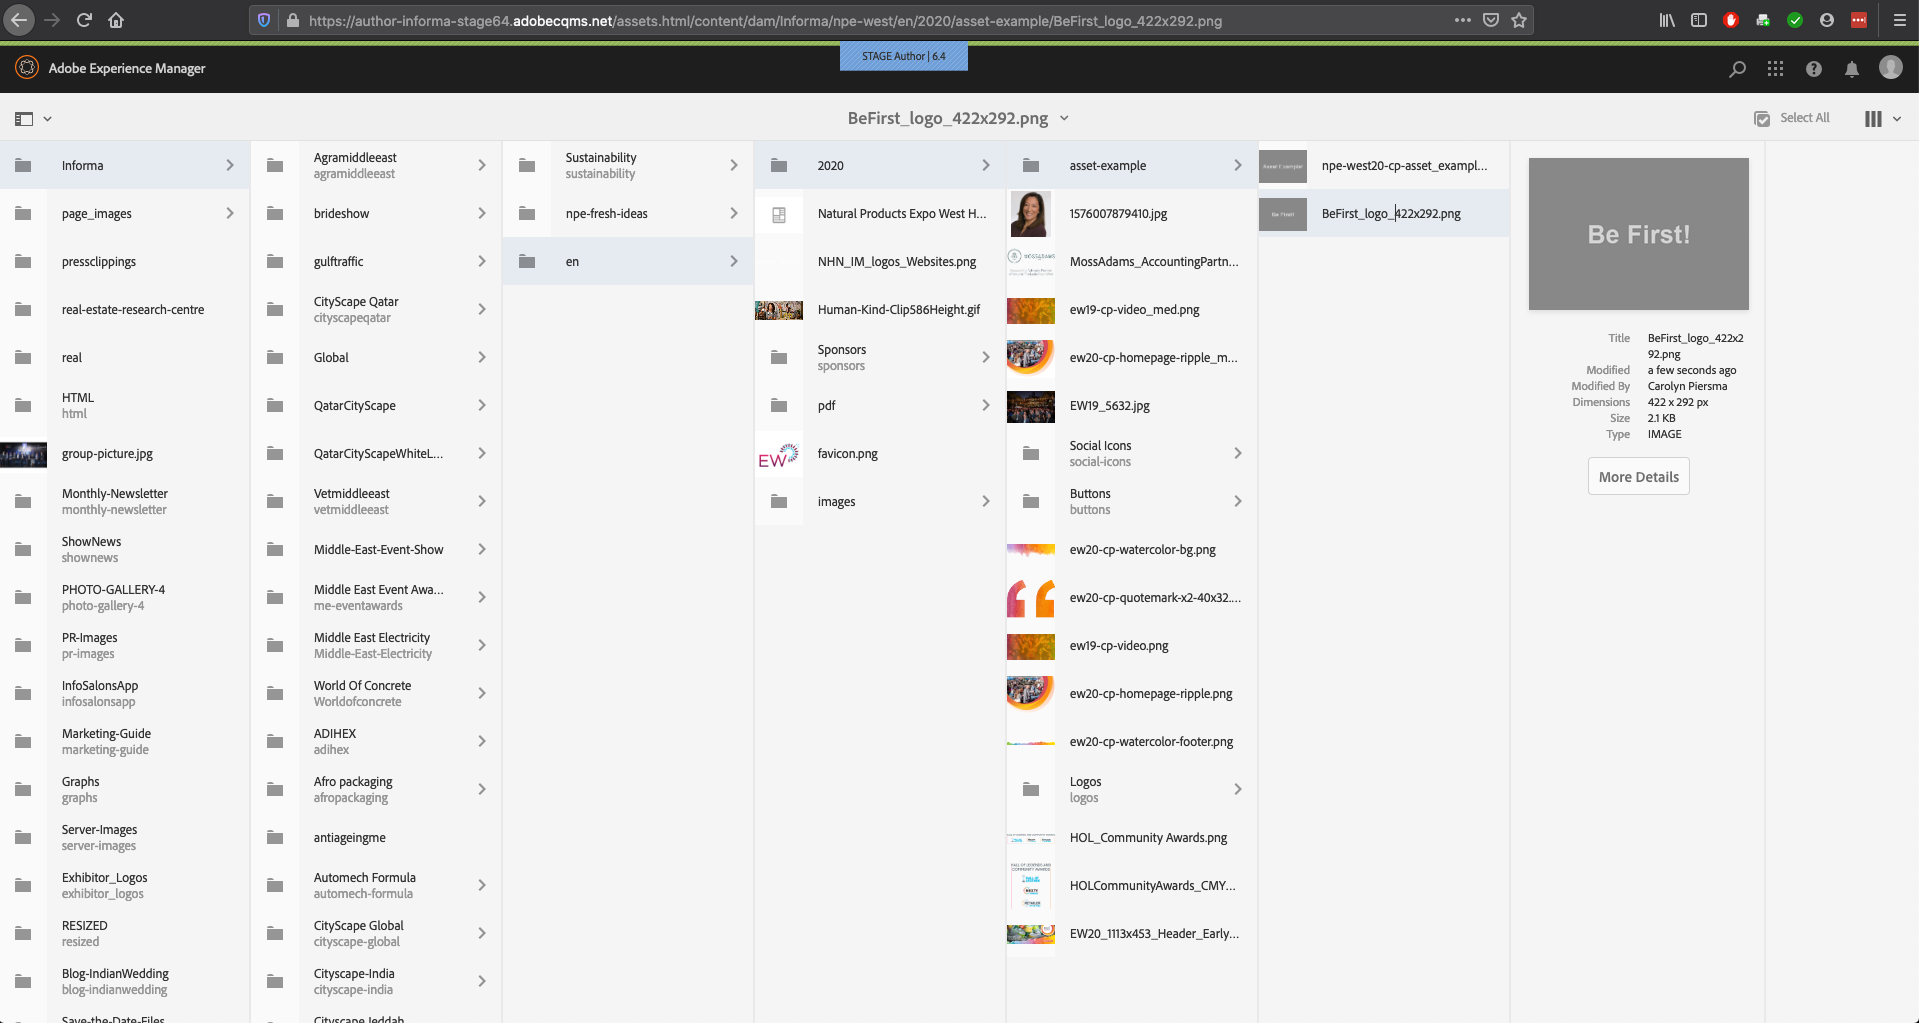
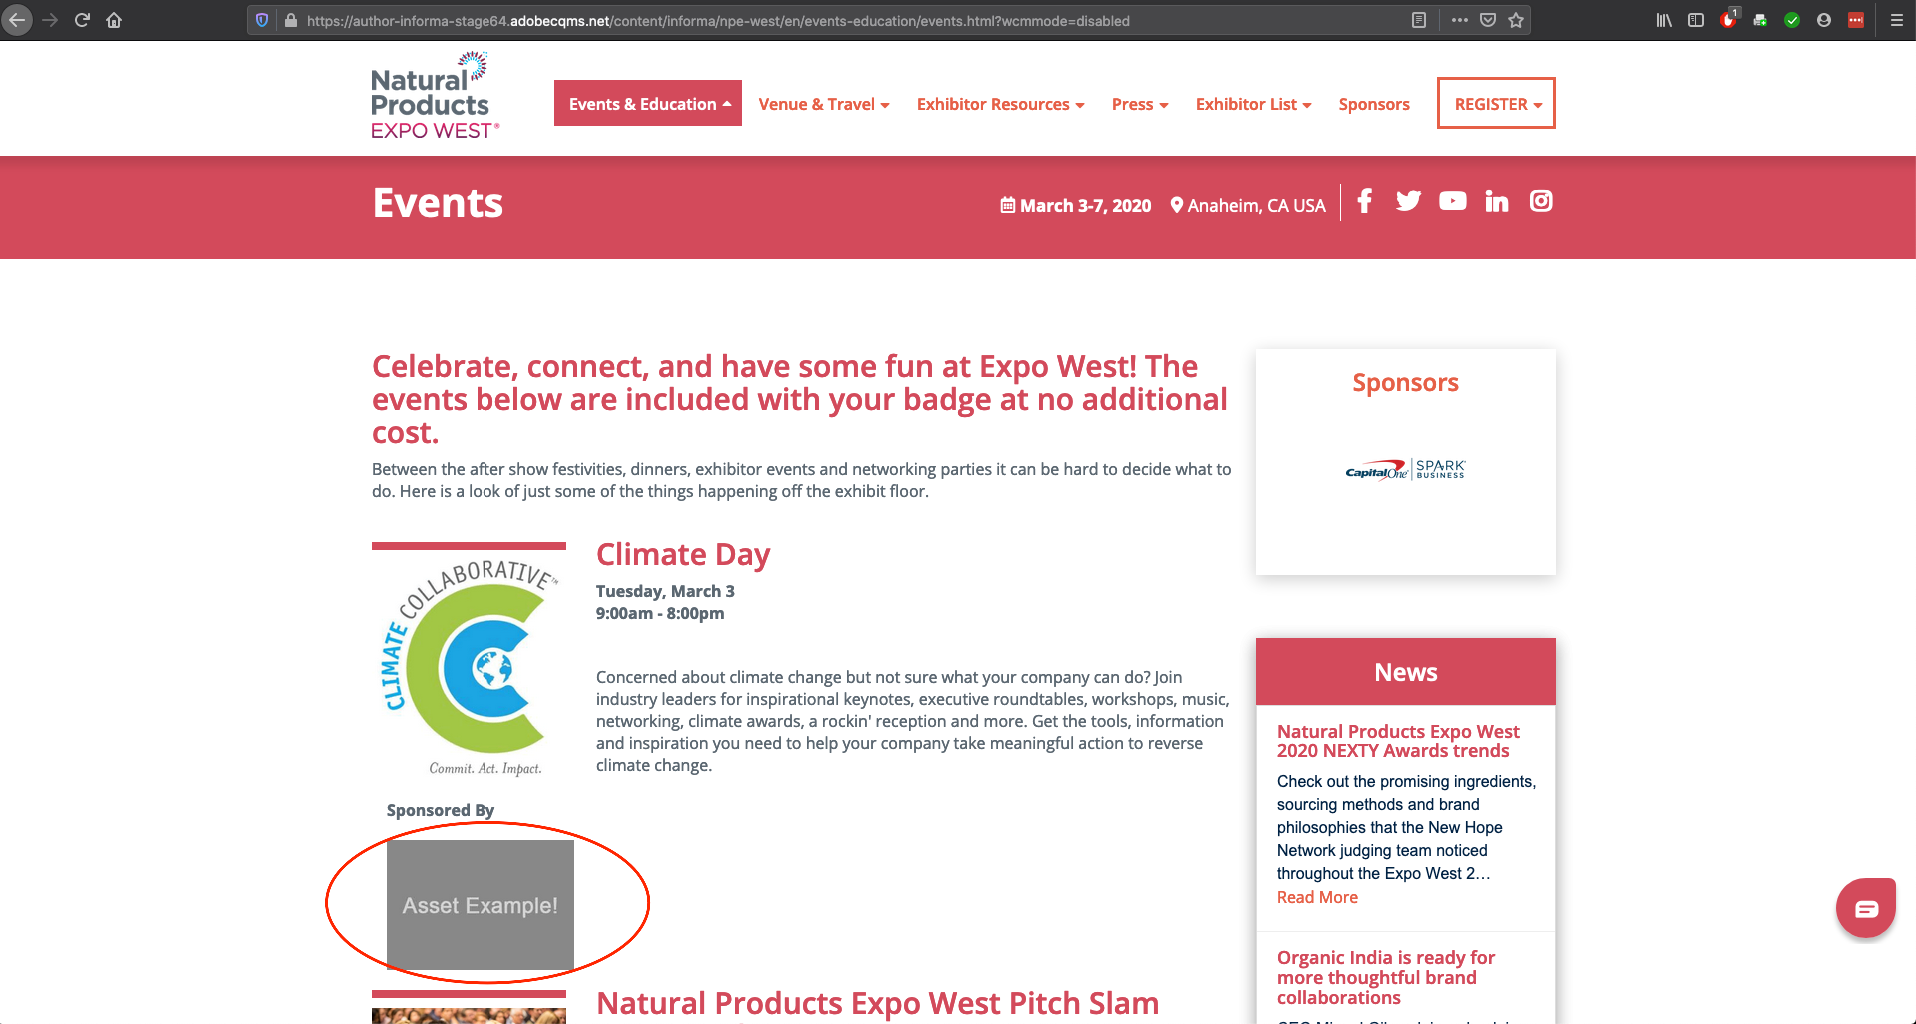
Save assets in the correct location/relevant folder, following the standardized folder structure: “Region > Division > Event Series > Event Edition Code > Folder Name > {Your file}” (e.g. for Expo West: Informa > npe-west > en > 2020 > asset-example > npe-west20-cp-asset_example-422x292.jpg )
Image size guide link: Click here
Remember:
- There is only one DAM folder per website per language
- Images across the website should be optimized
Components Reference Guide: Click here
FAQ
How do I get more help?
Please open a Service Now ticket describing your question or issue, which site you are working on, and what page you are modifying
What to know more about other Asset options?
Advanced users wanting more information should open a Service Now ticket
What is the Insights View?
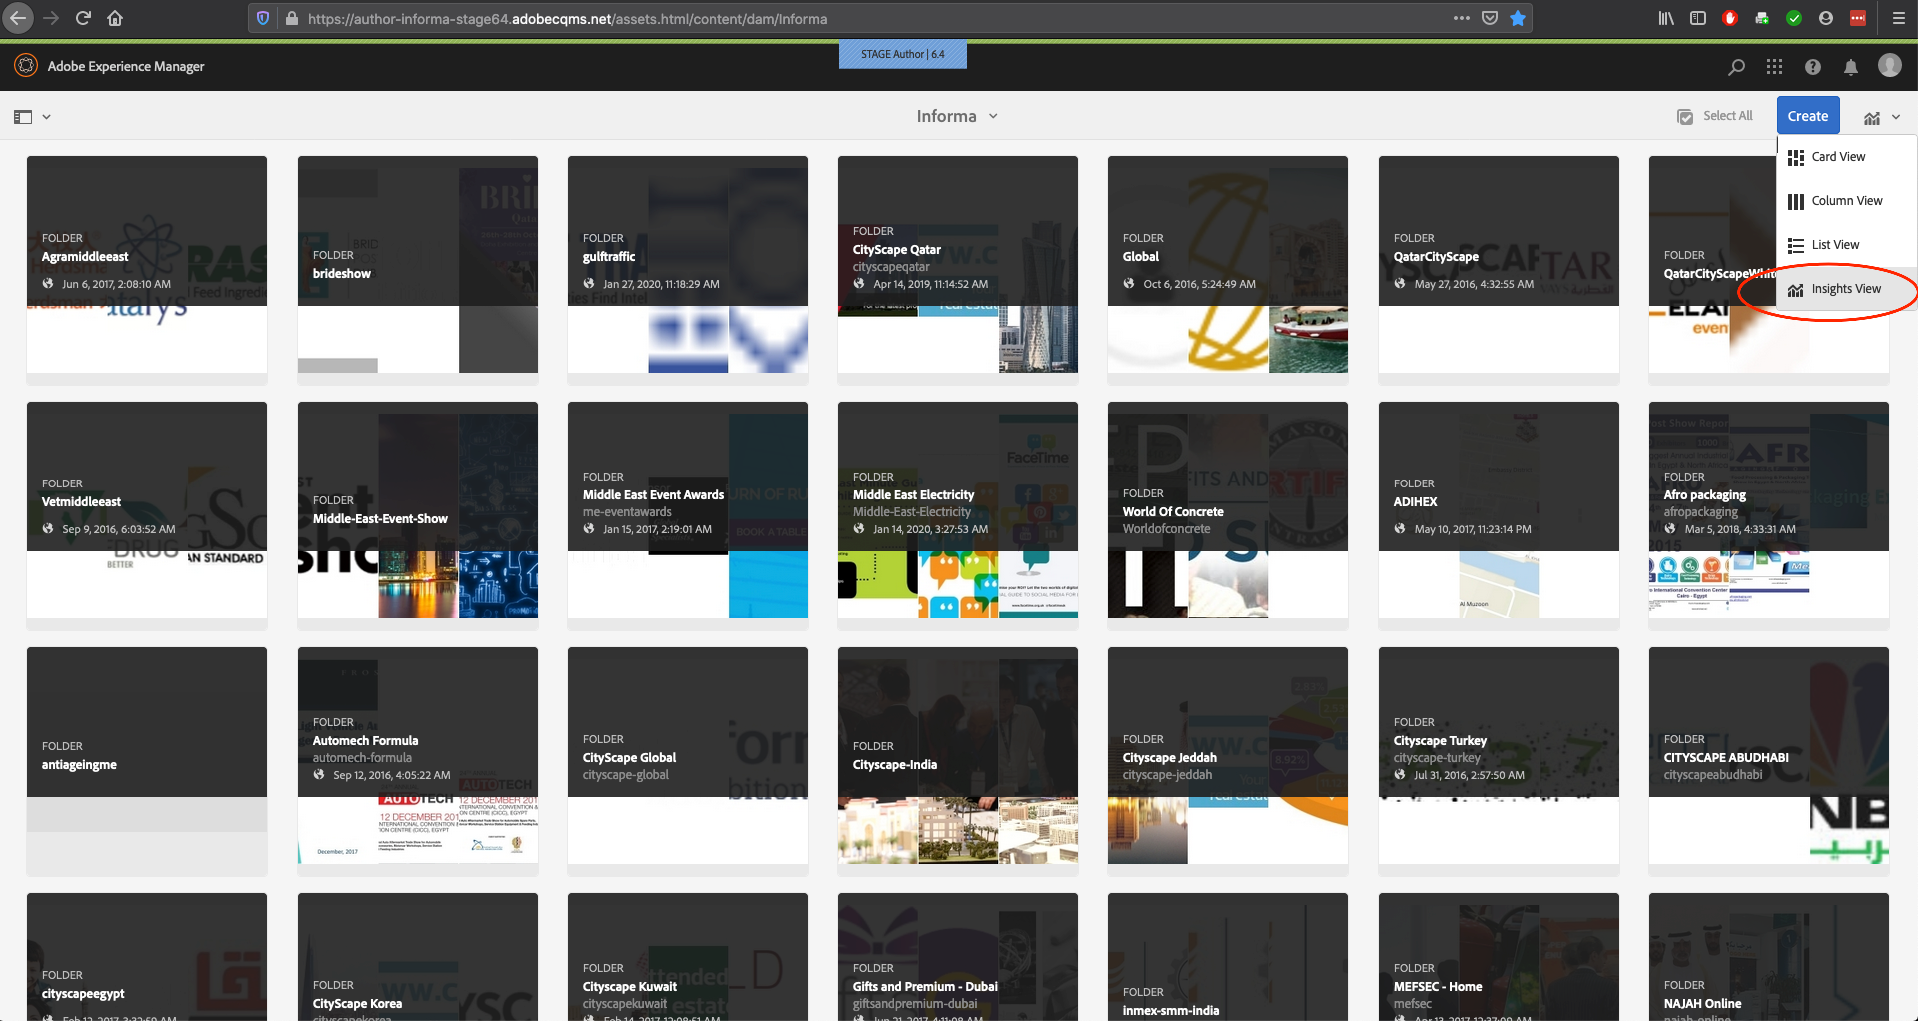
Advanced users wanting more information should open a Service Now ticket
I want to add video to my site - can I upload it to the DAM?
While it is possible to upload video formats to the DAM it is recommended that you use a video component and the tools from outside video providers such as YouTube and/or Venmo to host your video
Is there a file size limit I can upload?
There is no limit to how many files you can upload or the size of those files, but please adhere to the file size recommendations as your site performance will suffer with large file sizes
But it takes time and thought to fill out the Alternative Text fields!
Understood, but as accessibility compliance becomes a requirement, this additional action on your part might make the difference between your site being accessed or being denied. Adding Alternative Text could also become mandatory very soon
Alternative Text for Image Description and Meta Title will now auto-populate after uploading an image asset to the Digital Asset Manager (DAM).
As an author you would only need to make sure that the file name is relevant to the image and descrpitive before being uploaded so that descriptive name will be applied as the alt-text on the asset.
AEM Metadata, Title is the file name. Description is the alternative text.
If the asset has a title in its properties before uploading, it will pick that up instead.
This feature would help your site’s SEO performance if you’ve not been adding this manually. And if you have, you can continue doing so during authoring directly in the Image or Teaser components.
GIF below shows how this works.

Copyright © 2025. All rights reserved. Informa Markets, a trading division of Informa PLC.